Tuesday, November 29, 2016

Green Selvage Square Rounds

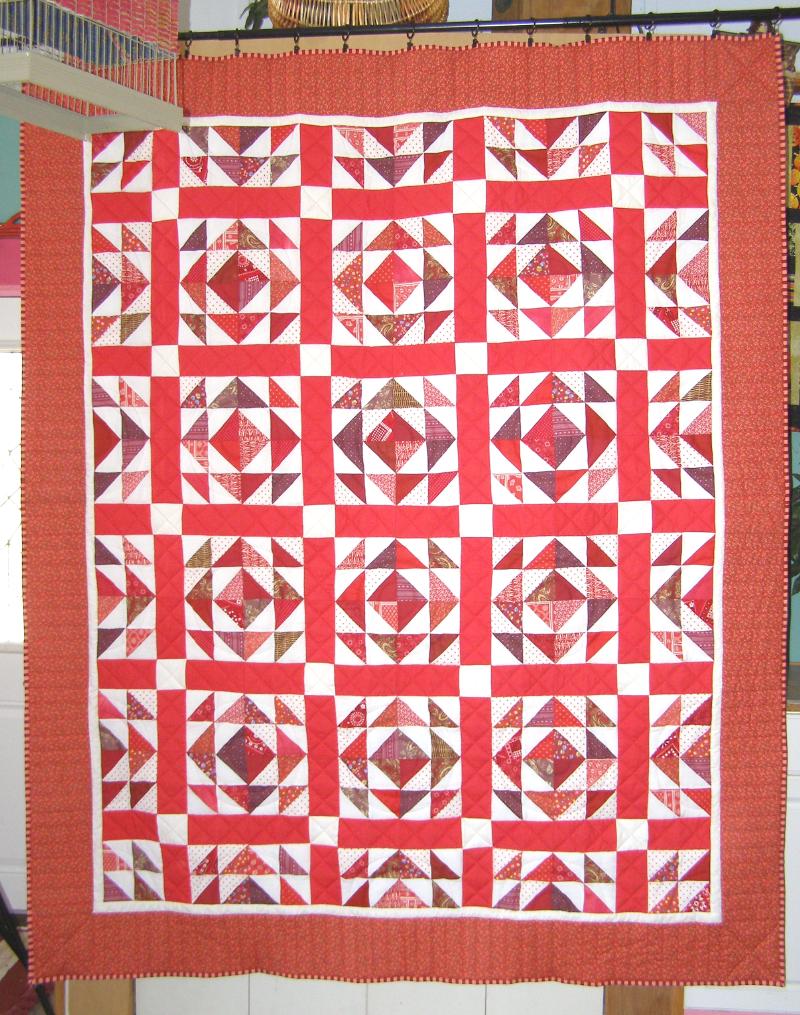
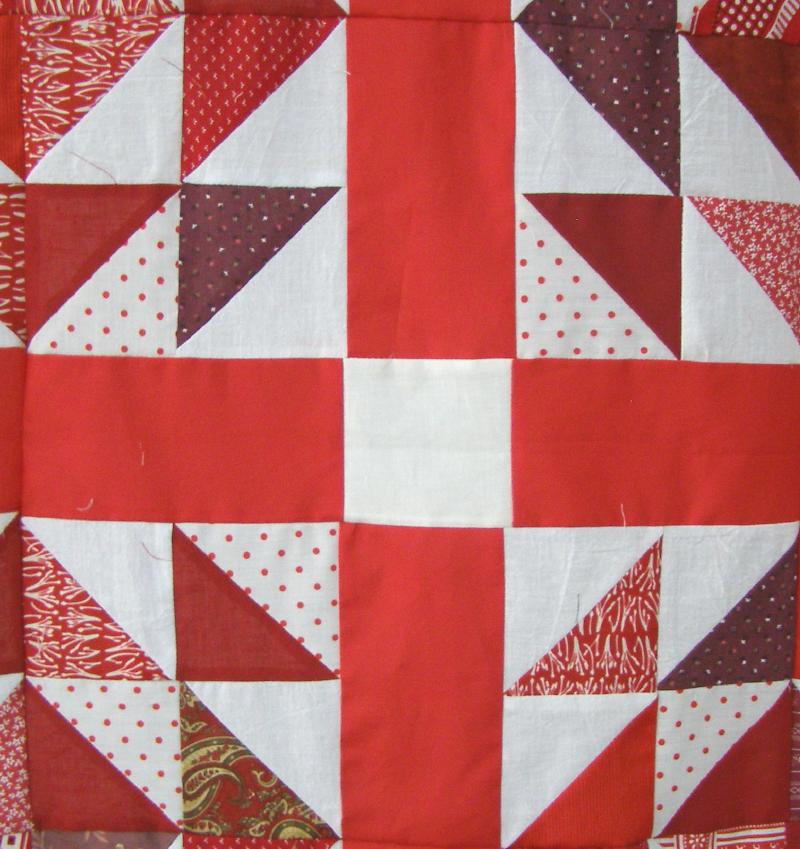
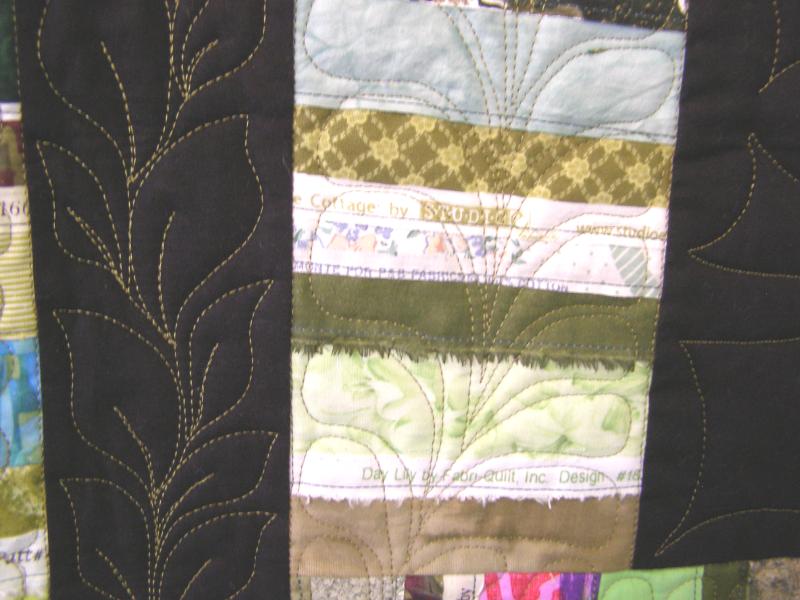
Another selvage quilt.....who is sneaking over and filling up my selvage boxes?...i can't seem to empty them. I finished piecing this on May 28, 2014. It is 73" square. 

front.jpg

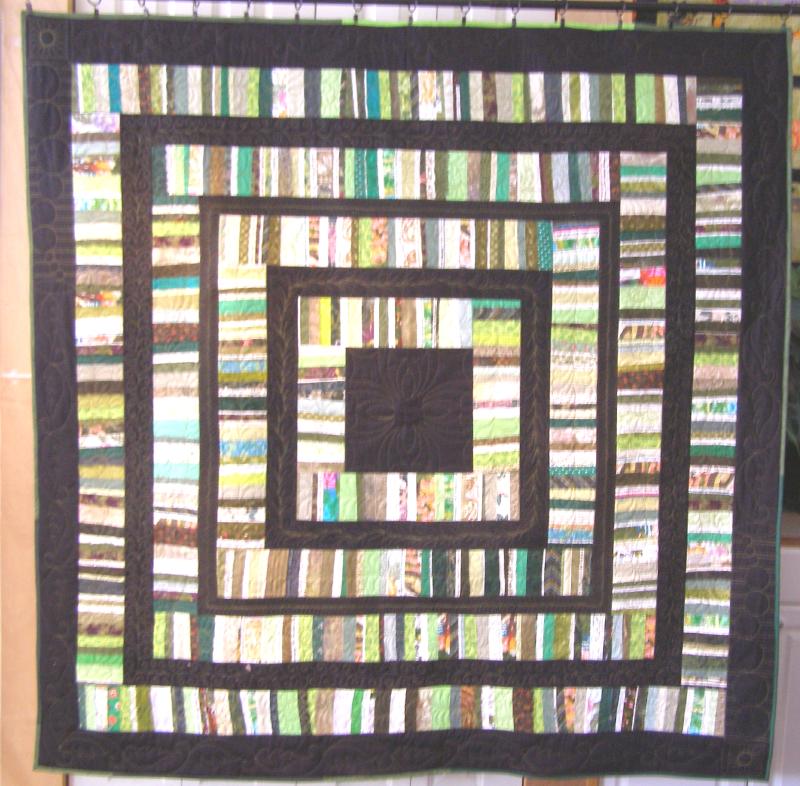
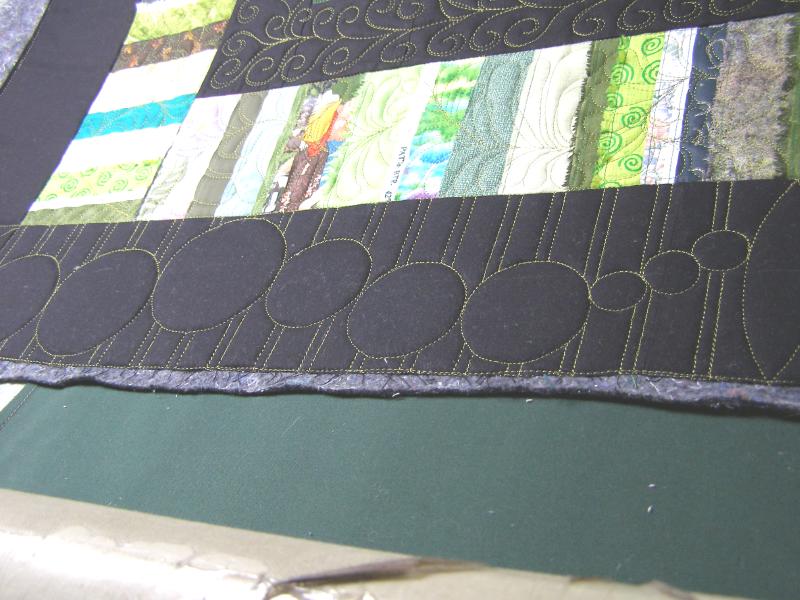
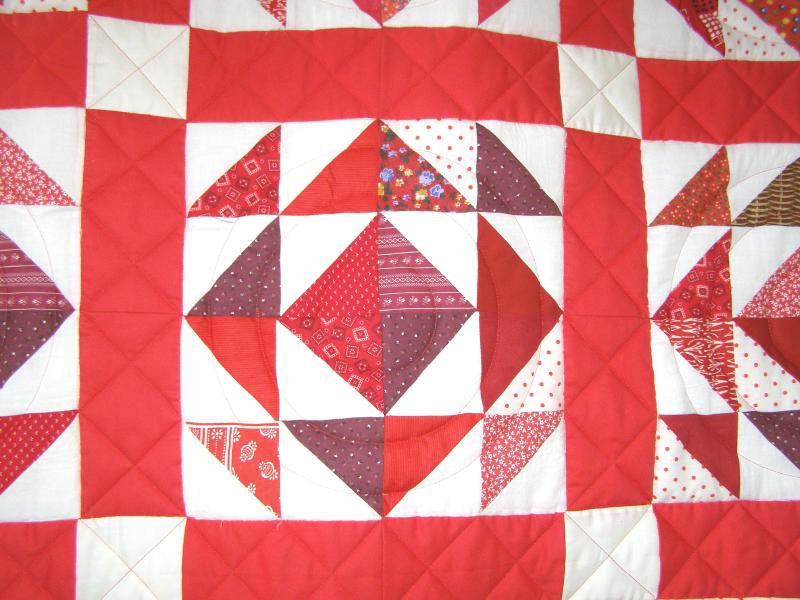
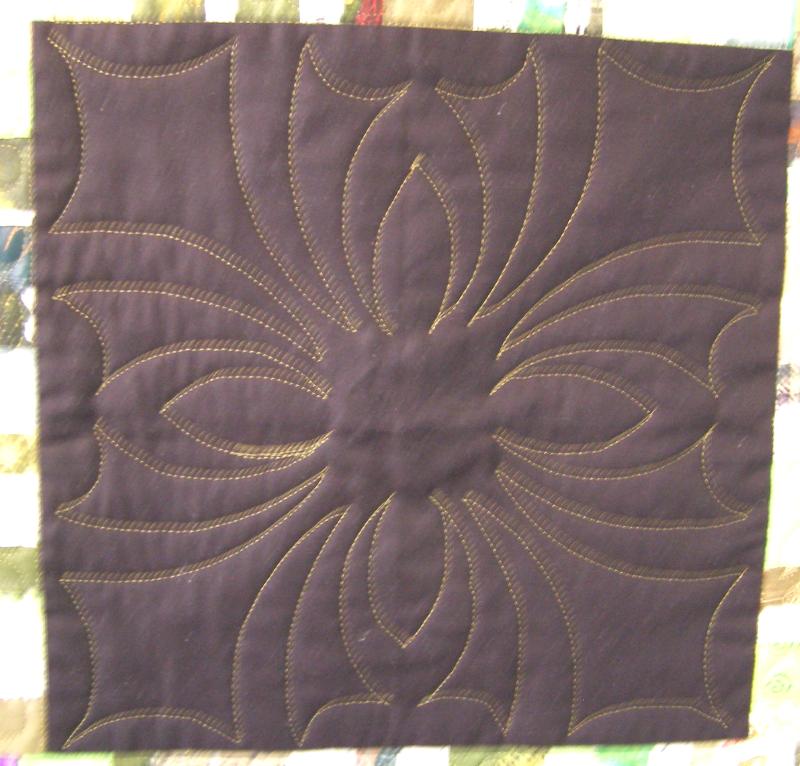
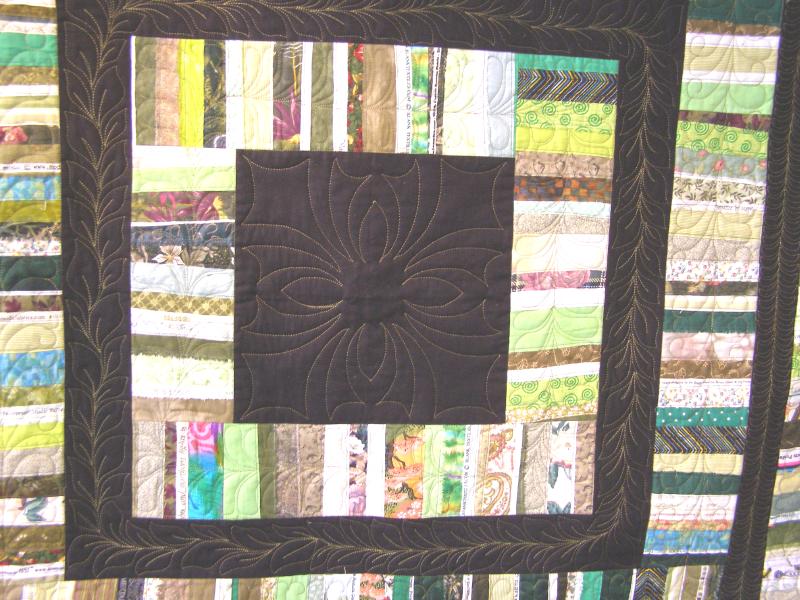
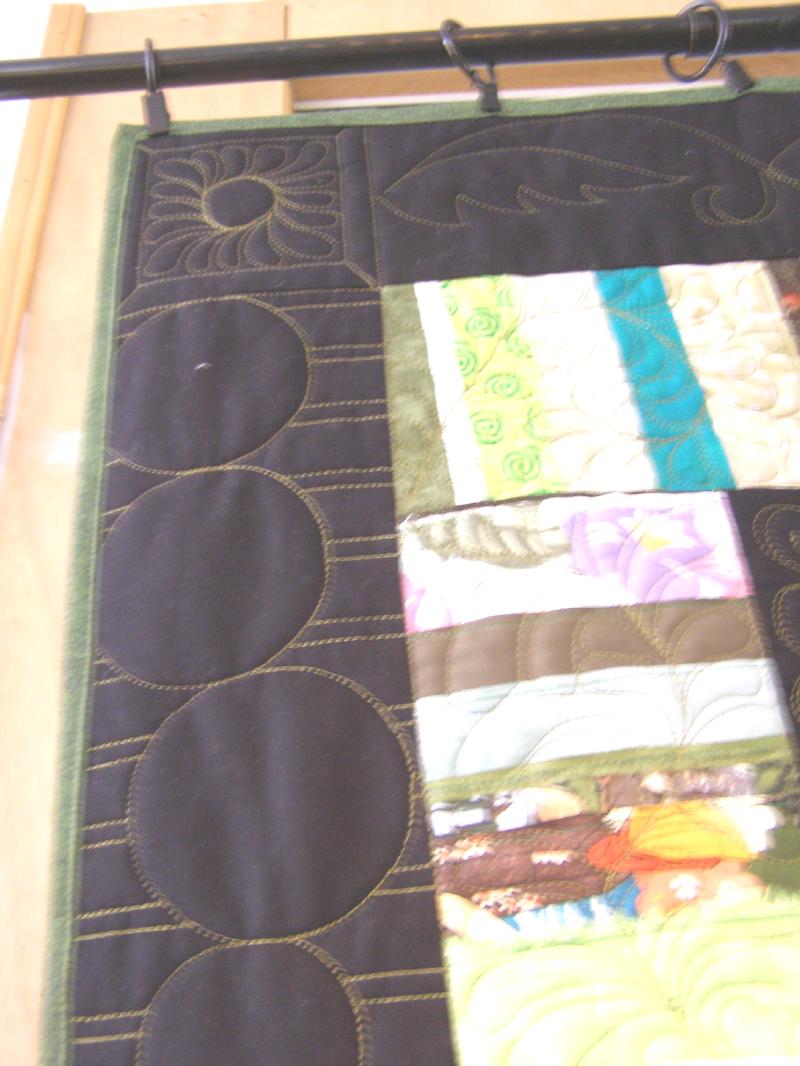
The middle is done with a spirograph like tool from the Quiltazoid people. 

center.jpg

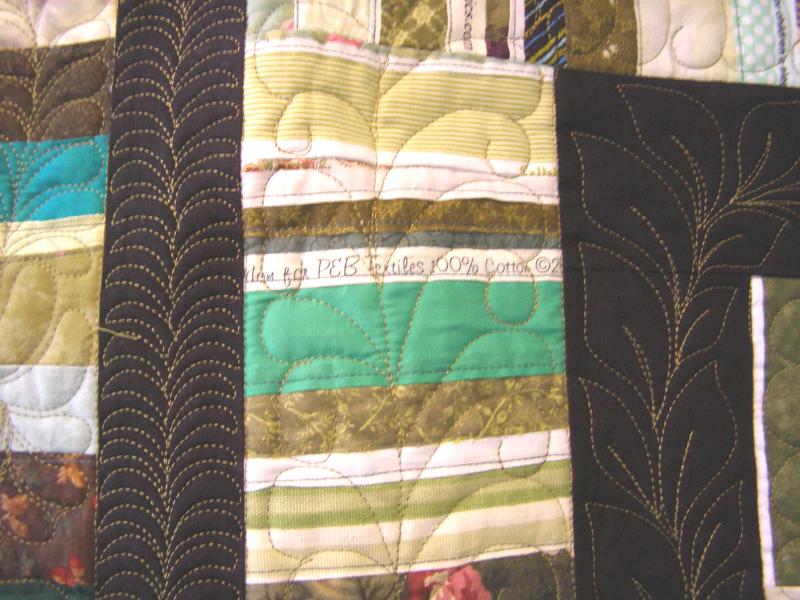
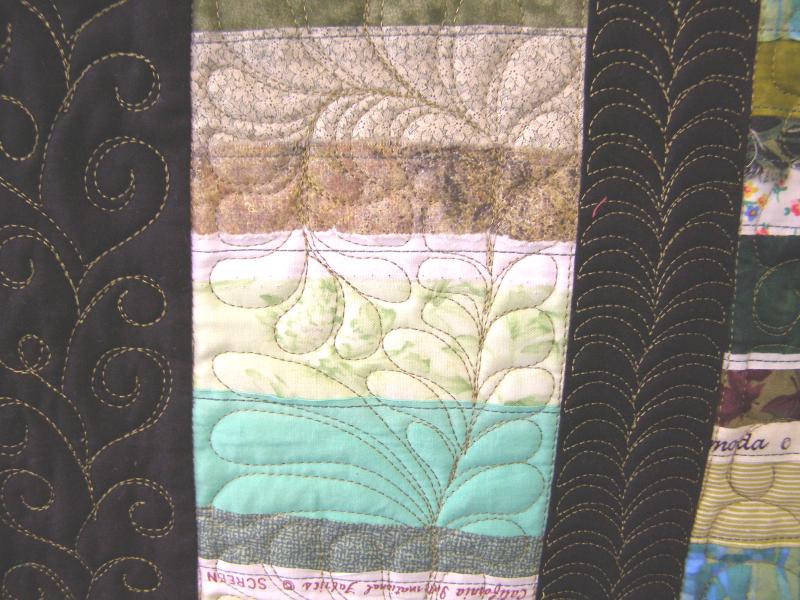
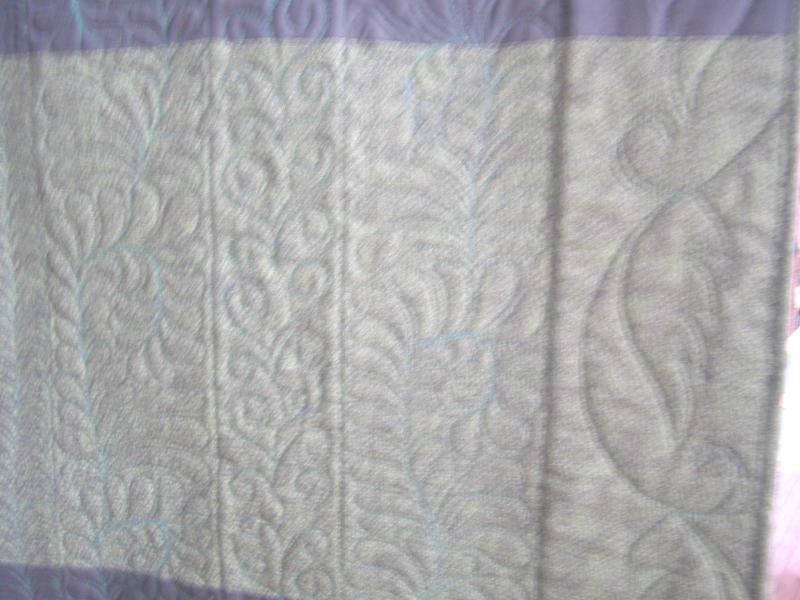
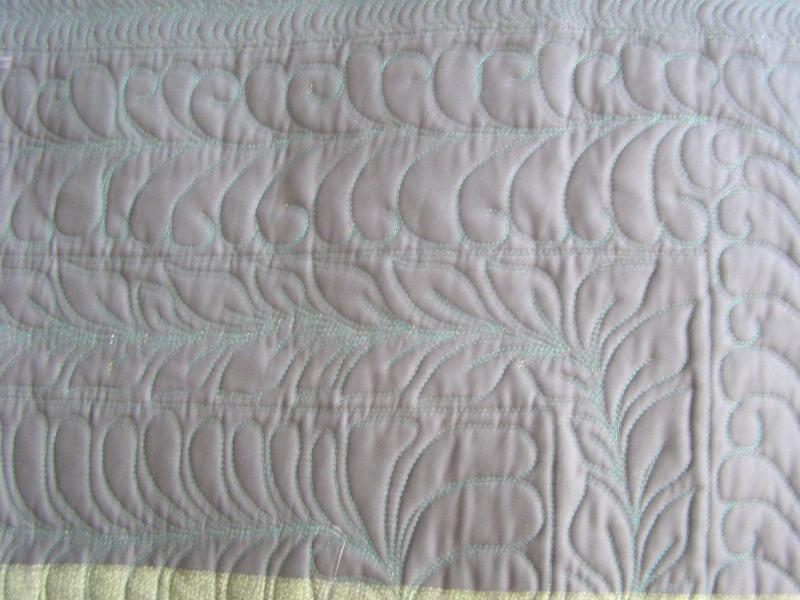
I did different feathers in each of the green rounds...and different leaves in each of the black rounds.

close.jpg

border.jpg

border 2.jpg

border 3.jpg

border 4.jpg

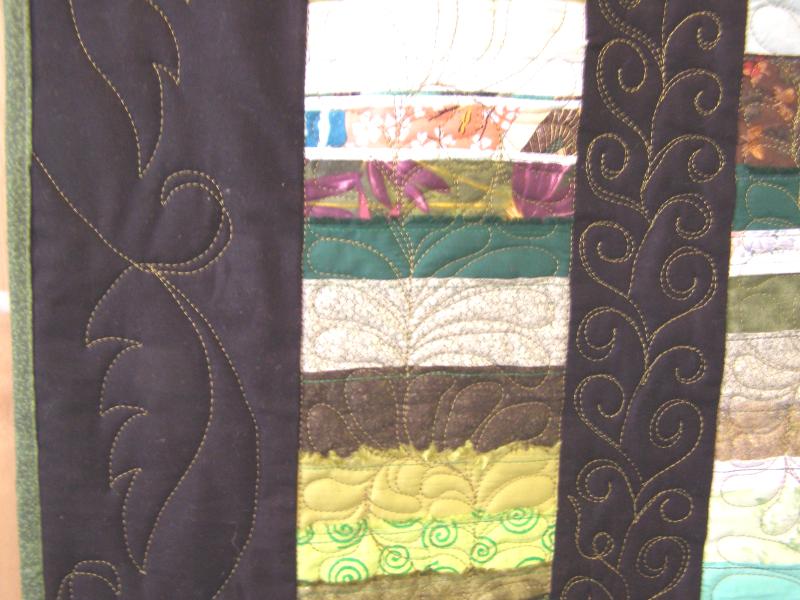
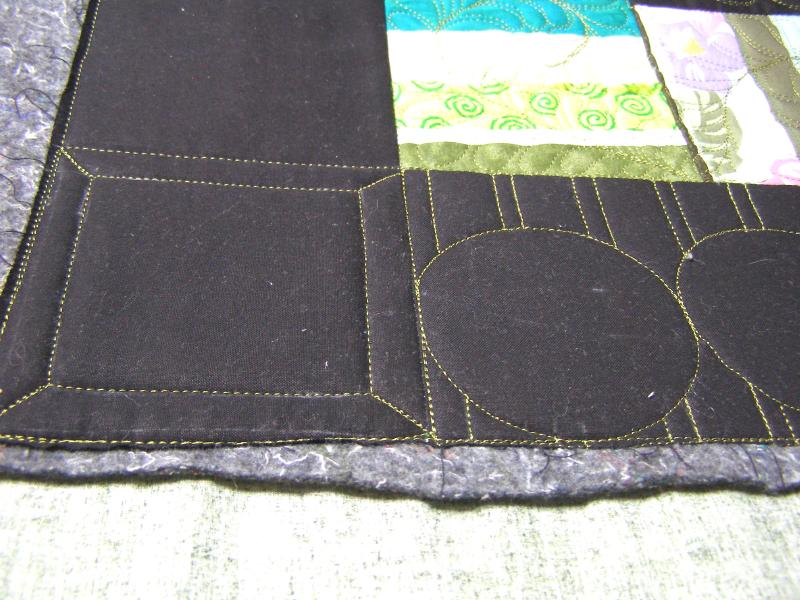
As i mentioned in a previous post, two corners got some drama because i watched a Jamie Wallen video and had to go and try it. haha

circle corner.jpg

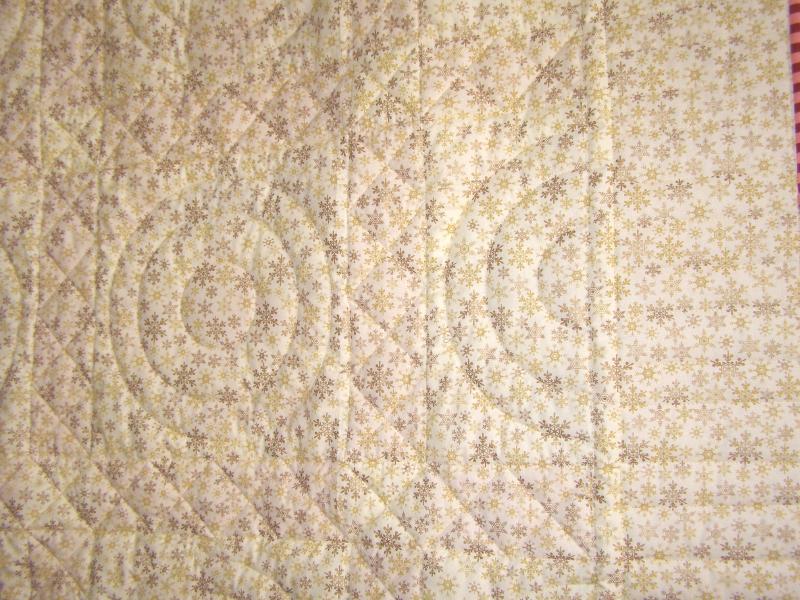
The back is pieced from green fabrics in the stash

back.jpg

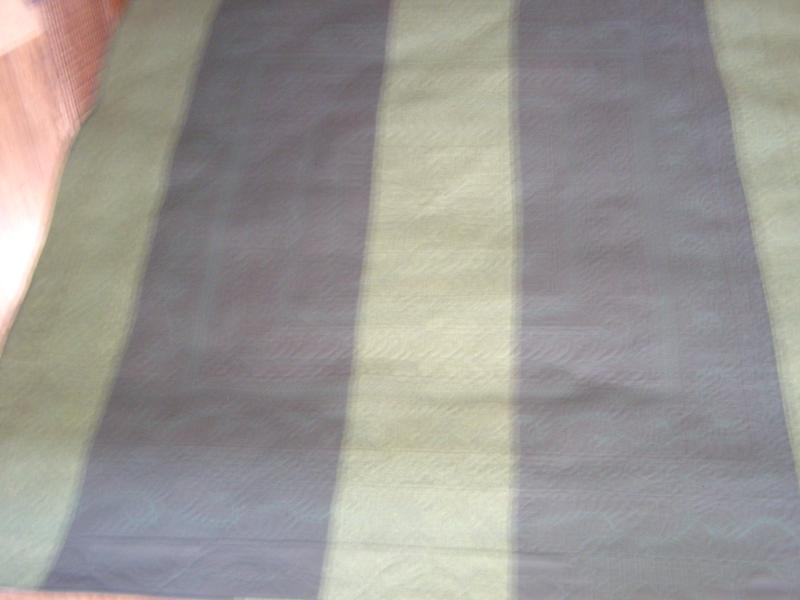
My pictures pretty much suck today...no sun...bad lighting...and inept camera person. haha

back close.jpg

back close 2.jpg

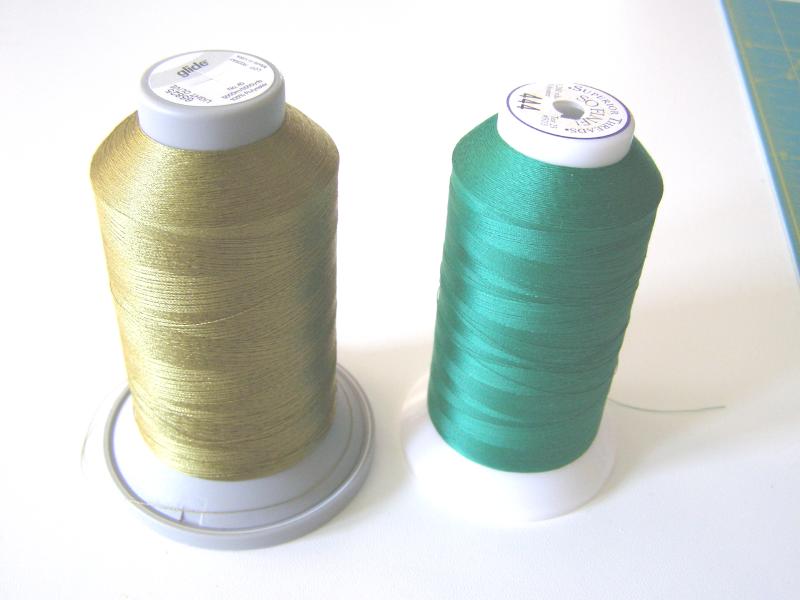
Thread used was Glide light olive for the top and So Fine bright green for the bobbin. This took 12 bobbins...sort of surprised me that it took so many, but the things i quilted were dense, so i guess that was about right.

thread.jpg

The binding is a mix of greens. most were trimmed from the back and then i added enough from the binding stash to make the length that i needed.

This one has a heavy batting in it.....plus the base piece for the selvages....and all those seams, so it has some weight to it.  good for the winter.

I think it's time to get back to leather for a while.

Monday, November 28, 2016

This is what happens....

....when you watch a Jamie Wallen video. hahahaha   this border is going to have leaves. but now, since i just HAD to try it out.....2 corners will have a bit of something from Jamie. haha   

Jamie had a 6" border and mine is only 4", so the effect is a bit different since my largest circles pretty much take up the whole space. but the idea is the same and i'm lovin' it.  

Thank you, Jamie.   i am now off to jamie's site to order the proper templates for the circles and ovals. his are much easier to use than mine.

border corner.jpg

border corner 2.jpg

border corner 3.jpg

border corner 4.jpg


Tuesday, November 22, 2016

Next graffiti project at the Duck

The only major room that doesn't have graffiti at the Duck is the main bedroom....and we can't have that, can we?  Since I still had boxes of graffiti pieces left, I gave some thought as to what to do with them. I finally decided on a 'color block' theme.  I purchased lot of wooden frames of various sizes. I will hang them on the top 4 feet of 3 walls. Some will hang vertical, some horizontal....all pretty close together. I have 19 frames finished so far....all frames will be painted black.  It might be spring by the time they all get hung, since i have to finish the walls first...and paint.  but that's ok....in the meantime I'll just keep gluing and painting frames. hahahaha

walls.jpg

The pieces hanging on the frames in the plastic bags are the pieces that will cover the screws once i get them on the wall. an innovation i just came up with

blue 1.jpg

blue purple red.jpg

green 1.jpg

green 2.jpg

green blue.jpg

orange 1.jpg

orange 2.jpg

purple 1.jpg

red 1.jpg

red 2.jpg

yellow 1.jpg

Need something graffiti'd in your house?  hahaha

Kitchen Island for the Duck ... made by my son

My son has been working on this for a few months now. I finally got it. I gave him some measurements but told him he could go a couple inches either way....it went a couple inches more on EVERY way. haha  I told him to make it funky and i liked color. once he had the basic box done, i never saw it again. when i would ask about it....he said you don't tell the artist how to paint the mona lisa.

It is a one of a kind and i guarantee you will never see another. it is 52" wide; 28" deep; 40" high 

front.jpg

There are rakes at the bottom of the doors because he says people usually close floor cabinets with their foot. 

rake bottom.jpg

The handles on the doors are deer antlers...held on by pieces of rebar.

antler handles.jpg

antlers rebar.jpg

Here it is open. inside the doors are painted green...funky

front open.jpg

There is a lazy suzan in there....made with different types and colors of wood.  the top shelf is painted purple....i told him to make it funky.

lazy susan.jpg

The bottom shelf pulls out

pull out shelf.jpg

There is a basket in the pull out shelf....held down with old fashioned can openers.

pull out shelf basket.jpg

The top is made of slabs of redwood that i got for him to make this.

top.jpg

The corners are copper...that he fashioned

top corner.jpg

And he calls these butterflies...that holds the wood together

top butterfly.jpg

I love that he used the piece with the cool knot in it

top knots.jpg

I wanted a couple shelves on the side for cookbooks...check...has funky red metal holding them up. i love that he left the metal unpainted and just as it was. he says the metal pieces were from an old horse and buggy wagon

cook books side.jpg

I requested spice racks for the other side...check....very fancy. the handles are from silverware...both sides have handles

spice rack side.jpg

He cut out all the decorations freehand; his wife designed them. There is red metal around them, with large springs...he said those are just for fun. but you could put your foot on the rack on the bottom to help push it if you wanted to. that baby is heavy.

spice racks.jpg

And he had to put his name on one of them. haha   i told him i thought artists usually signed things down in a corner....smallish.  he just laughed

name.jpg

There is a towel rack on the back. you unscrew one side and slide on your towels. there is also room for a dish towel to hang.

towel rack.jpg

The ends of the towel racks have little horseshoes....and fancy knobs with Texas stars.

towel rack ends.jpg

The bottom has red locking wheels. This was so awesome, when i saw it i cried. he took a video...i hope that does not wind up on facebook. hahaha

I am loving my kitchen island.....that boy can do funky, can't he?

Attached Images

  • spice rack slide out.jpg

Tuesday, November 15, 2016

HSTeria II .... red and white

This was pieced back in May, 2014. Vicki Welsh was having a quilt along using HSTs and you know I had to join in....I wound up making 5 HST tops....and I'm not really a fan of HSTs. I guess i was using up a bunch of fabrics.

Here is the red and white one. It came out about 74x88". I quilted minimally on this one. the batting is very fluffy.

front.jpg

This is the original block

original block.jpg

This is the secondary pattern. I quilted 3 circles in the blocks

block 2.jpg

Border got piano keys; sashings got Xs; binding is a red and pink stripe

border and binding.jpg

Back came from the stash

back.jpg

Thread was Glide red for the top and Bottom Line tan for the bobbin

thread.jpg

There are still a couple more of the HST tops in the to-be-quilted cabinet...different colors.

Search This Blog