Tuesday, September 21, 2021

Van Gogh Iris

 What a difference it makes when you learn the tricks. 

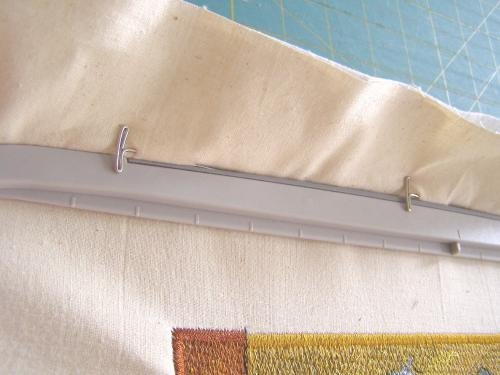
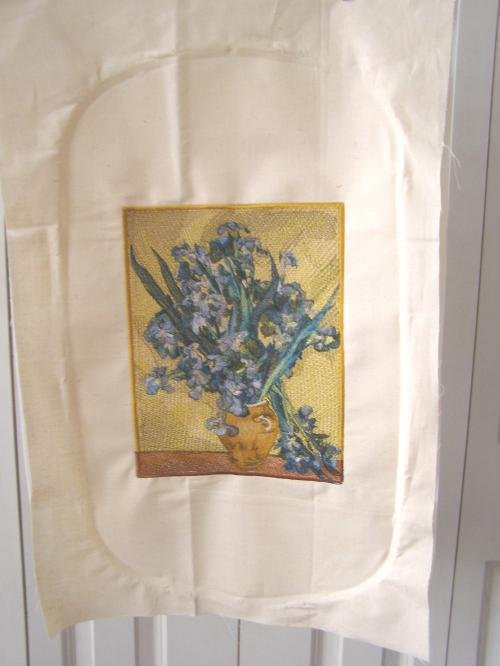
My sister got another design for me to embroider for her....Van Gogh's Iris.  It went off without a hitch. And look how straight and even that is. Look at those T pins around the frame....that is the trick.

done.jpg.a55a94a655499ce9e1ac96060a48bc55.jpg

It's quite a trick in itself to get those suckers in there.

2049102852_pin2.jpg.fb11880930778d7c4e157c9240dd98dc.jpg

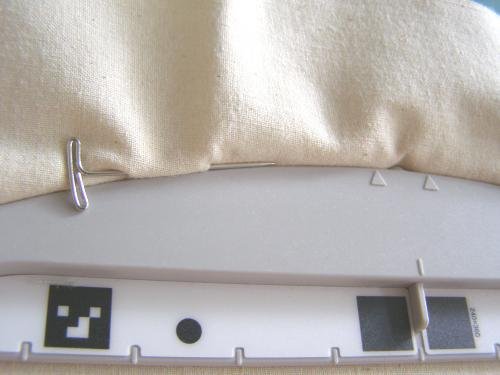
I put 3 on each long side and 2 on each short side of the frame.

pin.jpg.d9b86c9c3c962259748679d7f2f45a5d.jpg

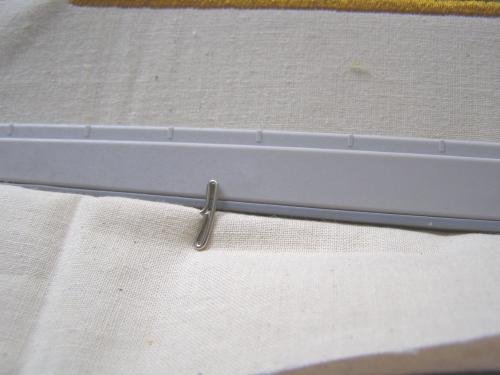
The pins are fatter than regular pins, put the "T" helps keep the fabric and stabilizer from pulling out of the frame.

pin3.jpg.0ad263d16cc43bd4867dc42cc75d5356.jpg

35 color changes....4 1/2 hours to stitch. This one is 8x10"

bottom.jpg.c3146d0cdd02e983d529096e159cdd90.jpg


top.jpg.3d651b6a6cc20490269bcd66543930cd.jpg

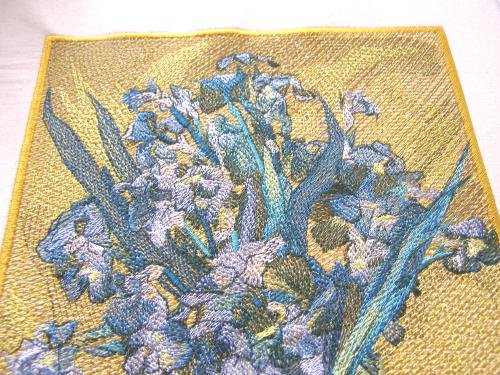
Even after taking it out of the frame, it still is straight and not puckery. You can be sure I will remember this when embroidering large designs.

2073350672_outofframe.jpg.08ab93c258964be0536cd3c16609835f.jpg


Thank you, Sandy for the video by John Deere with the T pin trick. You are my new best friend. haha

Van Gogh Sunfloweres

 My sister bought this design and had me embroider it for her.  i enlarged it from 8x10 to 9x12 so she could frame it and hang it on her wall. 

It took 5 hours to embroider and used 5 bobbins of 90 weight thread. There were 18 different colors and 35 thread changes.

pic.jpg.3d0aae90b161515e63b10a07f3cdb277.jpg

It took 2 hours just to embroider the background. 

1.jpg.dc940bb80c6a0a851d82c490c277bfa0.jpg

I hope she likes it....I'm sure she will. 

2.jpg.b48460b42357d1a77844a688f531b0e3.jpg

I used the original colors called for in the design. wonder why Van Gogh made that one sunflower blue in the middle.

3.jpg.22c945e55ad2fc39dae258cb0e7cdaf3.jpg

The only thing I don't like about large designs is that you can never keep it tight enough in the frame to prevent it from moving with such dense stitching. the larger the frame, the harder it is to keep straight. 

I used a heavy stabilizer and a heavier than normal cotton fabric.

I'm going to visit Friday, so she'll get it then. I'm going to make her wait to see it. haha

Friday, September 10, 2021

You have not sewed.....

 ...until you have made a doll purse.  a 2" x 3" cross body purse.....with 3 pockets....and box pleats.  A little hint....when the instructions cover almost 30 pages.....it's going to be a ......... (supply your own word). haha

The finished purse.  And...it is lined, too.

purse.jpg.c1a045d5106dffeb10fa371d45242f76.jpg

Front pocket under the flap....with a little pleat on the bottom....and an elastic top.

71486574_flappocket.jpg.0096d324ab20ec0e312cecdeb1d91375.jpg

Open the flap to another pocket on the front of the purse.

2118765653_frontpocket.jpg.f4fcac8c33c486e34a59d2181273079e.jpg

And then...inside is another wee pocket on the back side. 

inside.jpg.a624af58c2cd295f0a6e525f4c62540b.jpg


But, I know Norah will love it. But....bless my heart....there are 2 dolls....and I KNOW she will say where is a purse for the other doll.  So, I will make another one....but....it won't have box pleats....or elastic in that front pocket.  Hell, I just had an idea. If i fuse the lining to the front fabric, I won't have to do a lining separately.....because....at the end....you STUFF the whole purse, handle and all, into the little lining and sew around the top.

Well, that does not work with pins, so i hand sewed it down...took out the pins....then sewed it by machine.   then.....turn that sucker out through a 1.5" hole in the lining to get it right side out. all of a sudden, that 2" purse seems like a 6" purse. hahahha

I'm gonna do some mindless sewing before I tackle the second one.

Search This Blog