Tuesday, January 10, 2017

My poor fingers

I am making a quilt with women all over to celebrate 150 women who made Canada what it is today. It is along with the 150th birthday of Canada.

Every week, we get the patterns for 3 blocks....we are in week 9.  The first 8 weeks the blocks were 9 patches....blocks are 6" finished.

This week....things got smaller....blocks are now 16 patches.  There is a loooong way to go to 150 blocks. wonder how small things will get.  All blocks are red and white fabrics....with a sashing piece added to the right side.


Sunday, January 8, 2017

Canada donation quilts

I found a site...somewhere....where folks were making quilts for the Ronald McDonald house in Canada. you know i always like to join in. 

The specs were....
...You used a piece of the Oh Canada fabric in each block. this fabric celebrates Canada's 150th anniversary. several manufacturers are making it
...Blocks are to be 12" finished
...You can send blocks....in sets of 12 or 24. 
...You can send tops....set 3x4 .... or 4x6
...You can send quilts

I bought 2 yards of the moose fabric. it was just moose...and little maple leaves...scattered all over the fabric. it made it a bit challenging to cut out the moose.

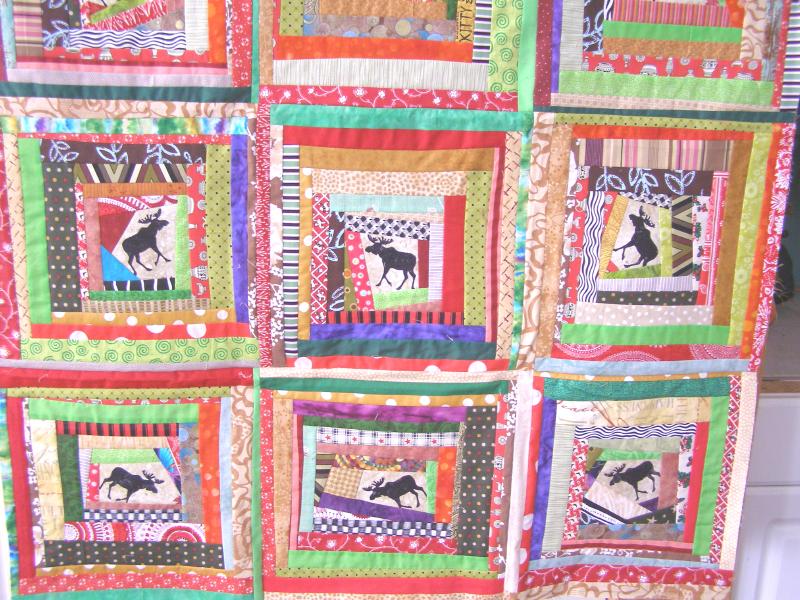
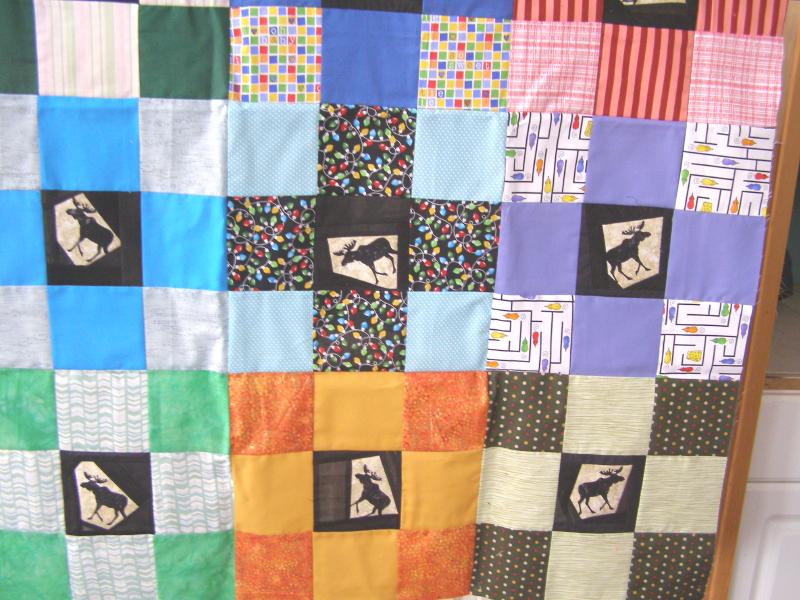
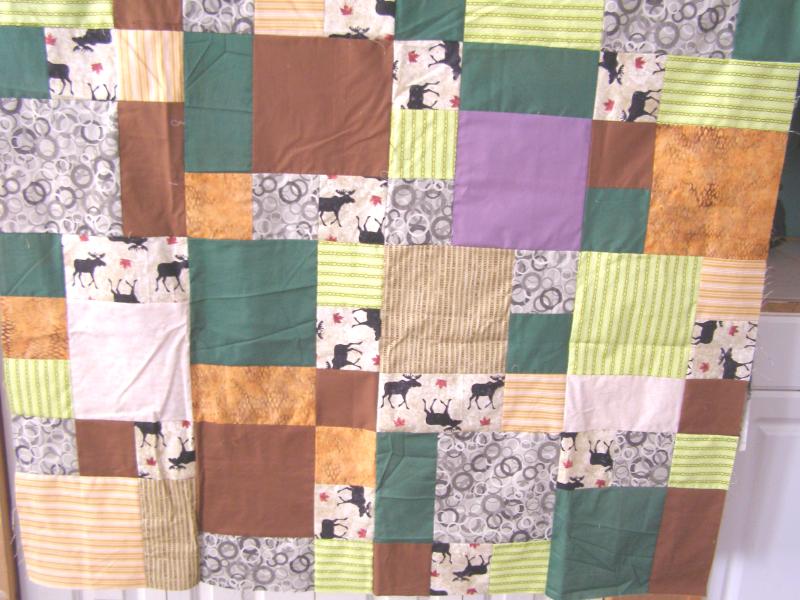
I made 2 large tops and 4 small ones. here are the small ones. they are just thrown over the hanger, so you are seeing about half of them. these are the ones that are 3x4 blocks.

One in lighter colors

sm light colors.jpg

One in brights

sm brights.jpg

Tried a 9 patch

sm 9 patch.jpg

And an off center one

sm 2 sides same.jpg

I was getting tired of those moose by now. haha    so i did a large one with the take 5 pattern. i have the die to cut these, so it went quickly...and used up more moose   (mooses?)  

lg take 5.jpg

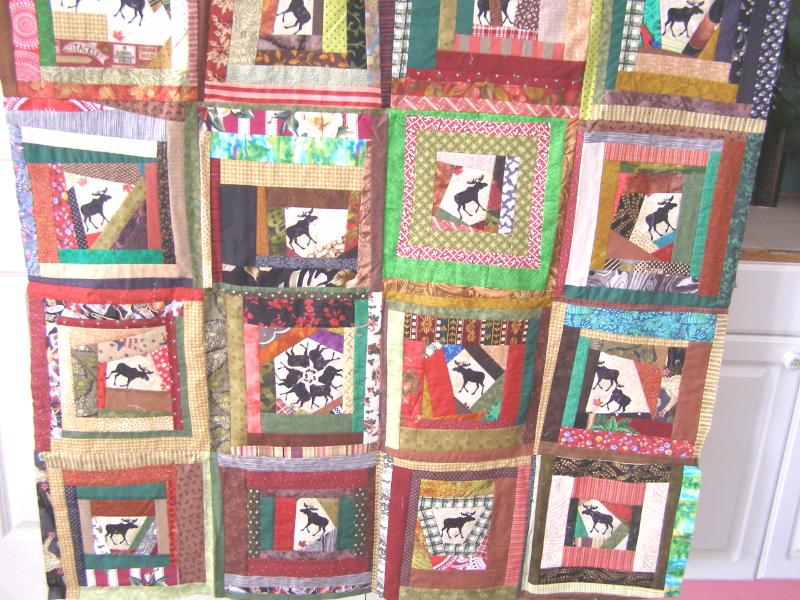
This is the first one i did...a large one...with darker fabrics

lg darks.jpg

The edge of the fabric had moose cut off...so, i didn't want to waste any mooses....had a little moose fun

moose block fun 1.jpg

More moose fun

moose block fun 2.jpg

I will get these all in the mail tomorrow. it took me about a month to piece them all. i hope they get lots of tops. i think their goal was 1000...don't really remember.  but they are accepting blocks, tops and quilts until the end of May, 2017. so, if you feel so inclined, go buy some Oh Canada fabric and do your part.

Things get mailed to:

Leslie Whitby
2895 Almonte Rd
Carp ON
KOA  1L0

Canada has such strange addresses. 

Saturday, January 7, 2017

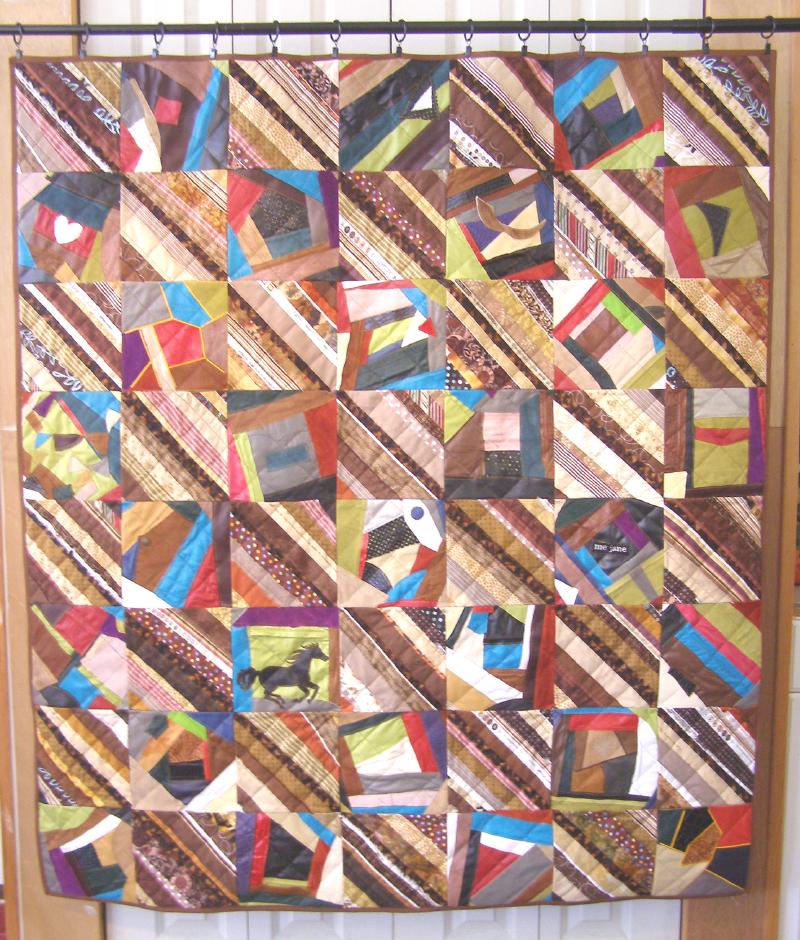
Leather quilt... with brown selvage blocks

Well, it didn't stay a UFO for long....about a week. haha    I just had to quilt it and see how it worked.

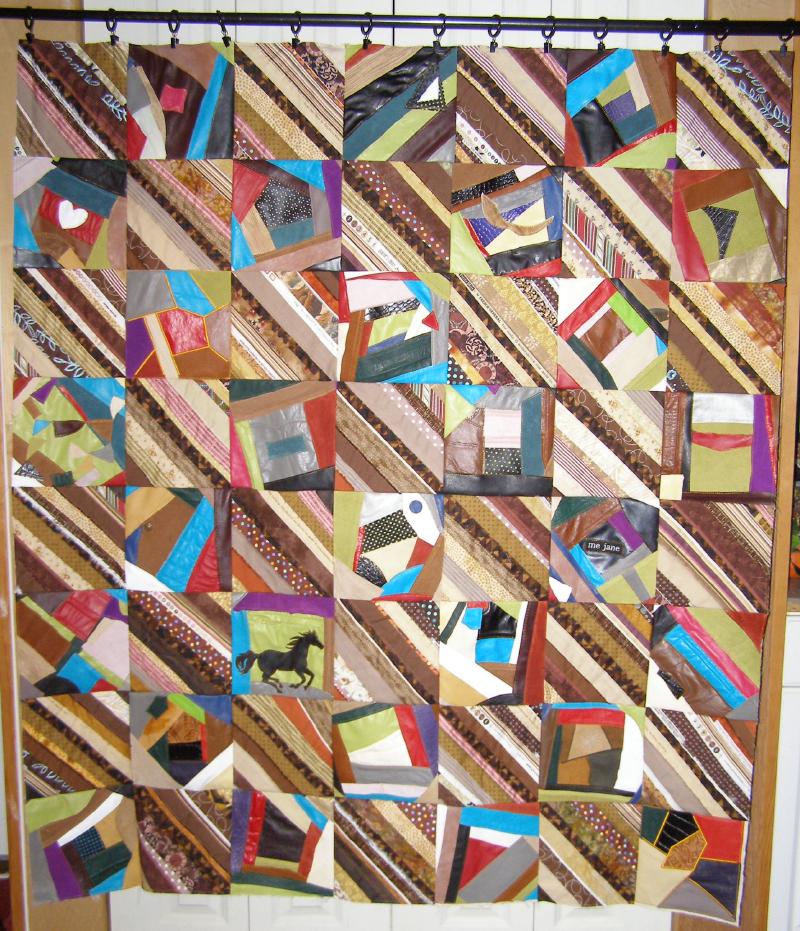
Is 55x63....and pretty heavy. Crazy quilt style leather blocks alternated with brown selvage blocks.

front.jpg

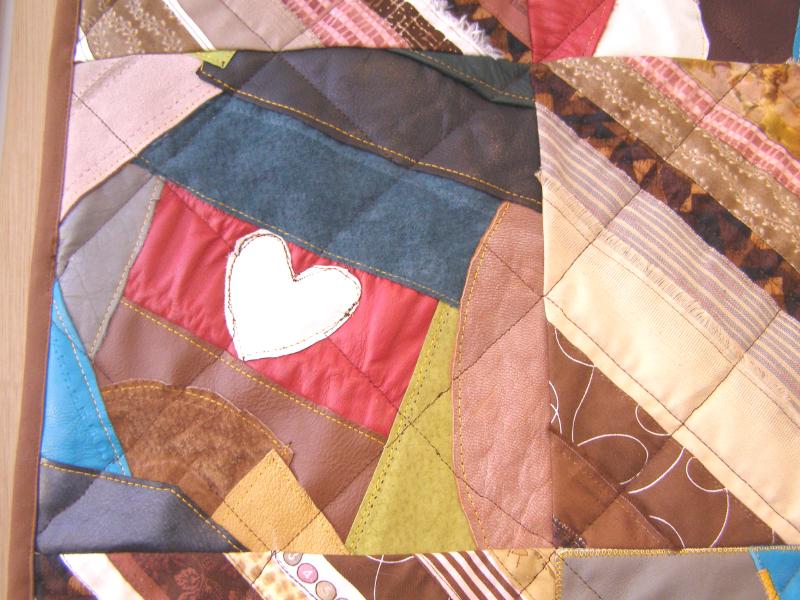
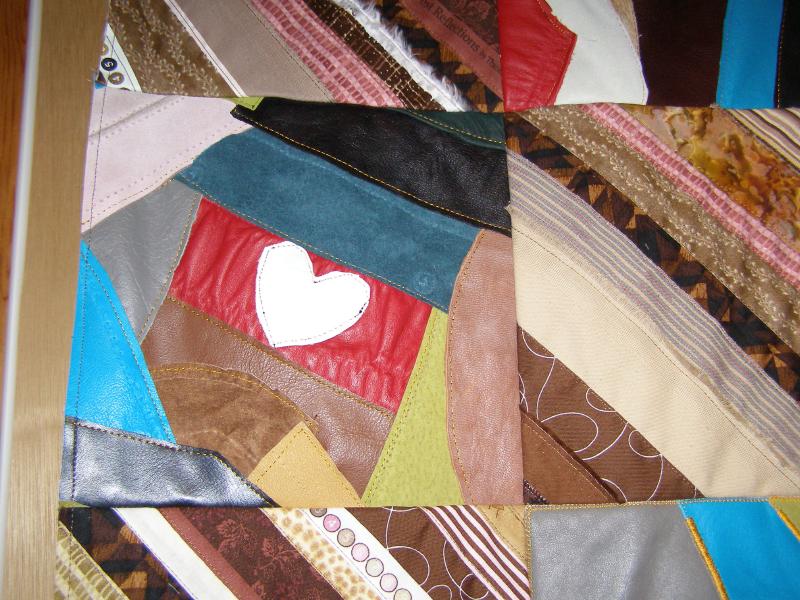
I quilted a Large X across each block....and then went back and quilted a diamond in each block....from the center of each edge. it looks like giant cross hatching.  I couldn't stitch over the heart...i went around it. haha

heart.jpg

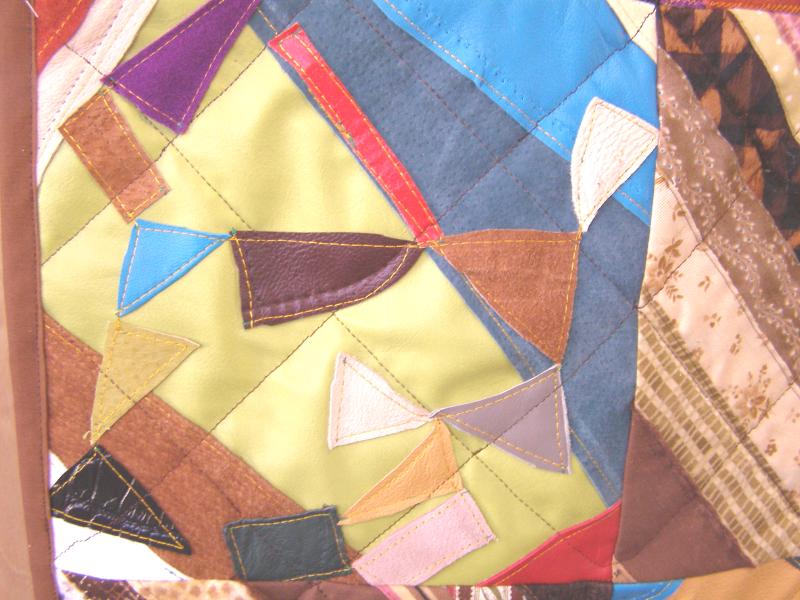
I can give you advice of what happened to me and you can file the info for later in case you want to try leather. although the idea was cool (i thought), when doing the actual quilting....even though the blocks are alternated....some of the intersections were too thick for my needle to go through. so, i just sort of went around it. look at the bottom right corner of this block.  there are several of them like that.

pieces and inter.jpg

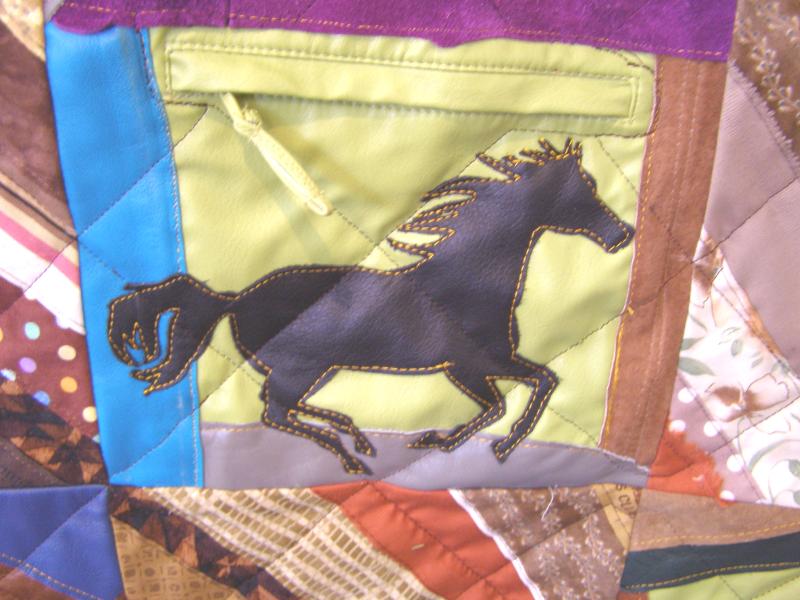
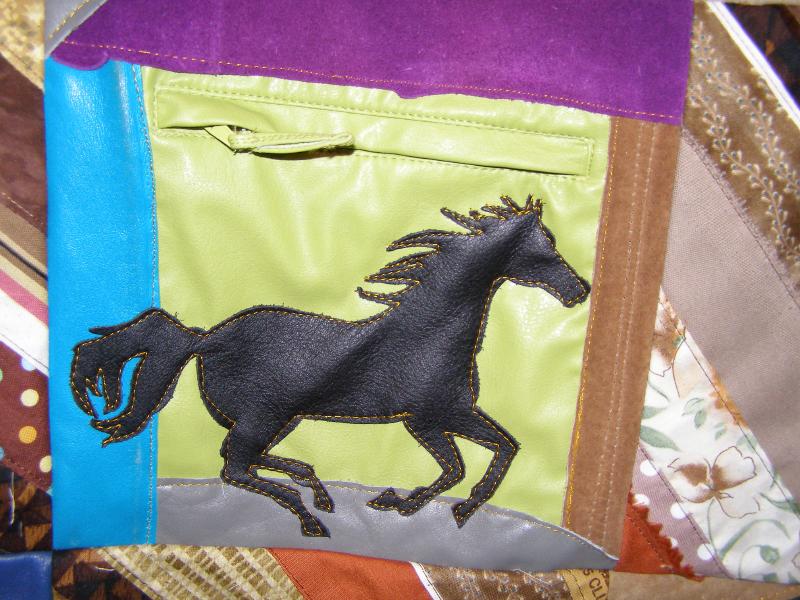
And although the horse on the pocket....with the zipper intact...was cool....it was another roadblock for quilting. I went around the zipper and didn't even attempt to sew through it.

horse.jpg

Another fat intersection on the bottom right.

intersection bottom right.jpg

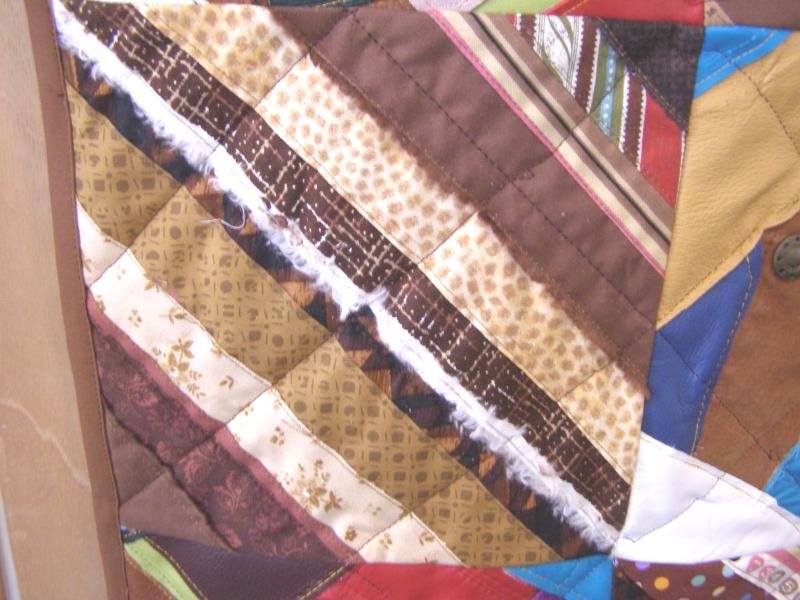
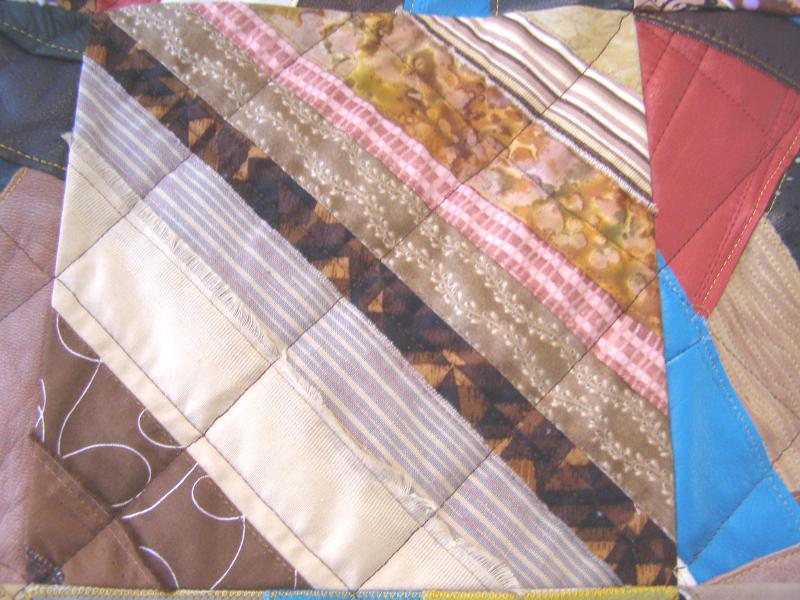
I didn't have issues with the selvage blocks.

selvage block 1.jpg

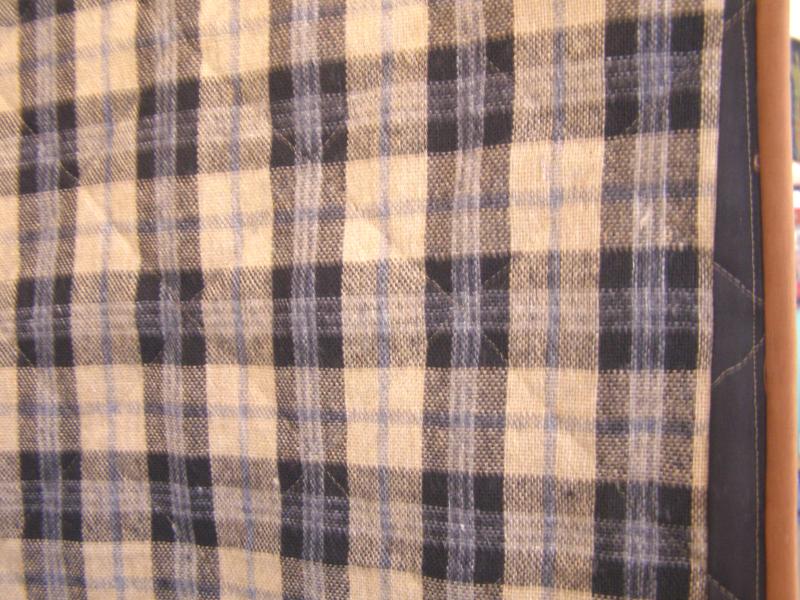
The back is a piece of black, gray and brown plaid wool that i found in the stash. it was about 2 inches too narrow, so i sewed a strip of black fabric on each side. once it was quilted, one side was in the binding and you didn't see it...the other side shows a bit. but it isn't really all that noticeable.

back close.jpg

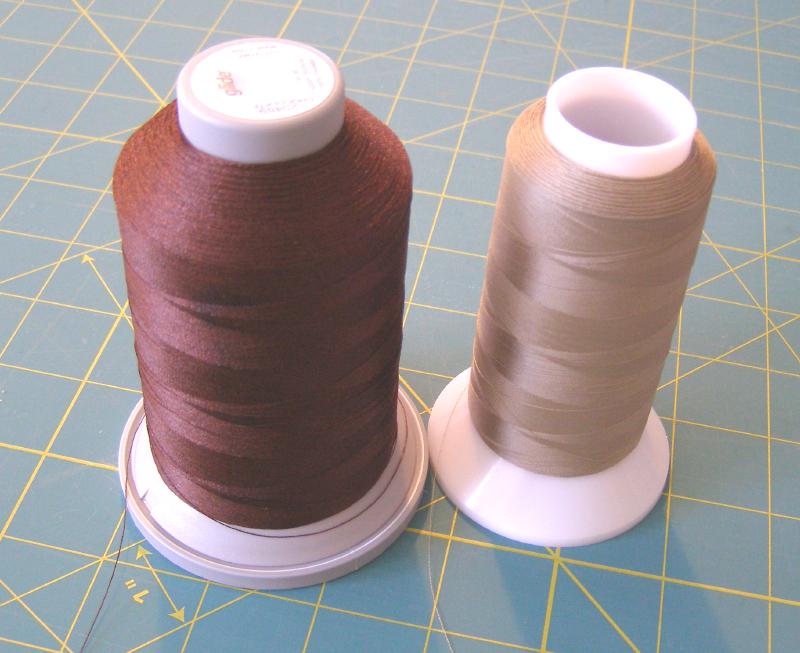
Thread was a dark brown Glide for the top and Bottom Line Taupe for the bobbin. 

thread.jpg

I thought about putting a border on it....but, a fabric border i thought would be too thin for the thickness of the blocks. and a leather border was out of the question. i considered a selvage border...but got lazy and didn't want to do all that. so, the solution was to just cut the binding a bit wider...i used 2.5"....and it worked just fine to go over the leather blocks. 

First UFO of 2017....haha

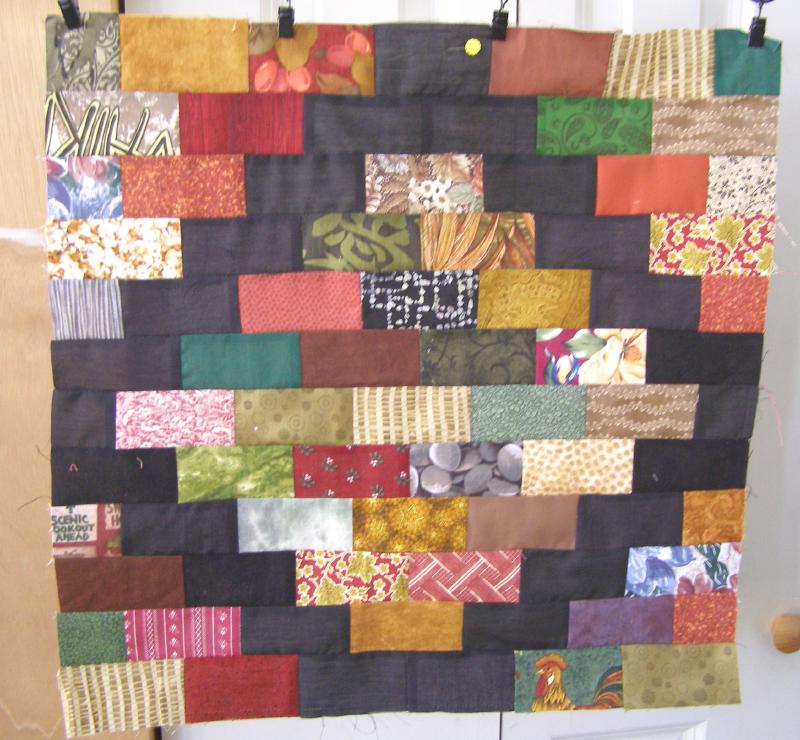
I saw this on Facebook and knew I wanted to make it. so, I made one block...and will put it in a UFO box..along with simple directions and I can pick it up later. I have a few things to finish up first before i tackle this. 

block 1.jpg

But it is a great scrap buster. and you can make as many or as few blocks as you would like. the pin is in there to remind me that is the top. 

In case you want to try...the rectangles are cut 2" x 3.5"..simple.  End squares on every other row are cut 2".  couldn't be simpler. 

the original pattern had white where my black is...the one on FB had black...and i liked the black better.

Wednesday, January 4, 2017

The Wild West ... in leather

This is my second finish from my to-do list for January...2 more to go.

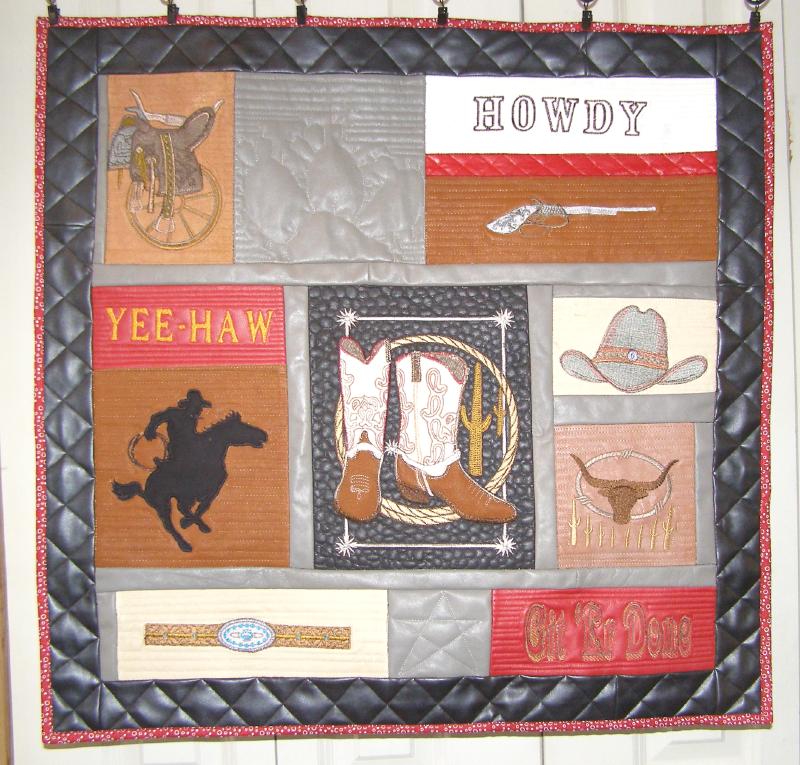
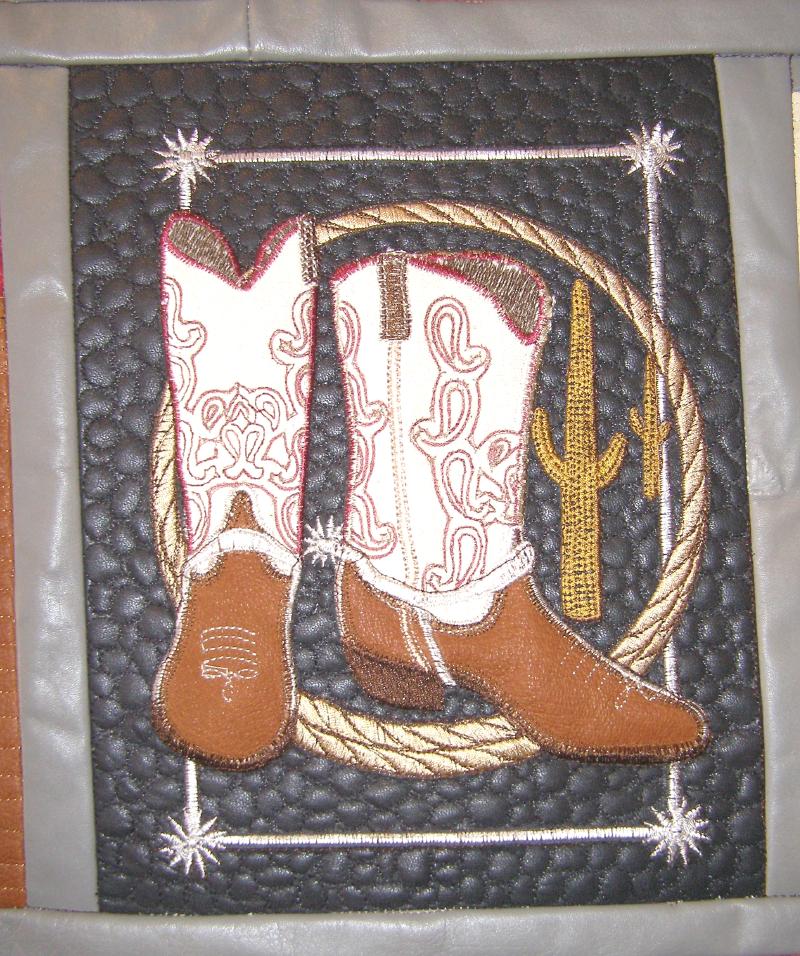
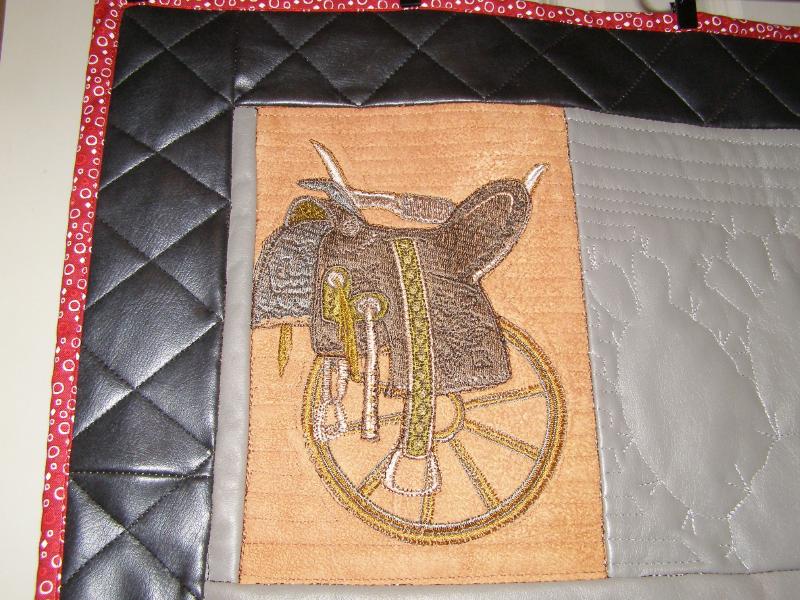
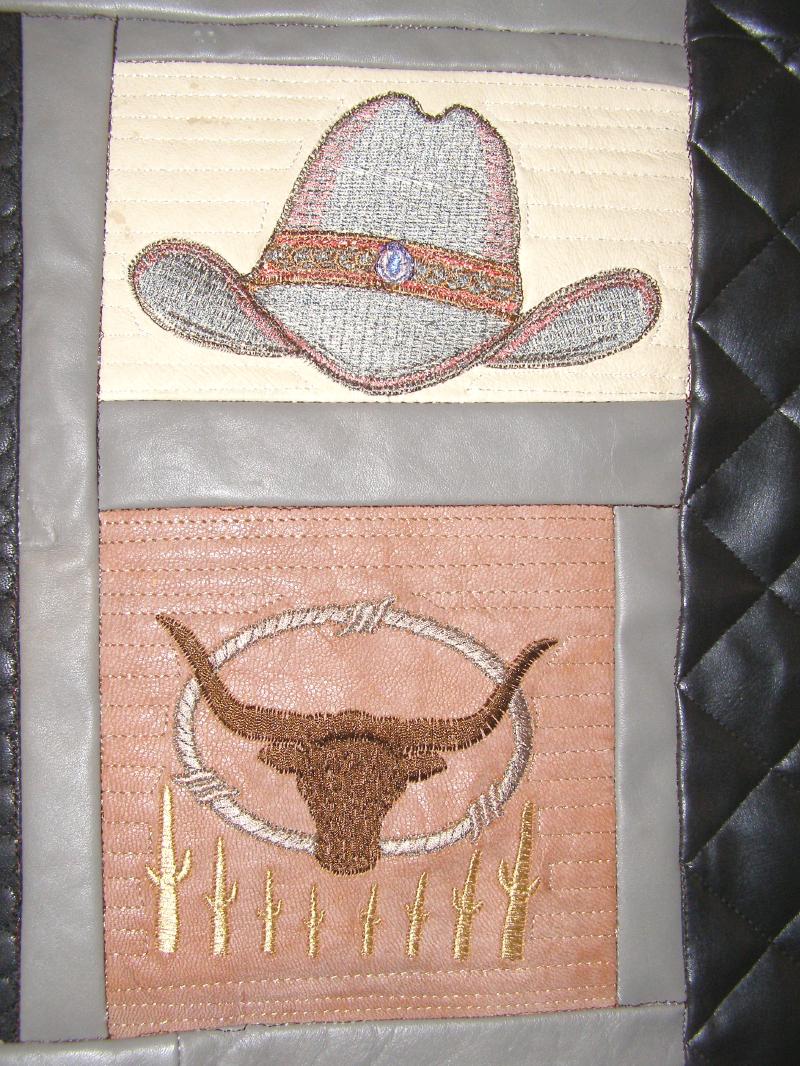
An all leather quilt...except for back and binding. All blocks except the two gray ones are machine embroidered. Size is 28" wide and 27.5" high.

front.jpg

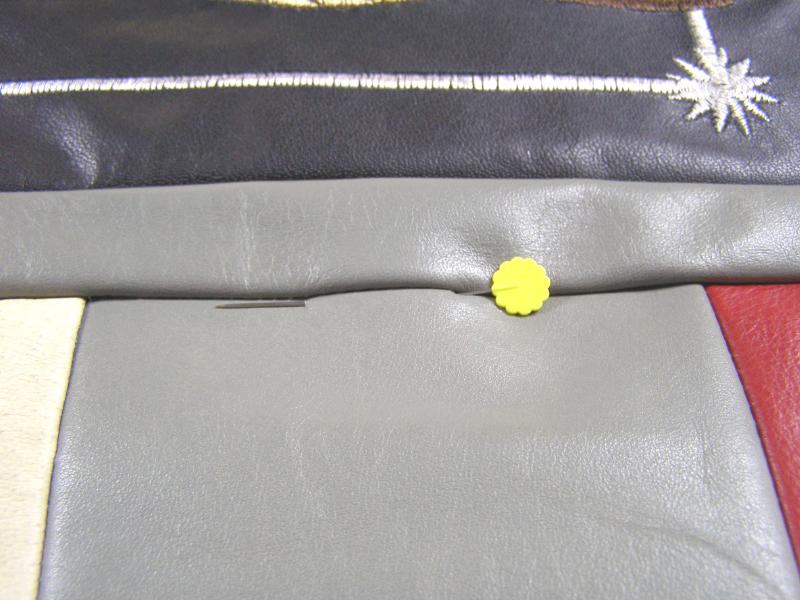
You can treat leather exactly like fabric...even in the pinning. you just have to pin in the seams or on the edges.

pin seam.jpg

pin edge.jpg

The embroidery machine does a pretty good job on the leather. if it is a thin and stretchy leather, i learned to fuse a piece of stabilizer behind it.

boots.jpg

saddle.jpg

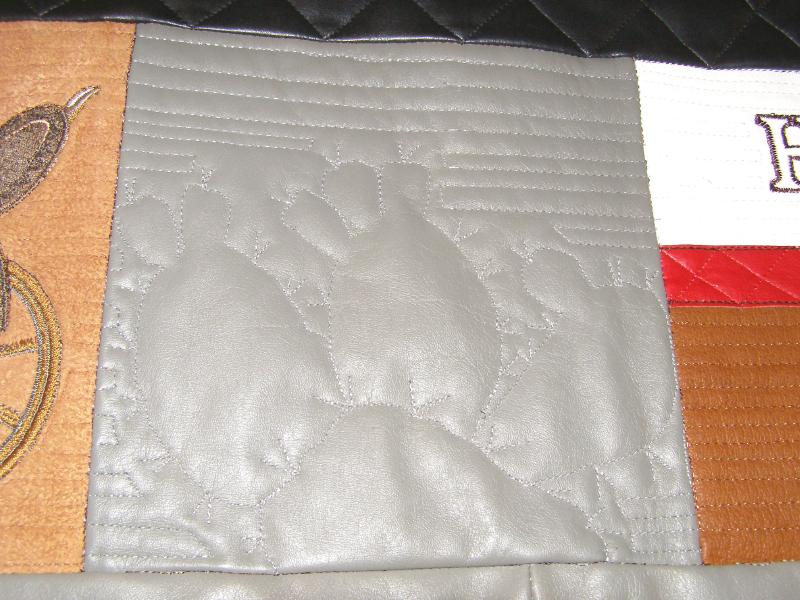
I found a picture of cactus and manipulated it to fit in the space...almost.

cactus.jpg

howdy.jpg

The cowboy on the horse is an applique done on the embroidery machine

yeehaw applique.jpg

hat and horns.jpg

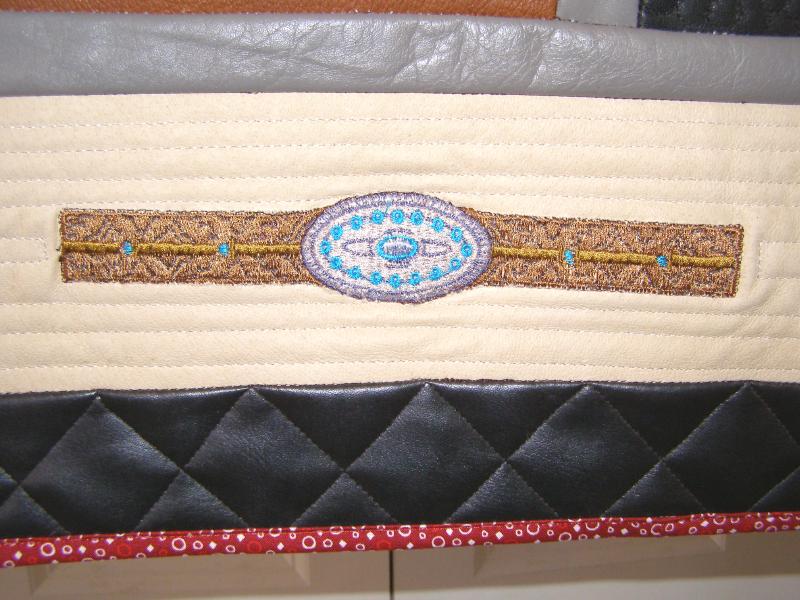
belt.jpg

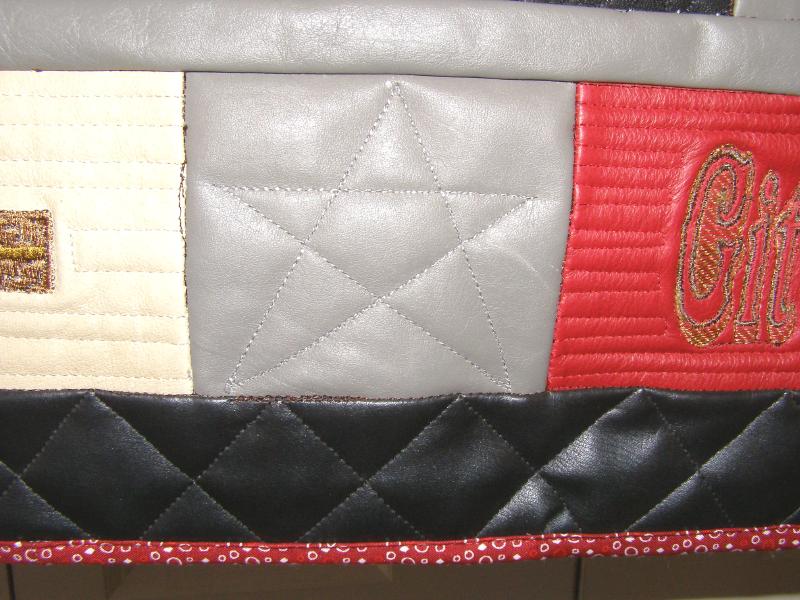
The gray blocks were fillers to make things fit. 

star.jpg

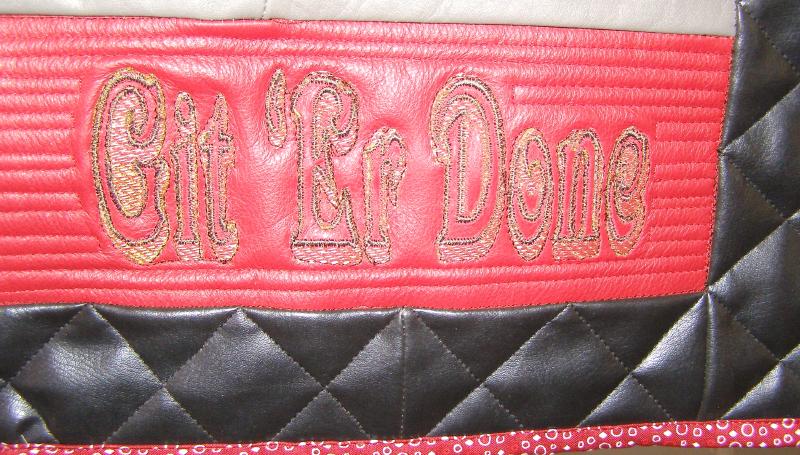
Git er done.jpg

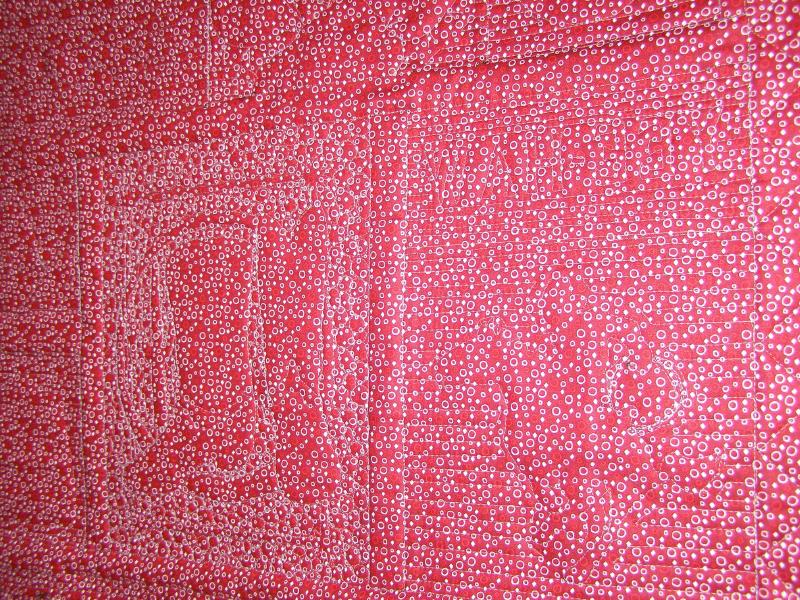
Back was a red with dots from the stash. I had been saving this for years....i guess i was saving it for this. haha

back.jpg

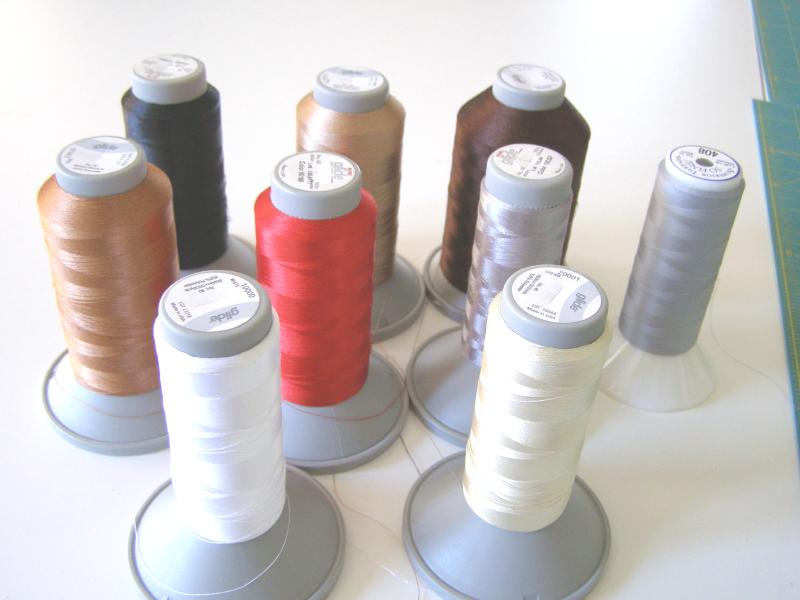
Threads were Glide...black, red, 3 different browns, silver, cream and white. Bobbin was So Fine gray

thread.jpg

This quilted up so easily and gave me no problems. Well, that gray leather is a bit thicker and harder to manipulate. doing the SID around those sashings was a bit challenging. you will see a few boo-boos here and there.

But it was fun. I keep telling you....try leather. ... you might like it.

Monday, January 2, 2017

Embroidery stabilizer dilemma -- solved!

If you own an embroidery machine...then you know what I am talking about here. And if you have already figured out this solution....please, don't tell me. It has taken me years for this to click in my brain. haha

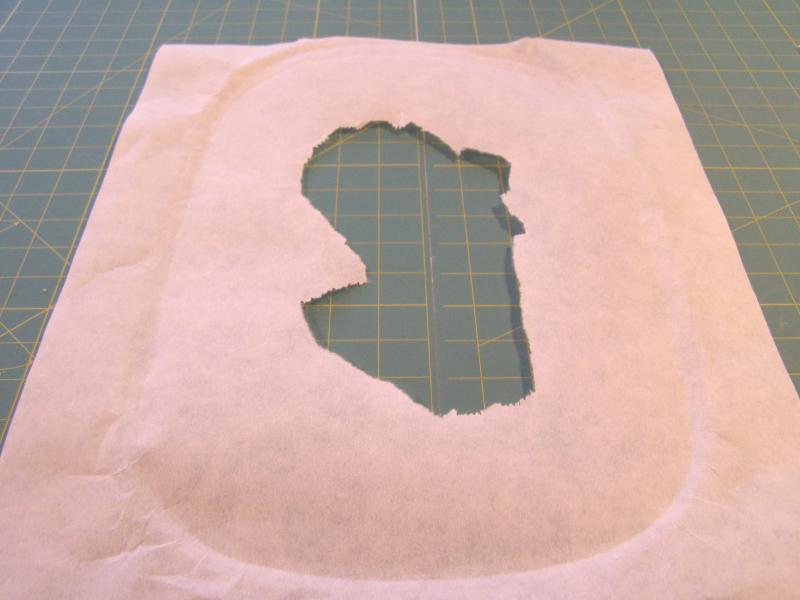
You have a great embroidery design....but the machine will only let you do it in a large hoop. so, once it is finished, you have this large hole in your stabilizer....with all that good stabilizer left.

hole.jpg

I usually tore the pieces apart....to be used for smaller designs...but, then, you have PILES of pieces of stabilizer

pieces.jpg

I used to just double them up....put the stabilizer with the hole in it...and cover the hole with pieces from previously used stabilizer. that works...up to a point. sometimes, the machine will get caught in a torn piece on the bottom....and you have trouble.  sometimes, the tension is just not good enough on the sides....and you have trouble. and, when removing the stabilizer, after the stitching, you have double layers to remove...a pain

double layers.jpg

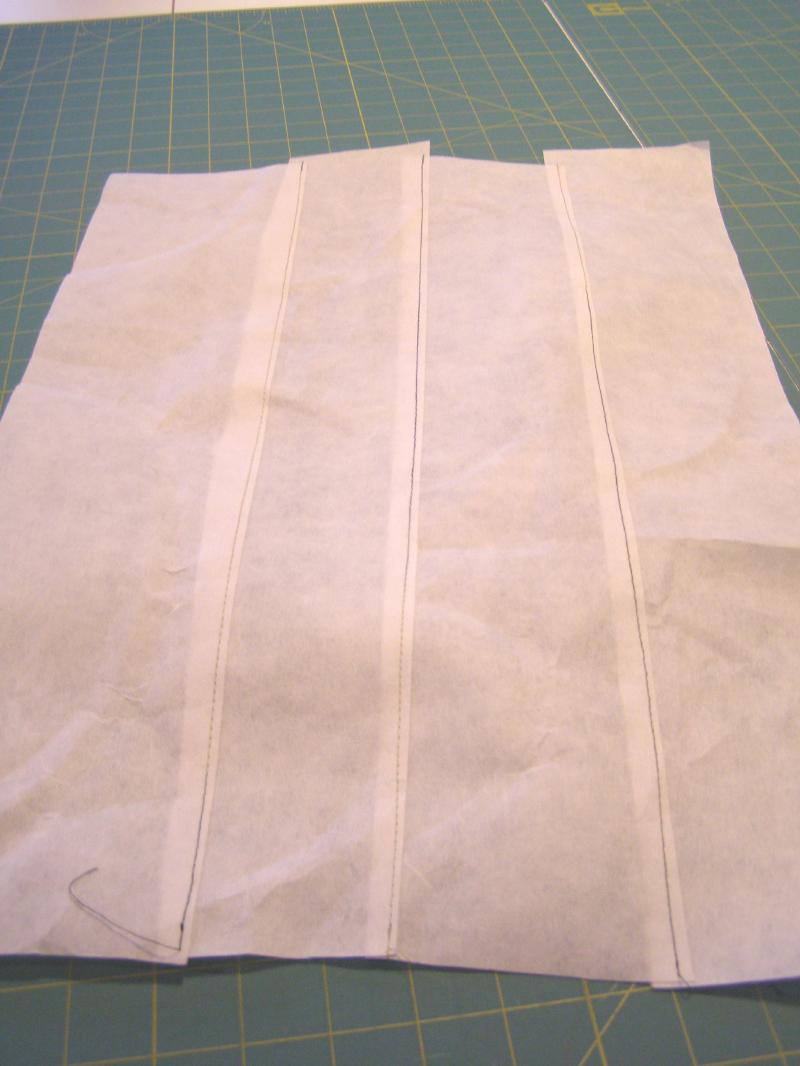
Today, something clicked in my brain.....!!CLICK!!....why not sew the pieces together. so, i cut them as large as possible...and sewed them together.  VOILA!!!   a new piece of stabilizer. why did i not think of this years ago???   i must be a slow learner.  i sew pieces of muslin together all the time for backings for selvage blocks and crazy quilt blocks. 

solution.jpg

How do you learn to think of solutions that are outside the box? 

I am so happy to think of this now. hahahaha    now...off to do more embroidery

Saturday, December 31, 2016

Last piecing project for 2016.... leather crazy quilt

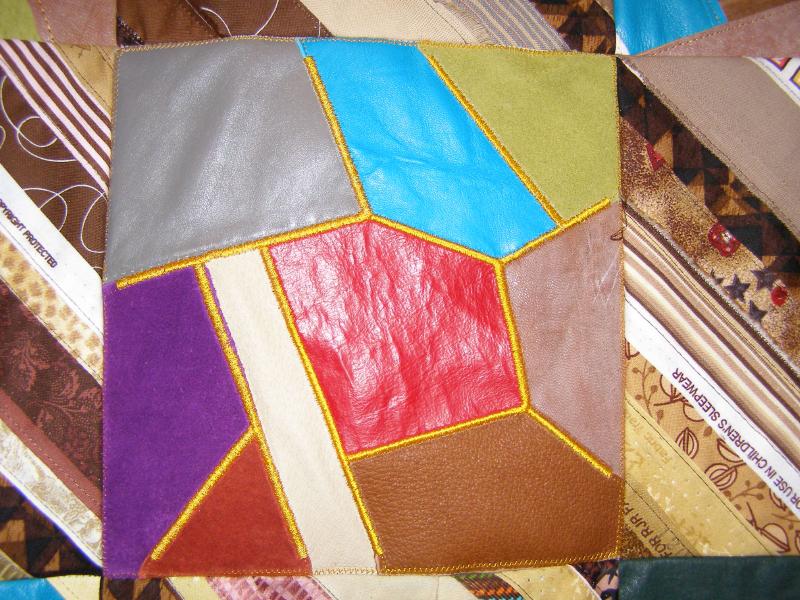
I've been working on this for the last 3 or 4 days...here and there. I wanted to make a leather quilt but figured it would be too heavy. So, I decided I could do every other block in leather. The alternate blocks are brown selvages....each middle strip is the same. Blocks are 8". 

Top is now about 52x62. I will put a border of some kind of brown fabric....mainly so the binding doesn't have to be stitched through leather. I had lots of leather bits and pieces .... and had bought 2 scrap bags of leather pieces from Cathy Wiggins, so the blocks had to be crazy quilt style.

top.jpg

I did 2 blocks on the embroidery machine...then decided I would rather do them myself.

emb machine.jpg

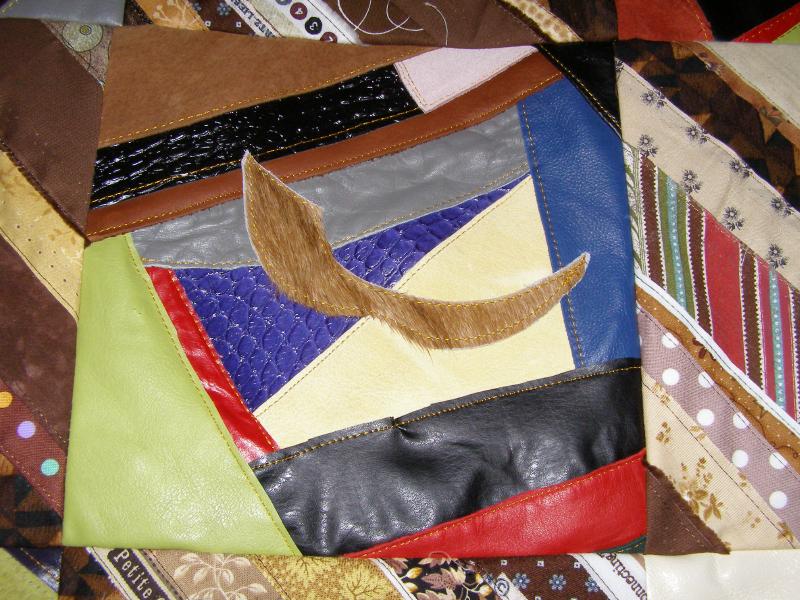
A piece I got from Cathy was a hair on leather piece that looked like a mustache.

hair on mustache.jpg

I decided it needed a heart on there, too.

heart.jpg

Sometimes the leather has holes in it....I just laid another little piece under the hole.  The black piece with the holes came from a purse. I just laid it over another piece of colored leather.

hole and overlay.jpg

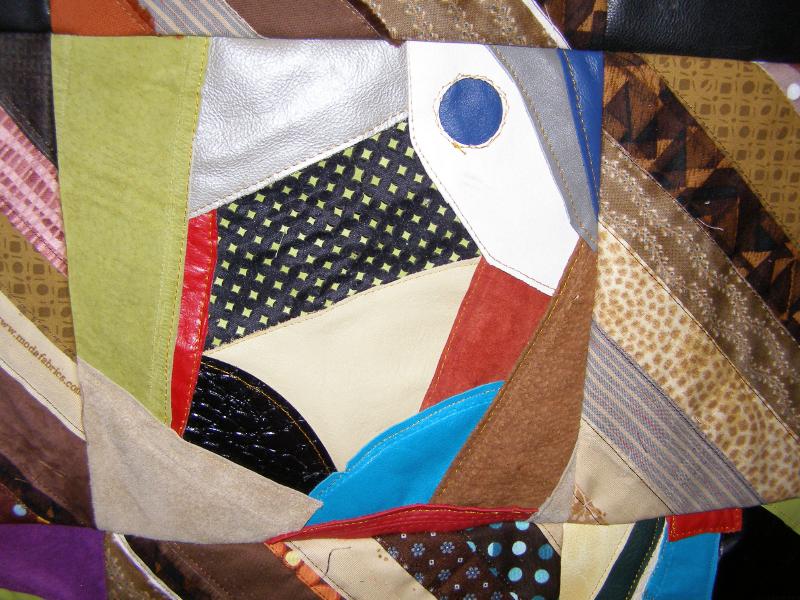
I got the leather horse from Cathy when I bought her leather calendar. I put it on a lime green pocket that came from a jacket. The zipper still works.

horse and pocket.jpg

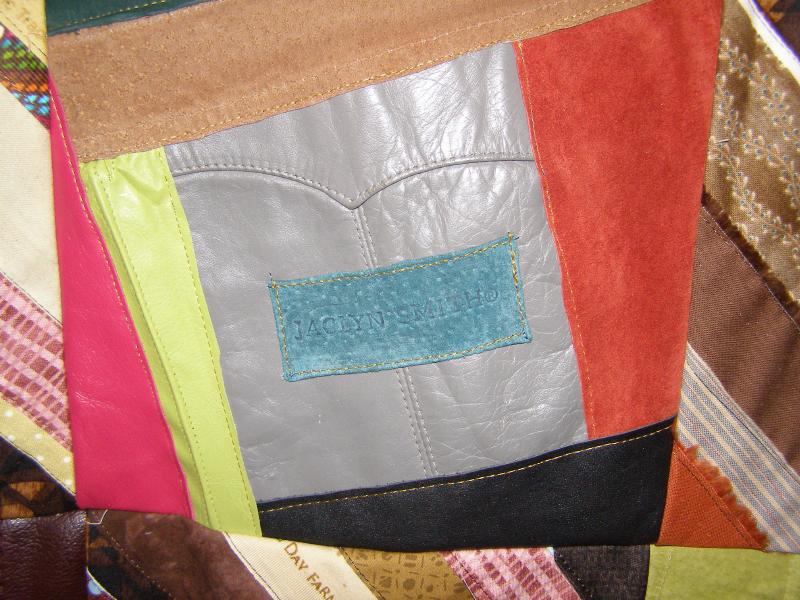
The J Smith label came from a jacket. I love thrift store leather jackets. I have 2 thrift stores that I can get jackets for $4.99 each.

jacquelyn smith on pocket.jpg

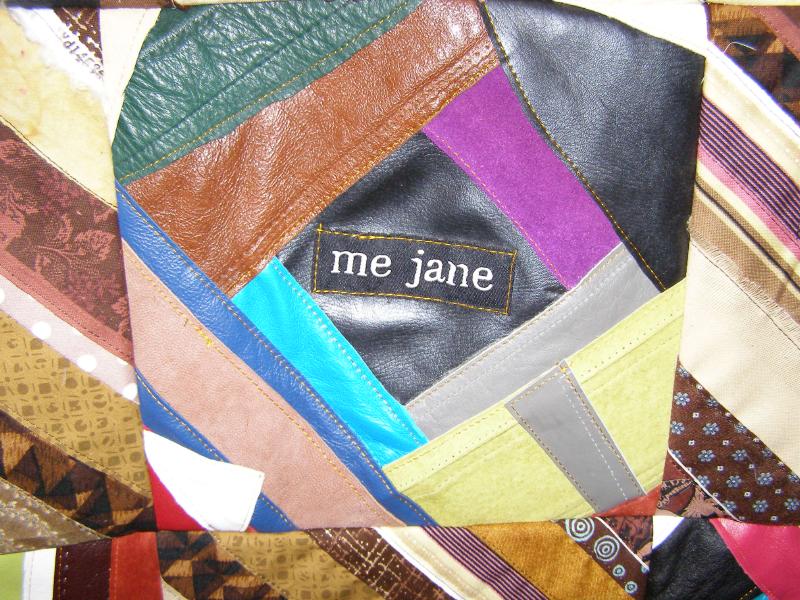
Another label....too cute not to use.

me jane label.jpg

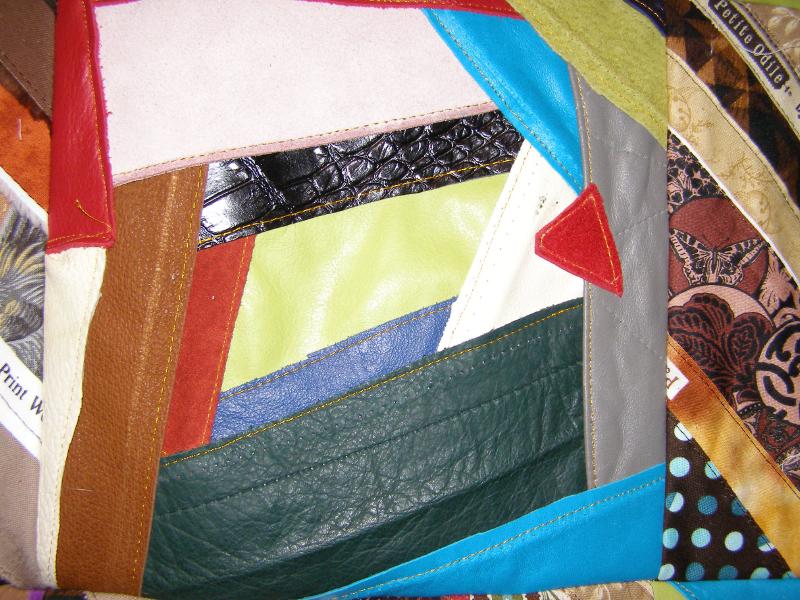
Sometimes the leather wants to stretch and doesn't cover the previous piece properly. No problem...just add on a little cover up piece...the little red piece.

red cover up.jpg

When I was getting to the end of the blocks, I took a bunch of the little pieces that were cut off and put them all over a block.

bits and pieces.jpg

This went really quickly and was a lot of fun. I guess I could make it a tad larger...we'll see.  It is already a bit heavy and after batting and backing it will just be heavier. I guess it could be the winter couch quilt. haha    It might have to be quilted soon...I like it.

Search This Blog