I found a white shirt at the thrift store that I thought I could turn into a jacket. I decided to quilt it, too. I spent all morning Tuesday taking this shirt apart...(note to self...do NOT buy shirts with serged seams.) they are a supreme pain to rip apart. After about 5 hours I got the shirt apart...and then loaded it onto the longarm.
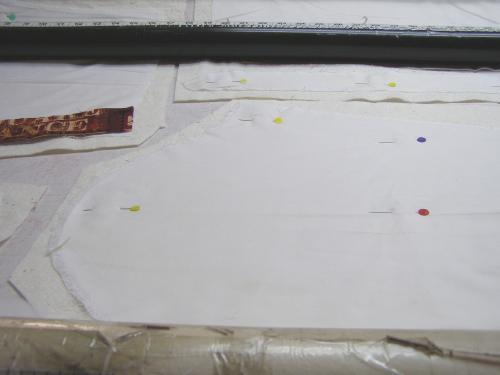
I spent the rest of the day appliquing down the pieces of fabric (stitch and flip method) that I wanted to use to cover the shirt pieces. I added batting, too.
I worked hours longer than I usually do in the studio....hubby wound up being in charge of dinner. haha (we had ham, scrambled eggs and biscuits). But, all the pieces are now ready for quilting.

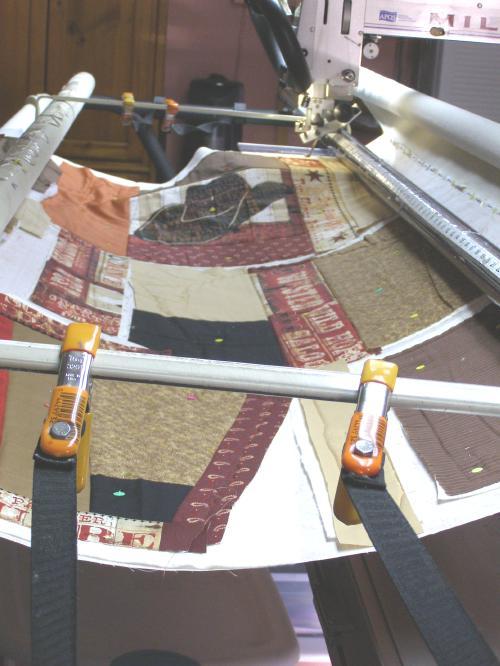
I got back in the studio by 7am on Wednesday....quilting...quilting. Took all morning. I spent the afternoon cutting the pieces out. I had quilted over the edges of the shirt pieces, so i had to pick out a few stitches all around the edges to find the shirt fabric to cut the piece out. I'll figure out a better way of doing that next time. By Wednesday evening, I had the shirt together.
I spent this morning putting in the cuffs and putting on the binding. And here it is....

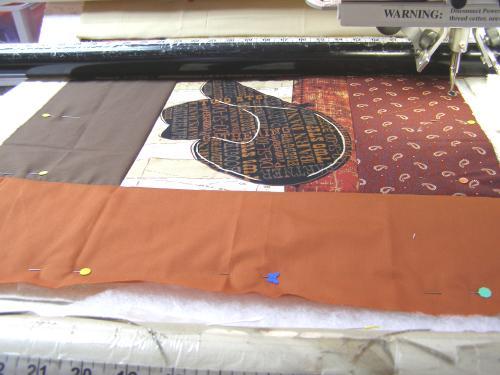
I am getting a lot of mileage out of those Wild West panels. I added lots of fabrics from the stash to kick it up a notch.
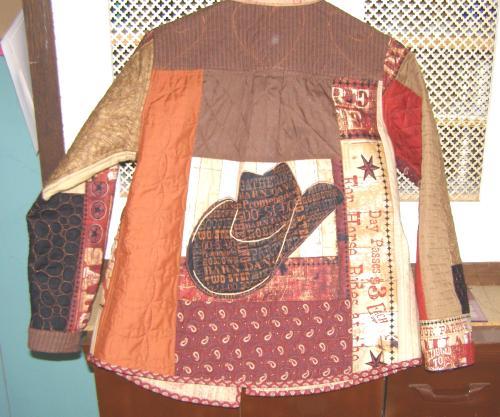
I even added the rope to the saddle...like i did in the original quilt.

The yoke got feathers
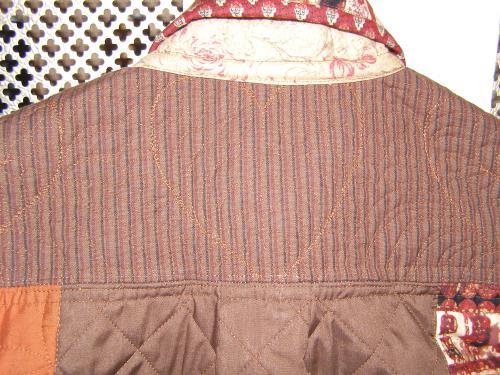
I quilted the same design in the same fabrics...the red got curved cross hatch; the chocolate brown got regular cross hatch; the beige got lines 1/2" apart
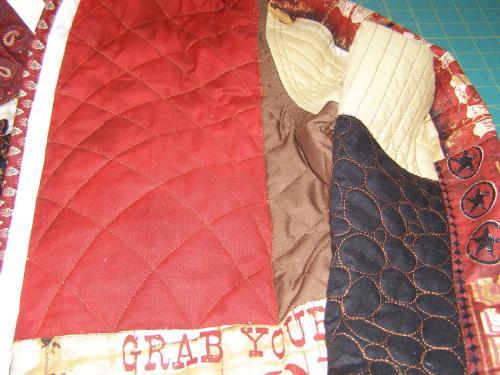
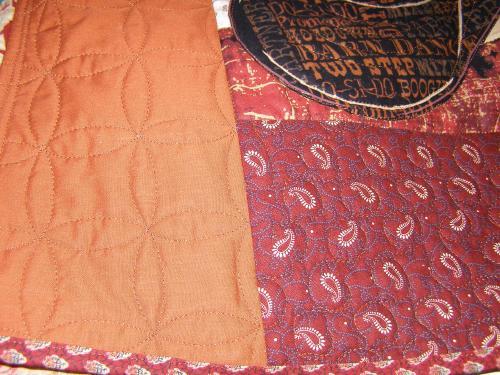
The orangy fabric got a grid of CC; the black got pebbles; the red paisleys got swirls around each one.
The inside came from the stash...there was just enough to do it.
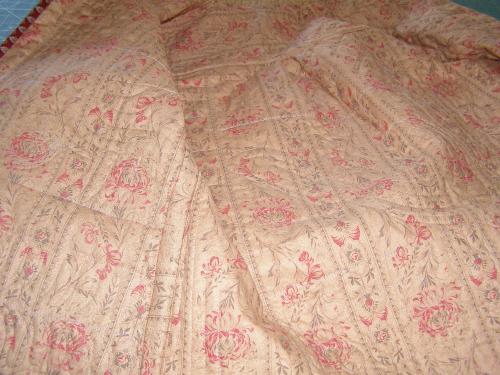
Since i sewed it together with regular seams...rather than French seams....i covered all the seams with the inside fabric. It just made it look neater. but there were sure some thick seams with top fabric, bottom fabric, shirt, and batting. but i got it.

I started out with a large size shirt, but I believe it is a medium size now. For the quilting, I used Glide Sienna for the top; Bottom Line Statue for the bobbin. When I was sewing it all together, I used the Sienna for both top and bobbin.
I might have made it harder than it needed to be at times, but I really like the outcome. i'll do it again.
No comments:
Post a Comment