Friday, September 30, 2016

Garage graffiti is finished till spring

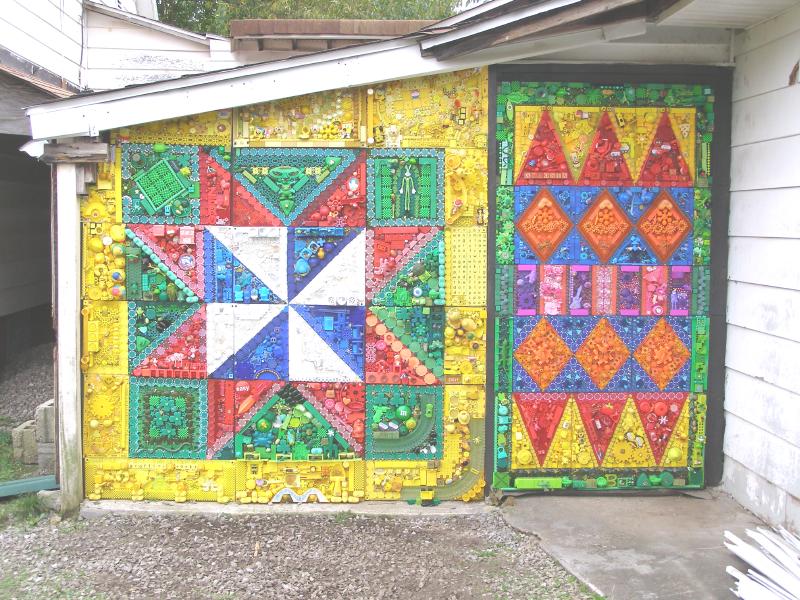
After a quick 2 day trip to the Duck....the one side of the garage is finished.  Now we shall see how the star and the row quilt survive the winter and if i continue or not.

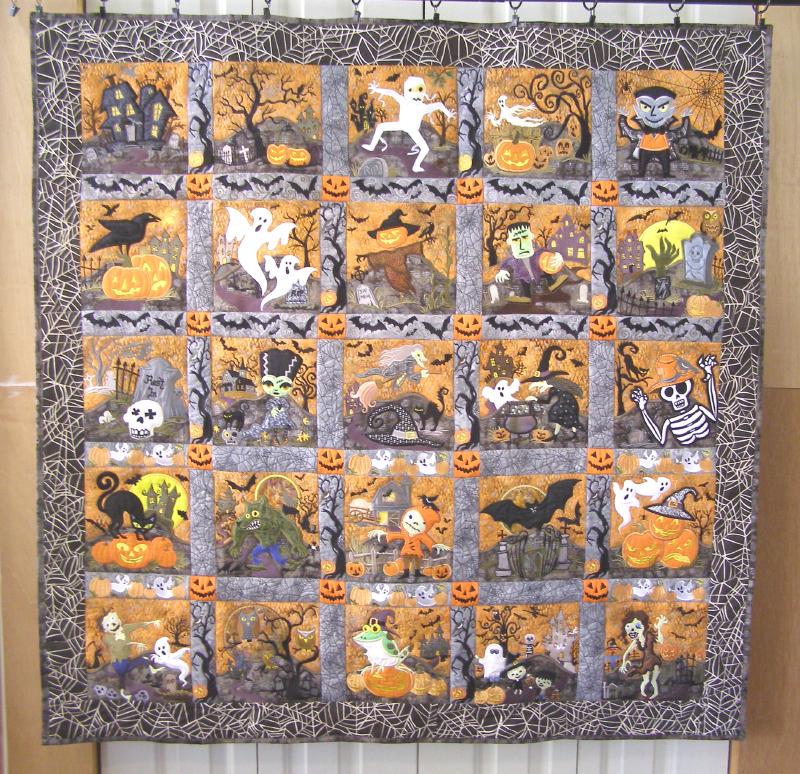
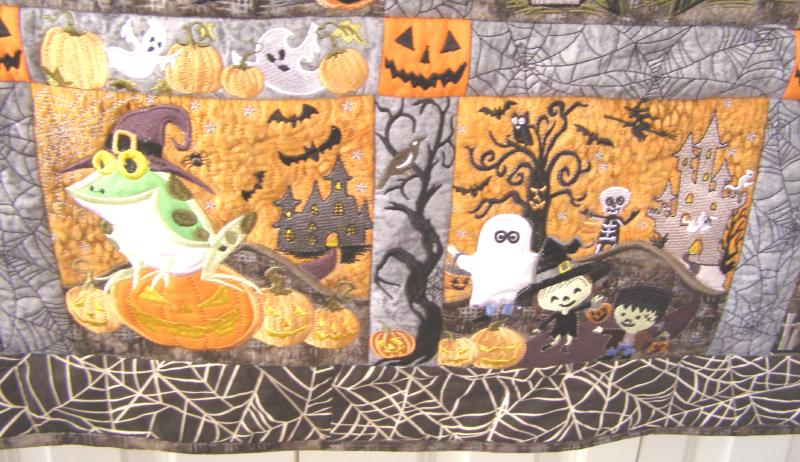
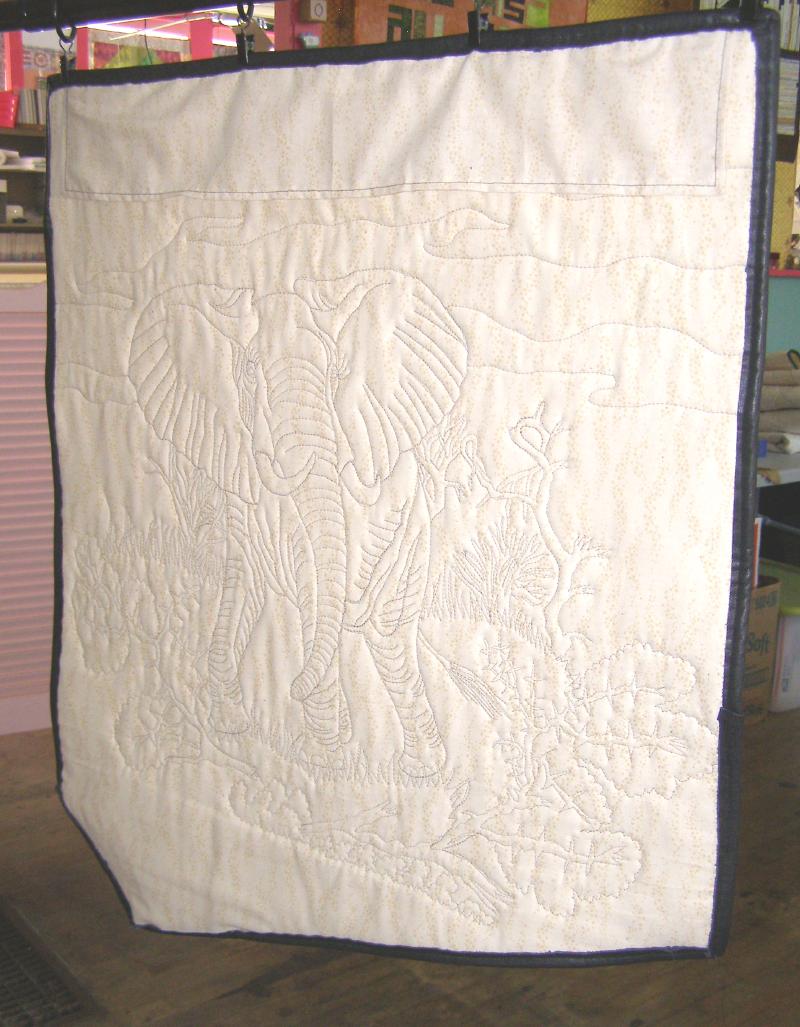
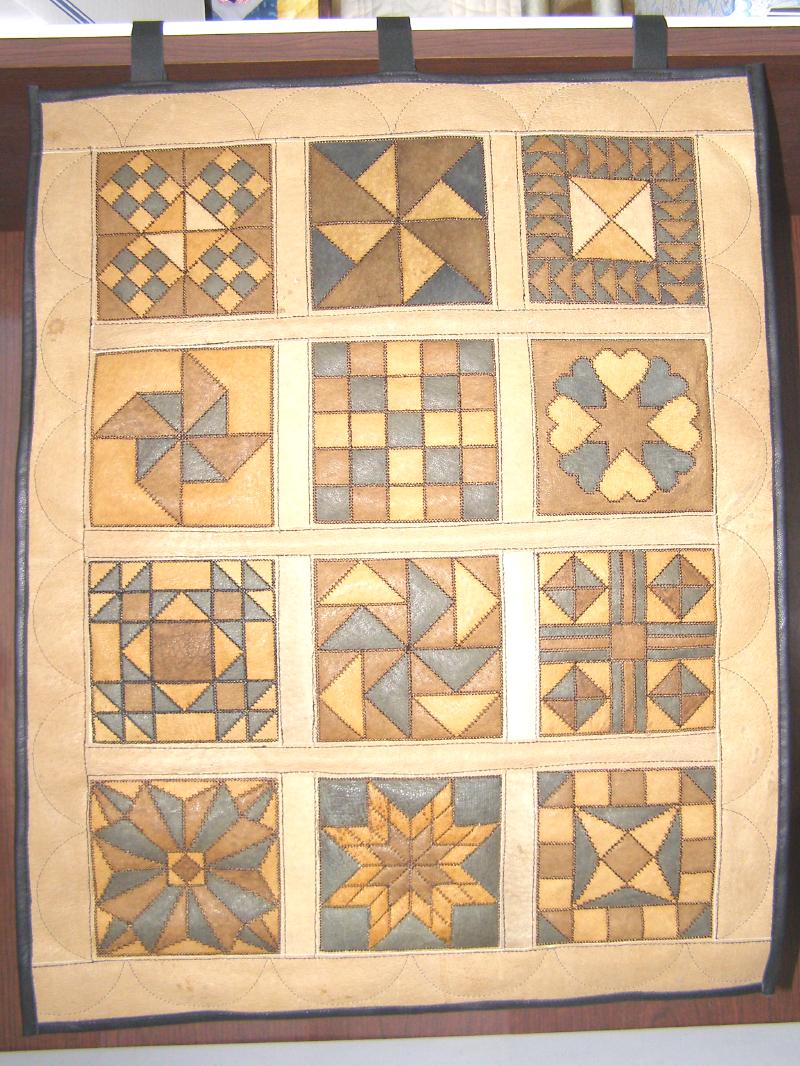
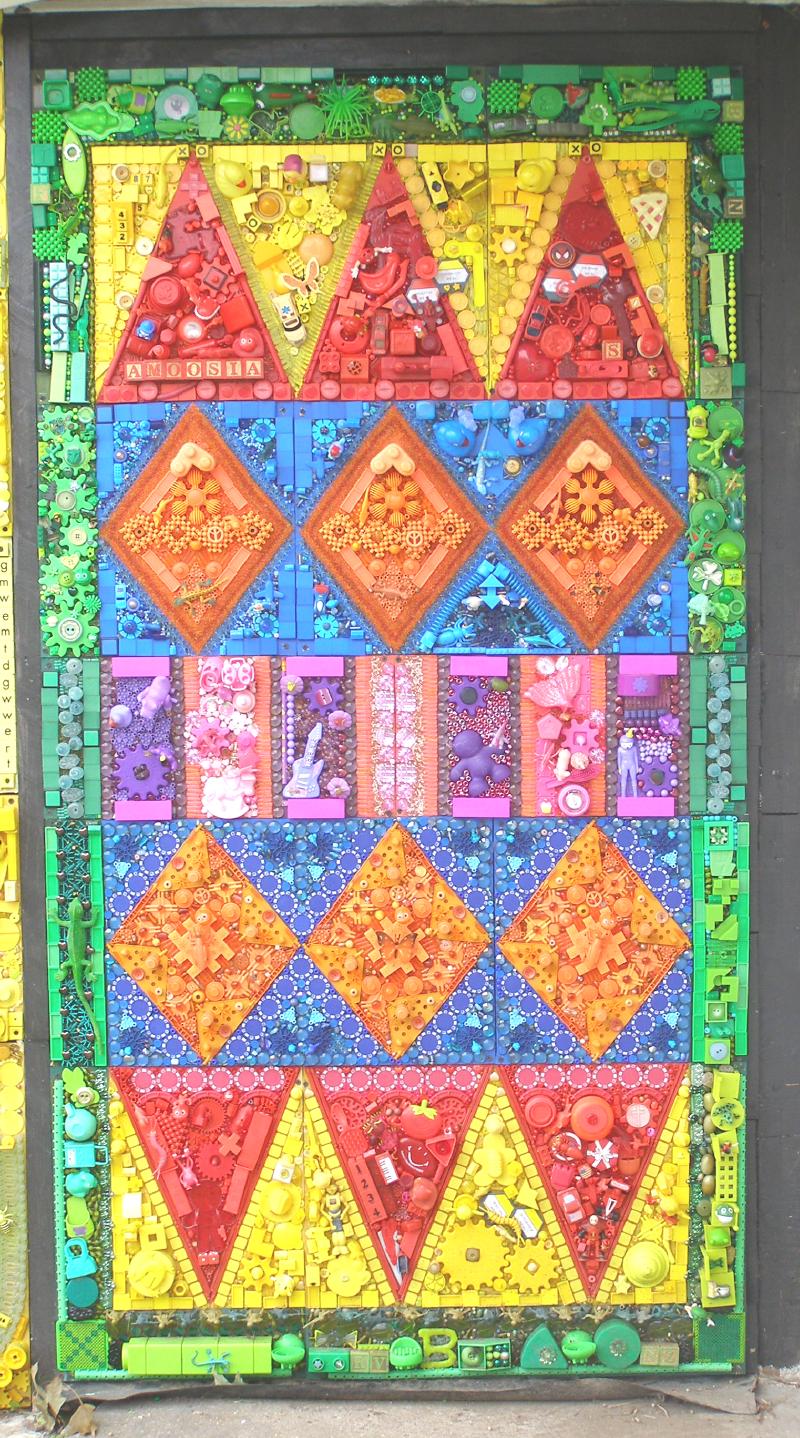
Here is the whole finished row quilt.

finished.jpg

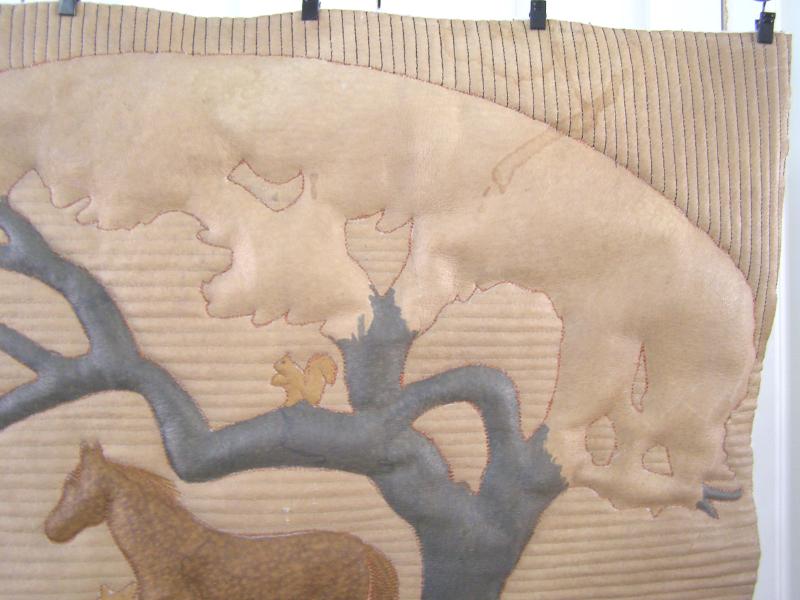
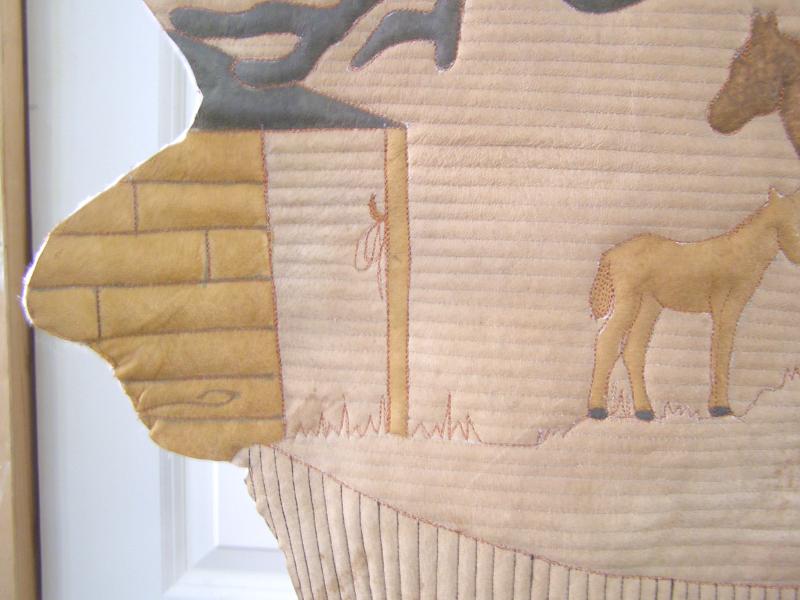
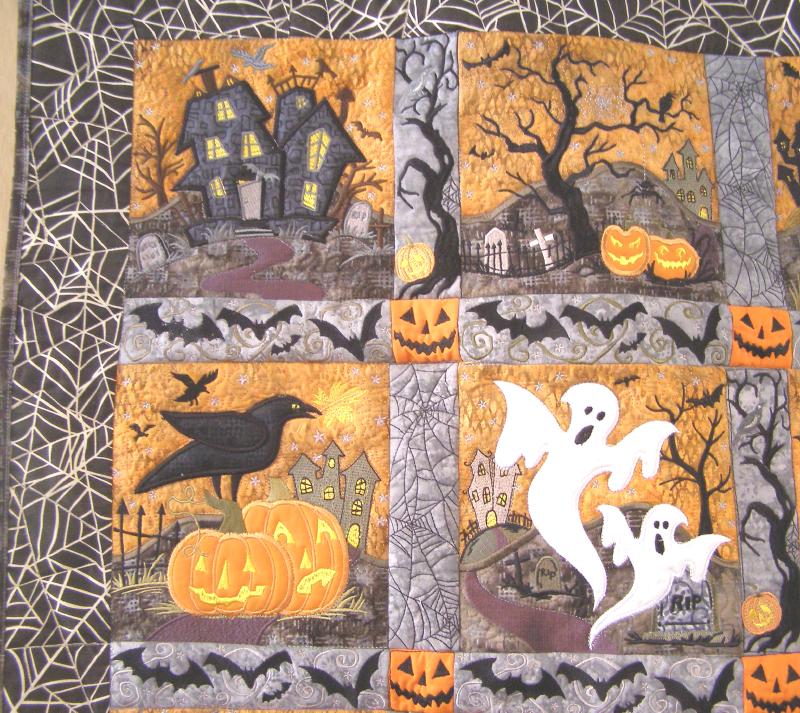
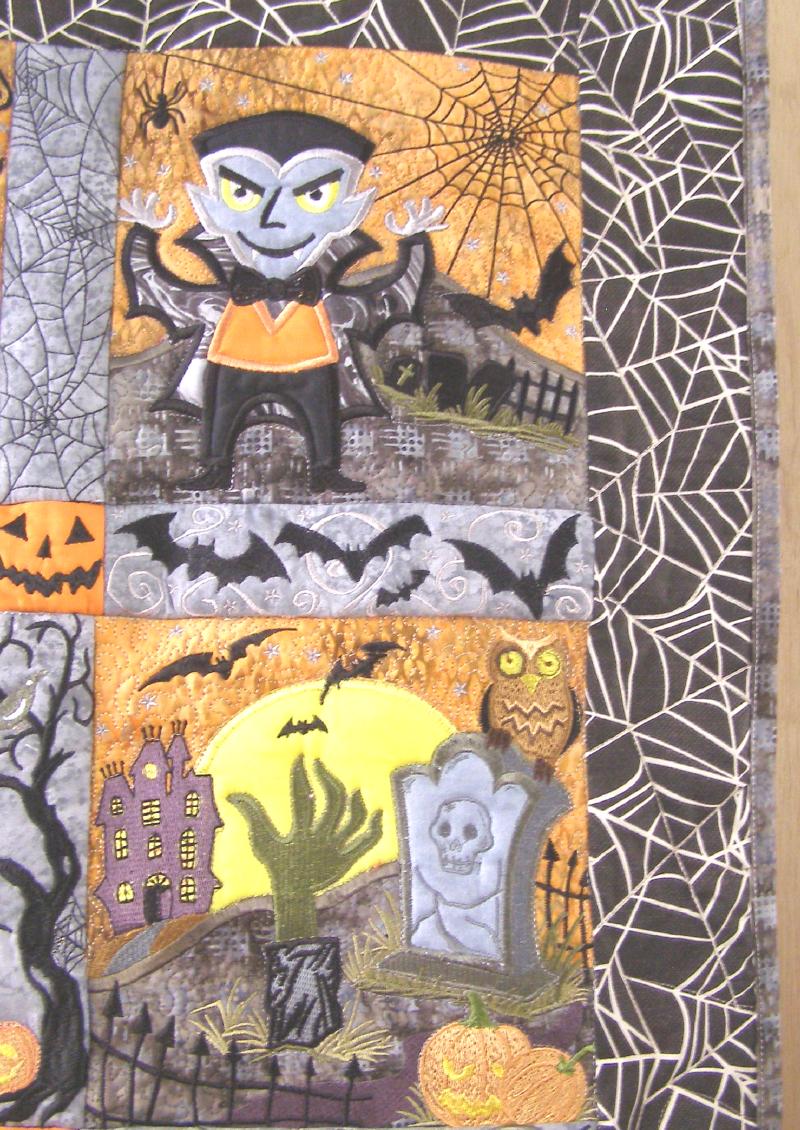
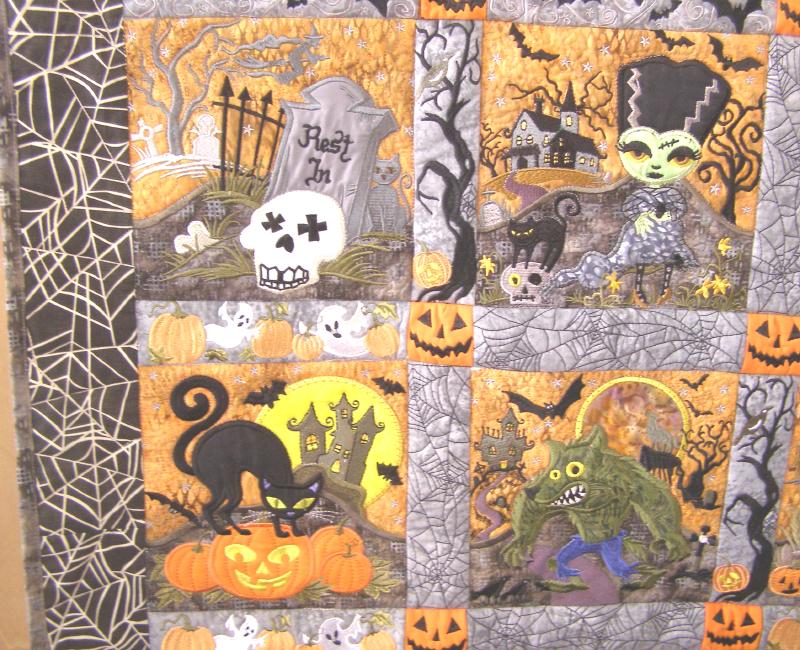
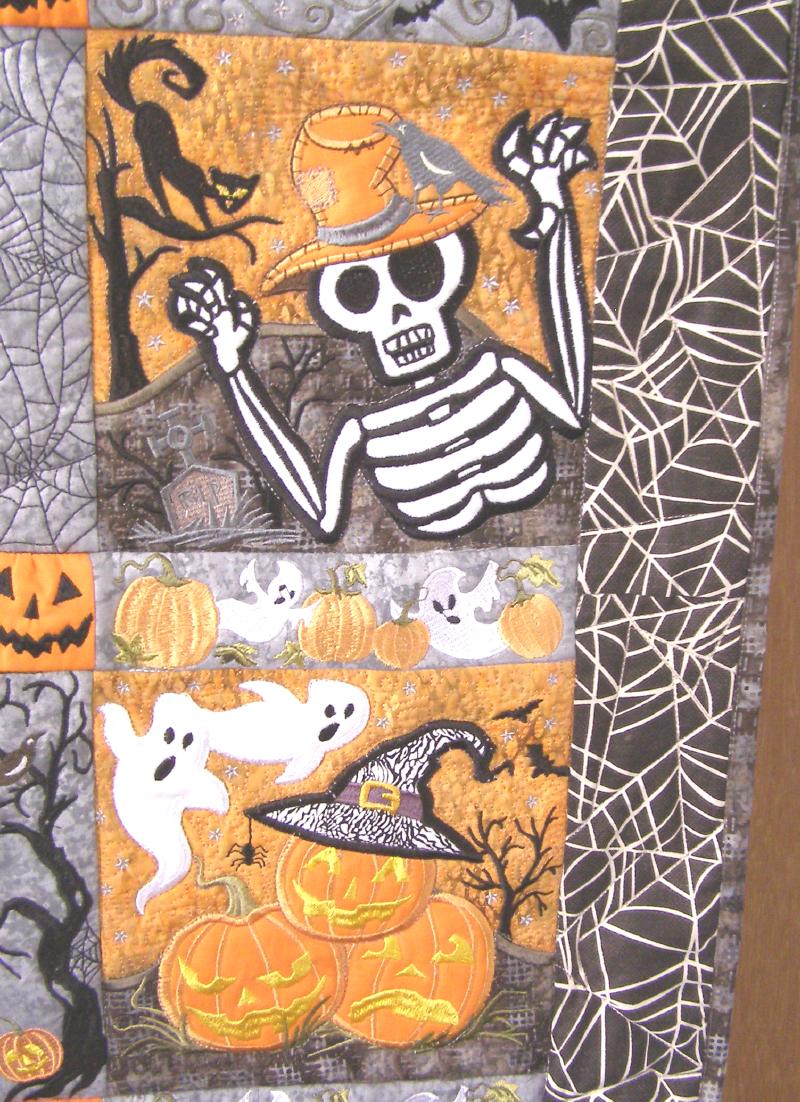
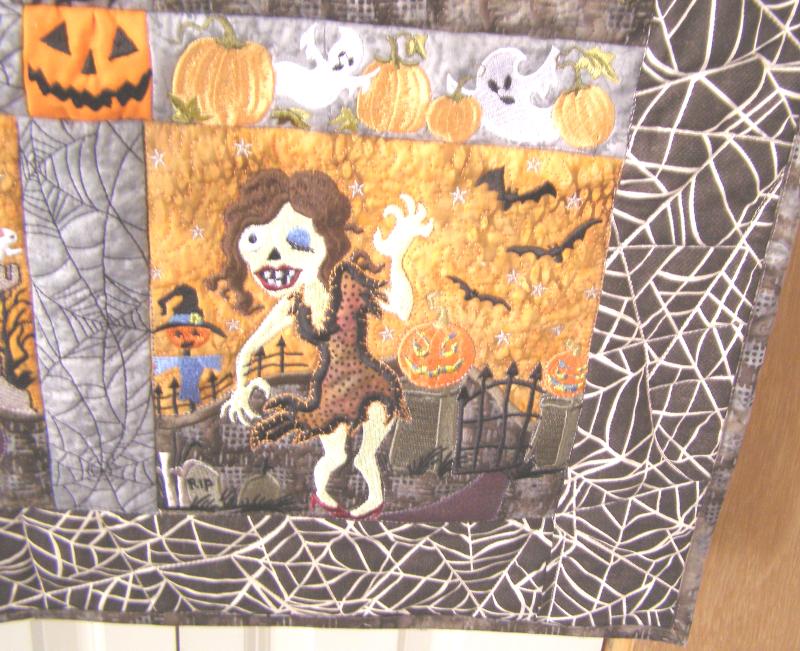
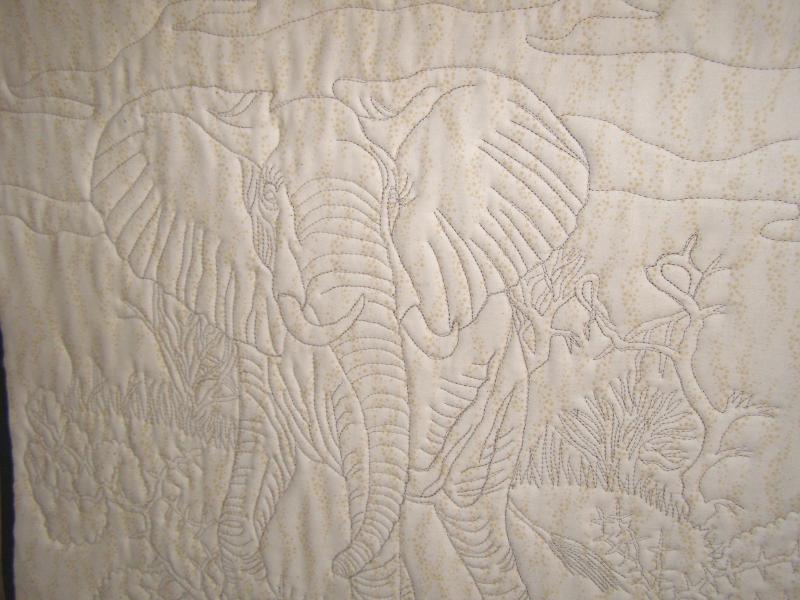
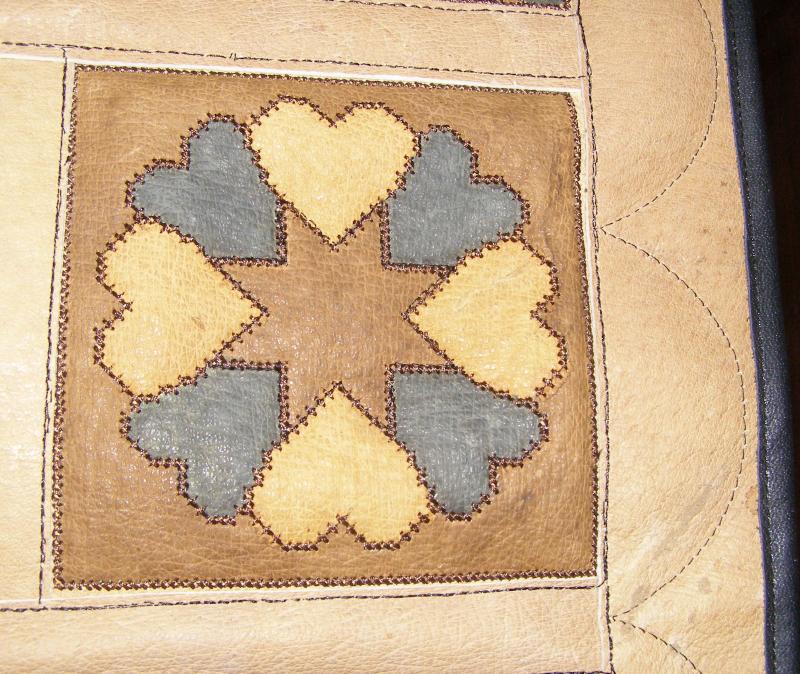
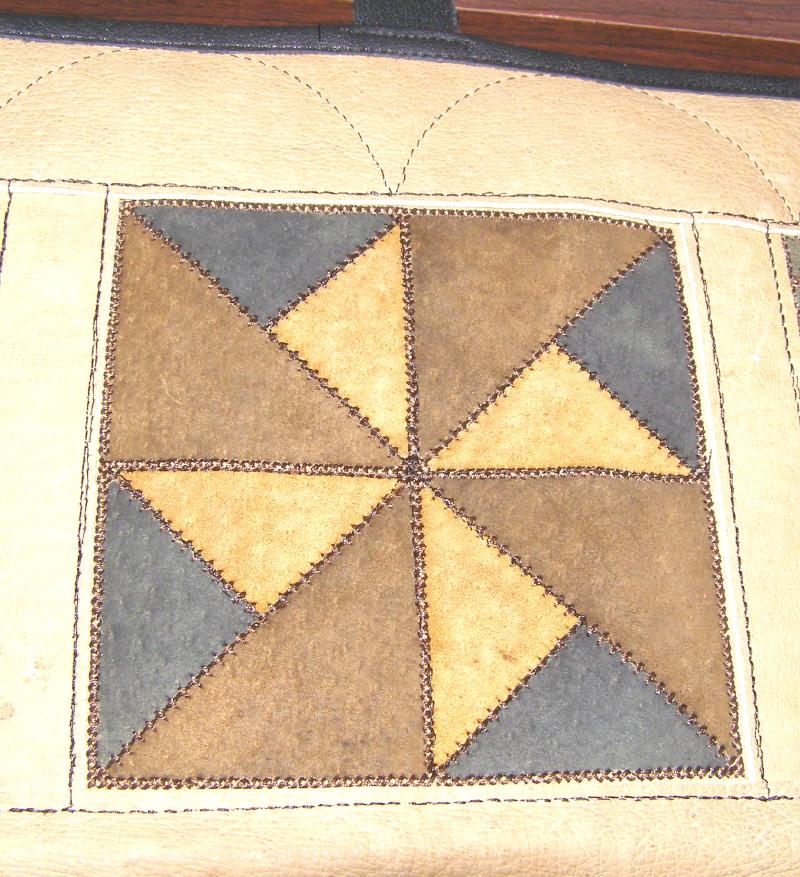
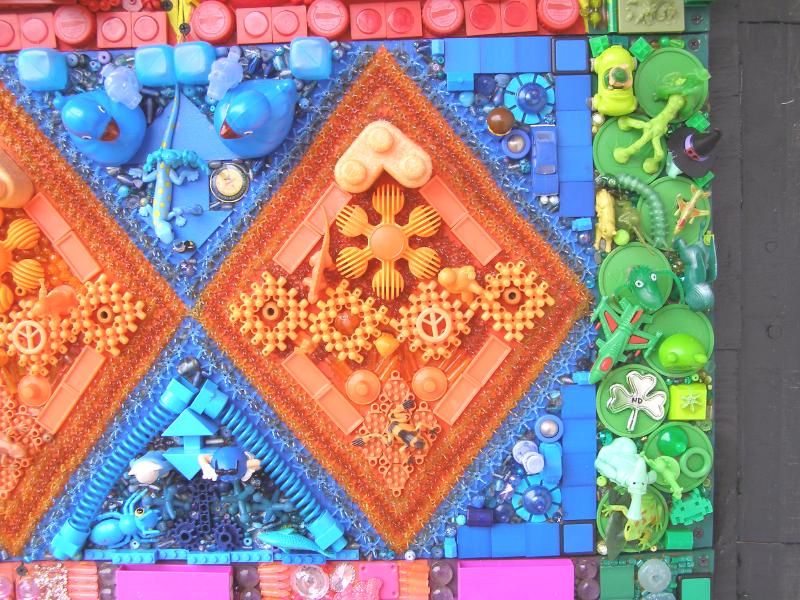
Here are close ups of row #1...top row
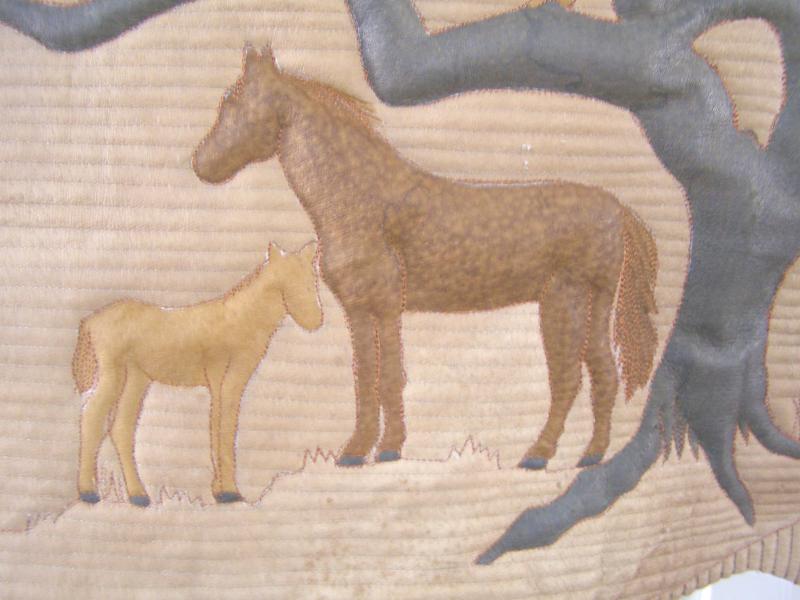
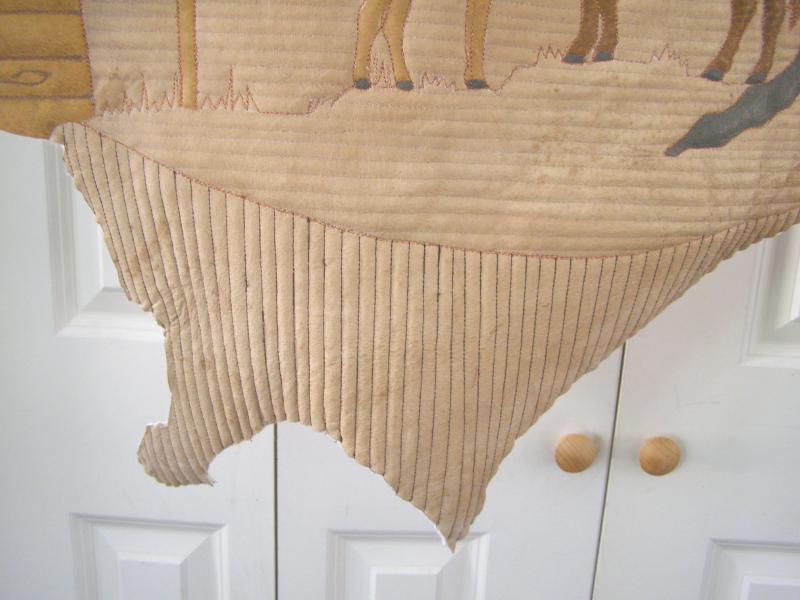
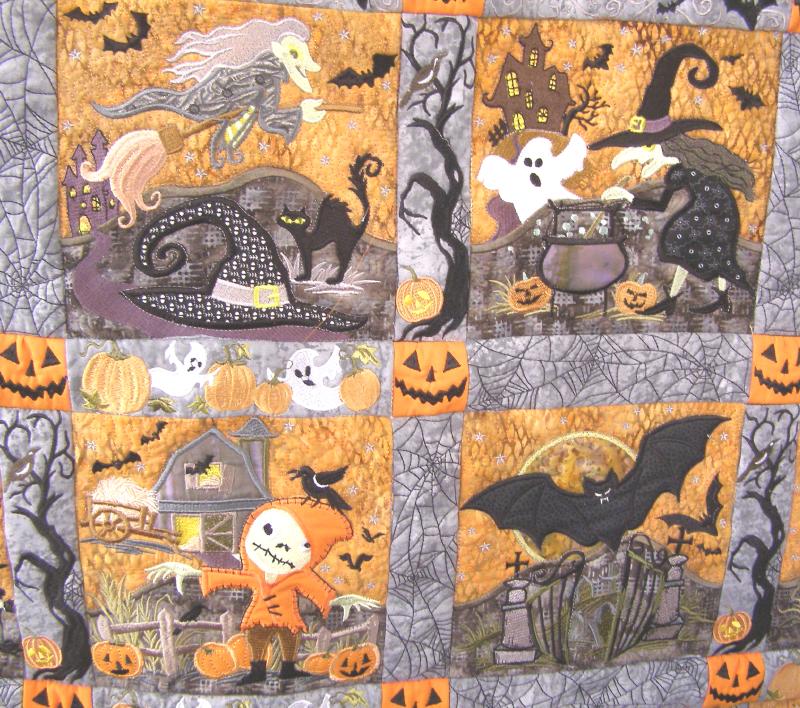
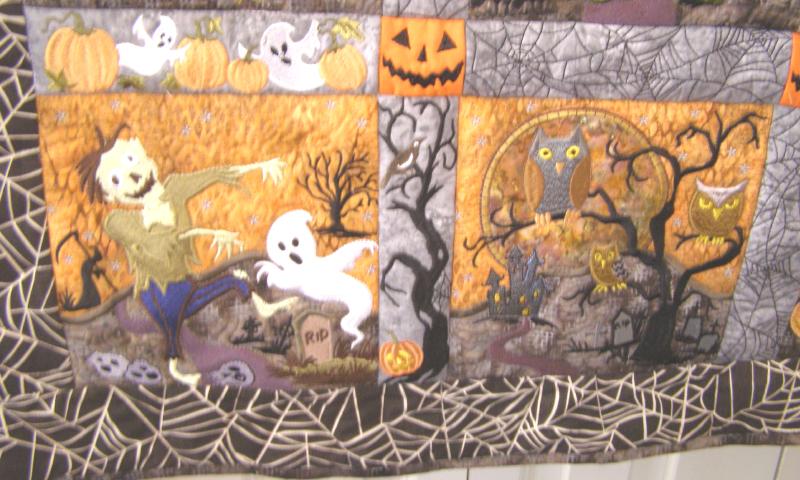
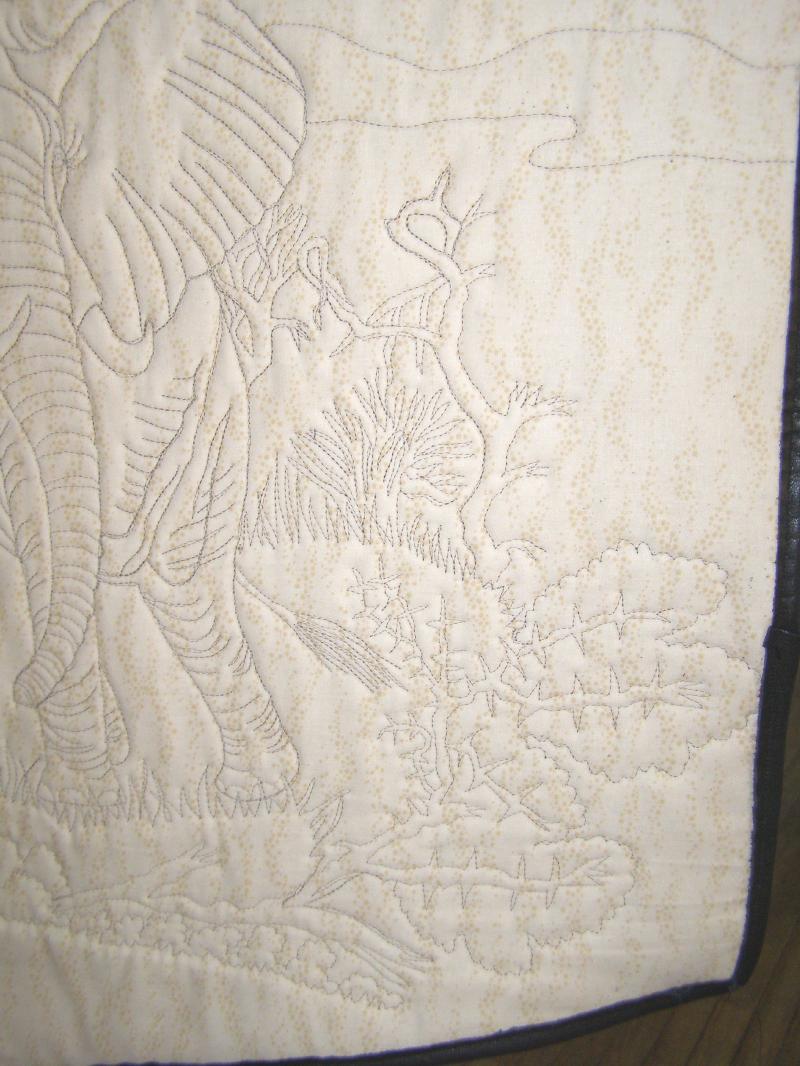
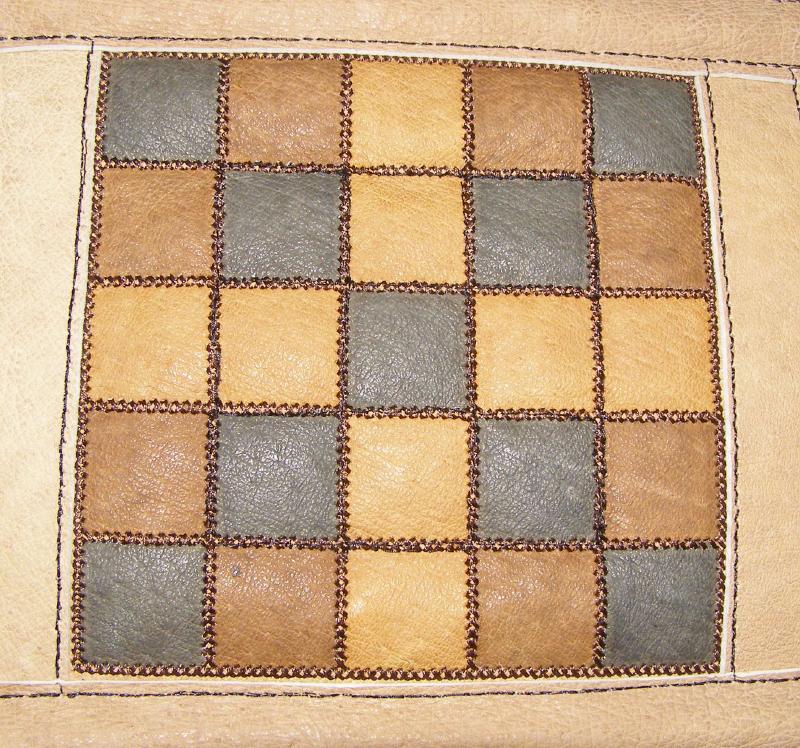
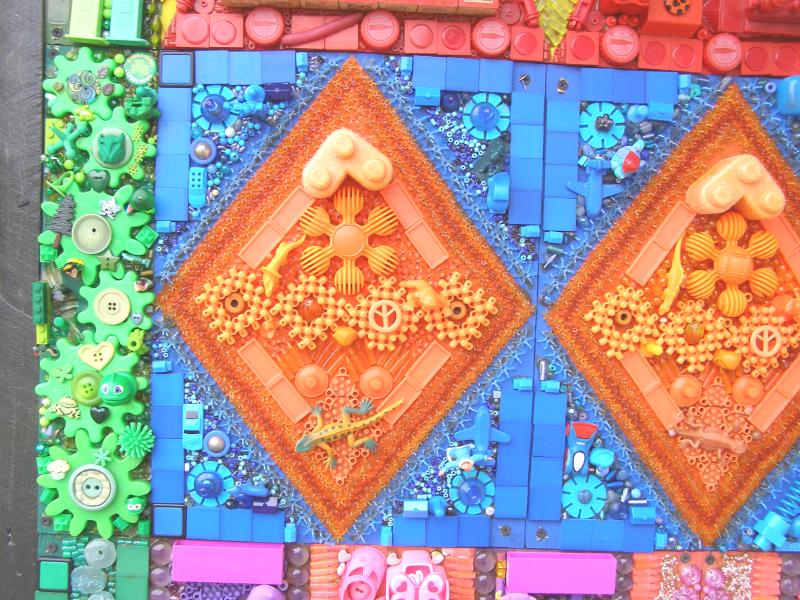
row 1 L.jpg

row 1 R.jpg

And row 2. 

row 2 L.jpg

row 2 R.jpg

And the whole side together

whole side.jpg

Funny story....hubby went with me to help hang the last pieces. and i had raked up a whole pile of rocks in front of that graffiti. he also helped me pick up all the rocks and we emptied about 6 wheelbarrows of rock. now the yard guy won't pick any up with his mower...i hope...and knock off graffiti.

Look to the left of this pic....there is a space between the garage and the house. probably 5 foot wide and about 10 foot deep.  i was dumping the wheelbarrows full of rock in that space. I looked over, and there sat an empty quart whiskey bottle....sitting on a napkin.  I am assuming someone wandered through the yard....people cross through a lot to get to the next street....since there is no fence...anyway, someone wandered through, saw the space and thought it would be a nice spot to chill out and get wasted. haha   There is a roof over that spot, so it is out of the rain and wind. I was shocked. haha   hubby says i might need to close that space off to discourage squatters who might burn my house down. good thought.  i do want to take that roofing down off of there, so that would discourage any people in there, too. i have to figure that out.

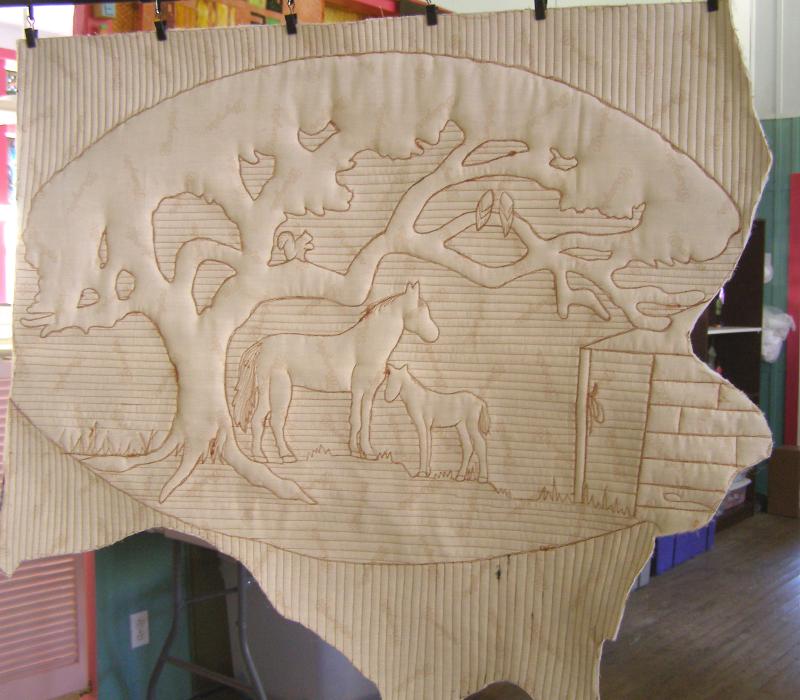
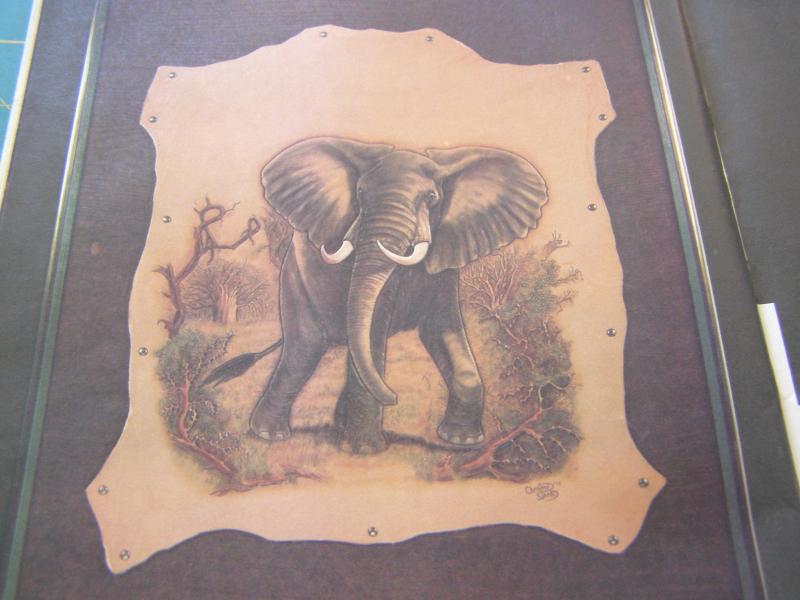
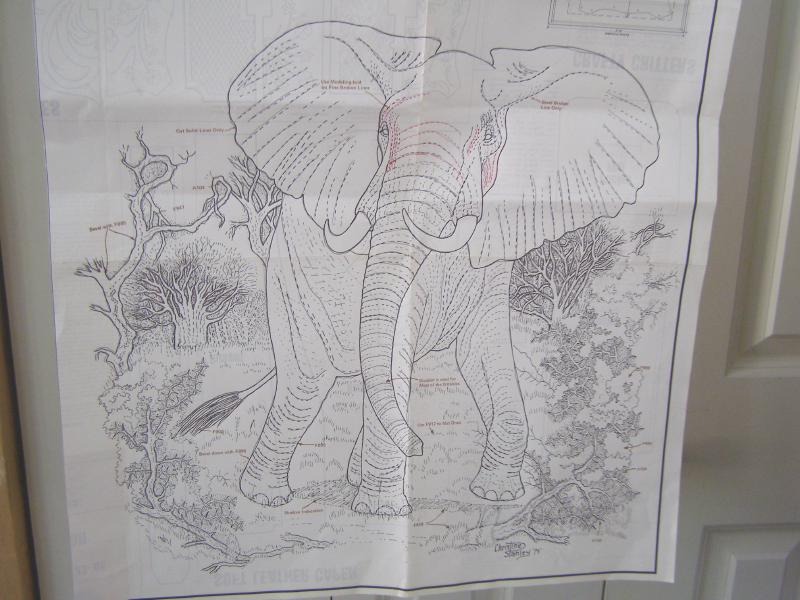
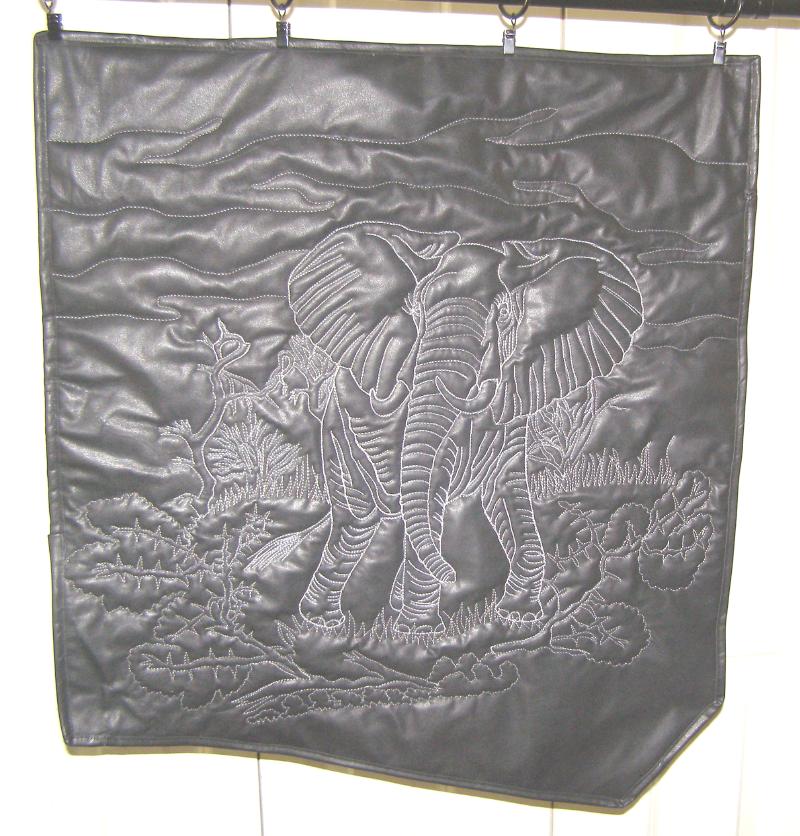
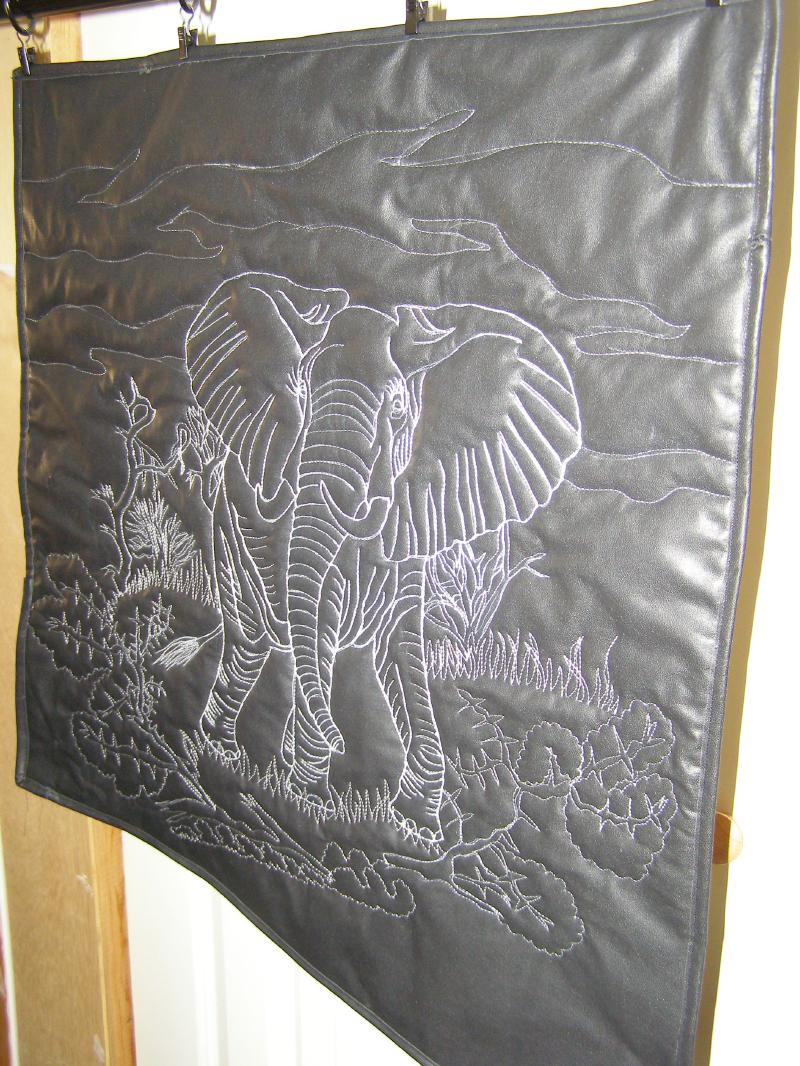
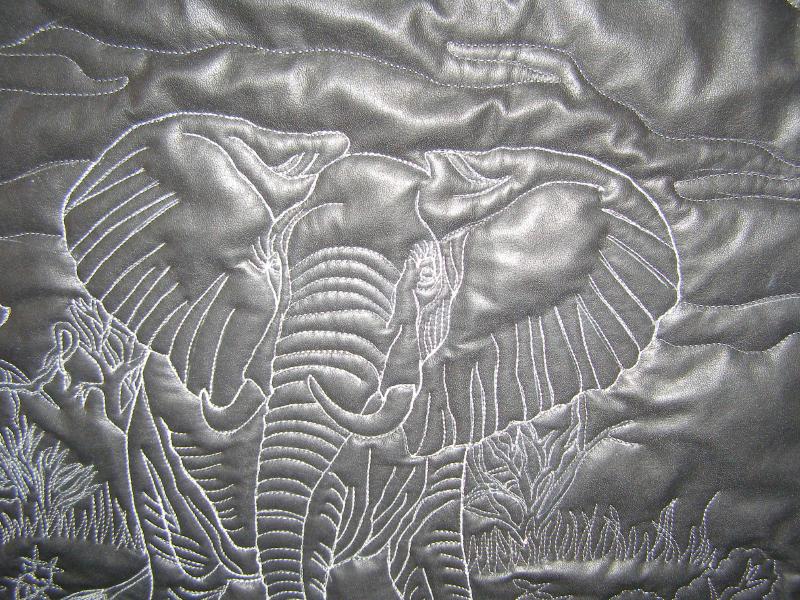
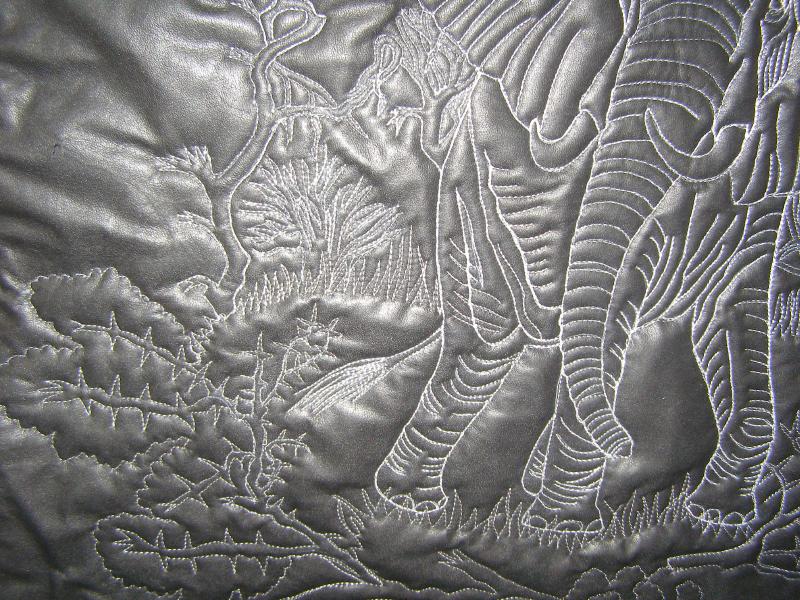
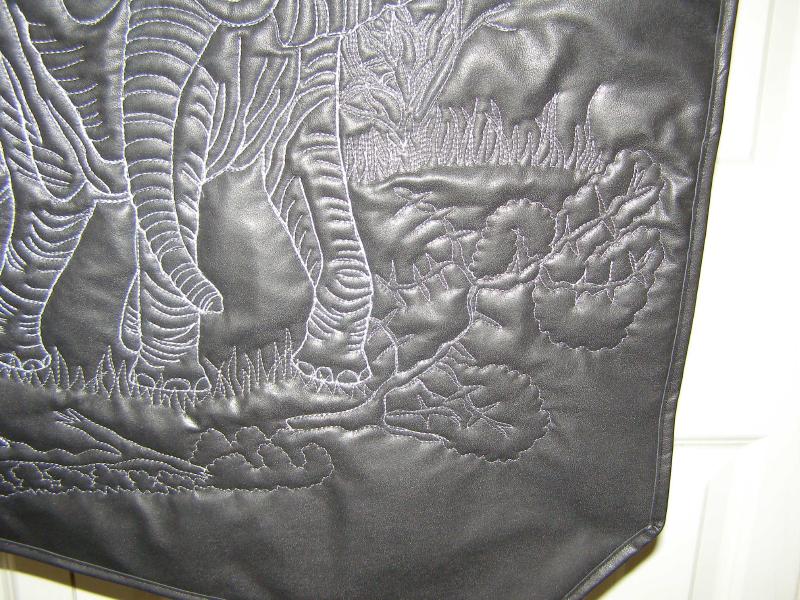
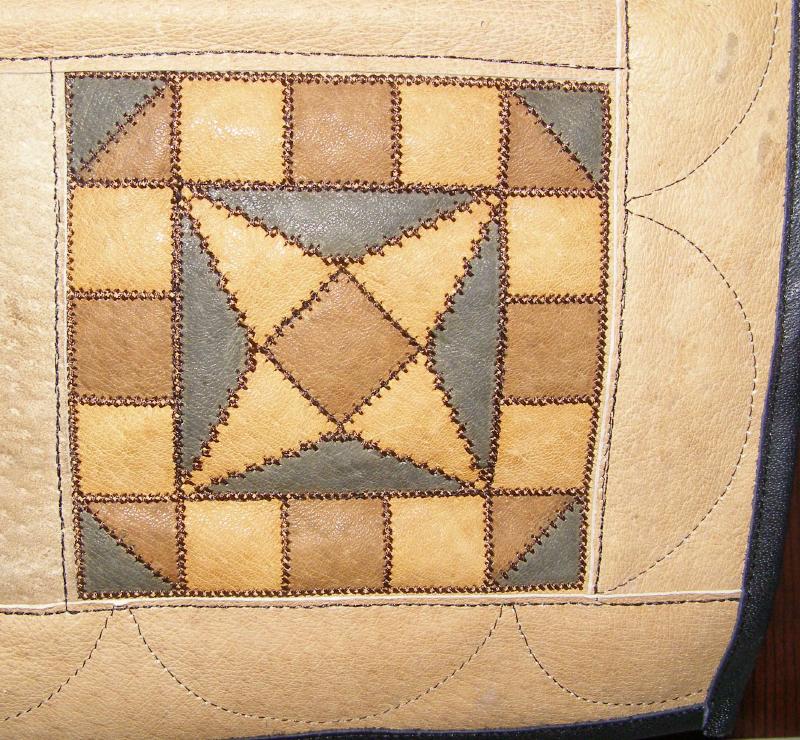
Anyway, graffiti is done for a while. i am playing with leather now. 

Tuesday, September 27, 2016

Leather Horse Scene #itsbetterinleather

OK....quilting is finished....painting, i'm not sure is finished....how to finish it...???

I'm thinking I want to mount this on a board .... maybe a board in the shape of Texas. and put those little metal round things around the edges.

My son drew the design for me. if he wants this, i will let him have it.

front.jpg

The overall size...at its widest points....is 29" wide and 28" tall.

close 1.jpg

Uncle Johnny leather is rougher than Tandy leather....it makes my thread shred. 

close 2.jpg

Thank you for Peggy and Jean and Riley and all who offered advice and encouragement. 

close 3.jpg

I am a little amazed ... no one said i was insane. haha   thank you

close 4.jpg

So, what do you think about the tree?  should i dye the tree green? somehow, i think that would be too much color. 

close 5.jpg

It wants to curl up ... which is one reason i think it would look good mounted on a board.

close 6.jpg

The back is a piece of thrift store fabric from the stash. If you look closely, you can see the word "wrangler" all over it.

back.jpg

And a closer look

back close.jpg

Top threads were Glide black for the vertical lines ... stitched twice; Glide Sienna for the outline... stitched many times; Bottom Line Taupe for the horizontal lines, stitched twice; Bottom Line Med. Brown for the bobbin. I used 4 bobbins.

It was a fun one to quilt...but,

..i hate that hindsight thing.....i should have made the large horse black and the tree dark brown.
..the marker that i used on part of it...from Tandy Leather....does not come off. i tried to cover it with thread, but where i didn't get it all....you see white/silver spots. dye does not cover it either.
..using really fat batting is WORK!

I seem to learn a bit with each piece....perhaps after another few pieces, they will come out wonderful. haha

Saturday, September 24, 2016

Halloween Town

I think this might be my favorite Halloween quilt of all that i have done. But, boy, was it trouble. haha The blocks are done with the embroidery machine. Background fabrics are batiks, there is some applique, and there is a piece of batting behind each embroidered block. Then add backing for the quilt...and batting...and it makes for a thick sandwich. I broke 2 needles quilting this. Those little pumpkin cornerstones were killers. These designers make these kinds of blocks a lot, but i now skip putting the batting in the block. It is approximately 50" square.

The front is a scary halloween night...

front.jpg

Here are the blocks. I can't pick a favorite...i like them all.

1.jpg

2.jpg

3.jpg

4.jpg

The embroidery designers are Anita Goodesign...they are fabulous

5.jpg

6.jpg

7.jpg

8.jpg

9.jpg

And the back is a fun Halloween print.

back.jpg

The binding is the same batik fabric as the 'ground' in the blocks. 

Thread used was Glide light gray for the top and Bottom Line copper for the back. 

Wednesday, September 21, 2016

Leather Elephant

This went much quicker than I thought it would. And I can tell you that quilting on good leather is much nicer than quilting on the Uncle Johnny leather. haha    Uncle Johnny worked in the stock yards his whole life....so, who knows where he got that calf hide. hahaha

I got the pattern from an UJ magazine called Make it with Leather (formerly The Craftsman)...dated April 1975.  The man never threw anything away, but i am happy he kept these magazines because I have 7 more animal patterns to use.

The picture in the magazine...

pic in book.jpg

The pattern...full size...it is 22" square....more or less....

pattern.jpg

Here you go... This black leather is a cow hide....so soft and nice feeling.

front.jpg

And a bit from the side. I used 2 layers of Warm and Natural batting.

front 2.jpg

A few close ups

close head.jpg

close feet.jpg

I quilted over the elephant lines more than once so it would stand out....but the bushes were just quilted once usually...unless i was traveling to another area.

close bushes.jpg

For this one, I tried sewing pieces of leather binding together...just like fabric. I did the binding the same as the last one....cut a piece 1", folded it over, and sewed it down. I stopped about 1/4" from the corner and cut the thread. Then folded the corner down and sewed to the next corner. It turned out pretty good. 

binding and corner.jpg

The back is a piece of cotton fabric from the stash. And i put a hanging sleeve on this one. I will hand stitch it down tonight.

back.jpg

And a couple of back close ups

back head.jpg

back close 2.jpg

I used Glide for the top thread...a silvery gray...and So Fine light brown for the bobbin. Two bobbins did the whole thing. I did have some thread breakage issues toward the end. I solved the problem by changing out the needle. But that first leather longarm needle quilted that first little horse, the sampler, and 90% of the elephant. I think that is awesome.

Tuesday, September 20, 2016

Leather Sampler

Here is the finished product. I am in love with leather....thank you Cathy Wiggins. (perhaps i shall blame you later..haha)  And thanks to Uncle Johnny who had a thin piece of calf hide that i could practice on.

It quilted up without a problem. It is about 16 x 21". 

front.jpg

The first set of individual blocks...


It is surprising how leather works in an embroidery machine, with a regular domestic sewing machine, or with a longarm....as long as you use a leather needle it's all good. 


And using the leather dyes is so easy. If you put 2 coats of dye, the color is darker than with 1 coat. 


corner.jpg

This started out with 4" embroidered leather blocks. I just stitched the cross stitch outline on the embroidery machine and then painted the sections with leather dye.

hearts and star.jpg

This is all from one piece of calf skin that i got from Uncle Johnny....except for the black leather binding and hangers. 

little squares.jpg

Sewed through 2 layers of leather when attaching sashings without a problem.

pinwheel.jpg

Quilted up without a problem....through one or two layers of leather. I used So Fine black thread on the top and bobbin. First I just quilted over the lines where I sewed the sashings on. Then I thought it needed a bit more and quilted something in the middle of each block. Then i thought the border needed a little something, too....so I put some arcs there. I had a ruler for that.

star in square.jpg

The back is just a piece of black fabric and the batting is a piece of something I had leftover from another project.

back.jpg

And a close up of the back..


Cut 3/4" strips of black leather (from the expensive leather that I bought at Tandy Leather) for the binding and the hanging strips. I just folded the leather over the edges and sewed them down. First did the top and bottom, then the sides. I didn't attempt any mitered corners on this one. ... maybe next time.

I believe the next leather experiment with be an elephant....on black leather. wish me luck


Search This Blog