Hubby and I spent a few days at the Duck once again. seems the topic of renovation was doors.
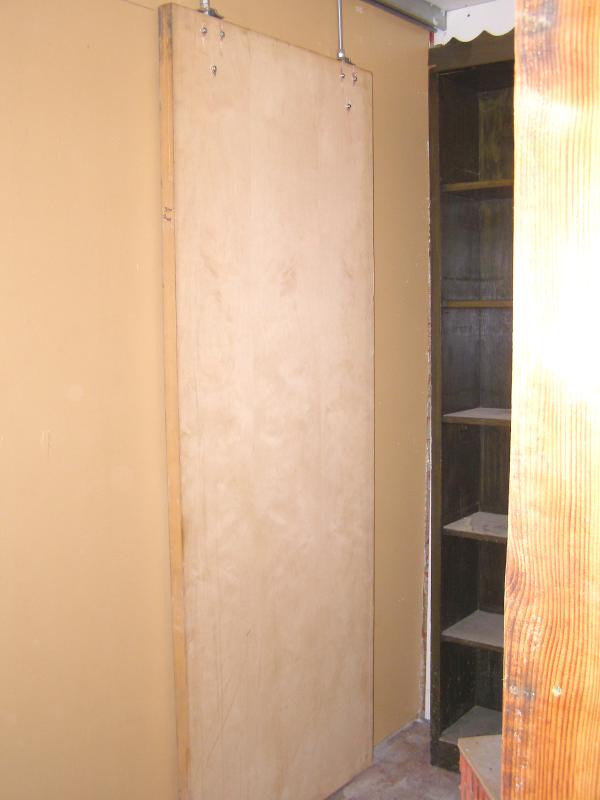
There was the pocket doors between the dining room and the living room.... Just seeing it hanging there is a wonder. as in....we wondered if we would EVER get that sucker up there and on the track. that door has to weigh 700 pounds. and it is TALL....and HEAVY. and after all that getting it up there......the door is hanging straight....but the house is tilted....LOL so, there will be some minor adjustments to be made later.

I laid it on two sawhorses and sanded off the ugly black paint and whatever varnish was under that. that was one messy, tiring job. i have to hand sand the inside edges that are still black. my plan is to re-paint those inside strips black again...and paint the rest of the door red on the living room side....and orange on the dining room side...to match the walls in there. but, first, i have to sand the second side of the second door....hubby has to install the hangers on it....and then we have to muscle that sucker up there on the track. then, at some point, the drywall has to be re-installed.

The barn type sliding door for the laundry room... I bought 2 solid wood doors at a yard sale.....a couple summers ago....for $5 each. these babies are terribly heavy also. i can barely move them just pushing them across the floor. so this was another lesson in creativity in getting the hardware installed and the door in place. there was a board at the outside corner that prevented the rollers from just popping in there, so hubby had to cut out a piece of the board....then we finally manhandled this bad boy into position and he replaced the piece of board that he cut out. a bit of wood putty and caulk and paint and you'll never know the troubles we had. LOL
My plan is to paint it....probably white...or something.....and then Zentangle it. now that i see it.....how about if i Zentangle the door black on white......and Zentangle the surrounding wall white on black....or vice versa. Hhhhmmmmm!! wheels turning. haha
The door is 80" high.....the floor to ceiling was 90-something inches....so long bolts were called for.
And he managed to install it without losing any finger parts. I was a bit concerned about that. he actually has a fingertip missing from a garage door installation from years ago.....but not my garage door.
The installation of the office door.... The doorway was destroyed in the demolition process....so Jim built new side pieces.....and finangled the door back in there. we used cast off pieces of lumber from the garage that i saved from the demolition for the trim. I will still add some fancier trim to the top and right hand side. The left side is right up to the graffiti art work. So, although Jim's job here is done....i still have to scrape the white paint off the top 2 glass panes, install a 3rd piece of glass, sand the door down and paint it. not a problem....hahahahaha....just another little project.
From the dining room side....the door is stained. i don't know what these people were thinking here.....but it was the local drug house....so, that could explain a lot. He is installing a new doorknob here.
The kitchen/dining room doorway temporary fix.... This is a temporary fix just for me. i took out a wall here....which resulted in uneven flooring and holes to the basement. i was used to just stepping over it as i went by....but when dragging furniture or other things, they always got caught up in the 'ditch'....so i am happy to have this space covered. but i am still 'stepping over' it. LOL habit

And...the only non-door project.....a new graffiti site.....the stairway to the garage from the kitchen. I still have lots of graffiti pieces left and i was wondering what to do with them. so, i am using them on this wall. these stairs go from the kitchen down to the garage. i did get smarter this time and cut out the luan and temporarily screwed it to the wall....then drew out my design.....stairsteps, to mimic the actual stairs....then took it back down and cut it into sections. hopefully that will help it go back up straighter. i am learning as i go. it was a bit tricky to get the hole for the hand rail cut exactly as you can see....but i will just cover that all up with graffiti. this is as high as i will go....8 feet....i will just paint the rest of the wall. it will be a trick to fasten that last top foot since i am short but i will figure it out when i get there.

Dressing room/closet got window and door trim installed. I did manage to get the trim on the dressing room windows. the walls are bright yellow....the trim a sort of lime green. good thing i don't drink. hahahaha i wish i knew how to take a pic that works with sun coming in the windows....i guess you just can't do that.
And i got the trim around the French doors......i have put a second piece around since i took this pic ... to cover the spot on the top. still have to adjust those doors to close properly....get some window panes replaced...and sand and finish it.
And the baseboards are in place...but not nailed down. i will have to pull them back up when i sand the floor...didn't get to that yet....but i just put them down to get them out of the way. they sit in a slot....below the top edge of the floor. i guess that means they put new flooring down without taking the baseboards up the last time anyone did anything here.
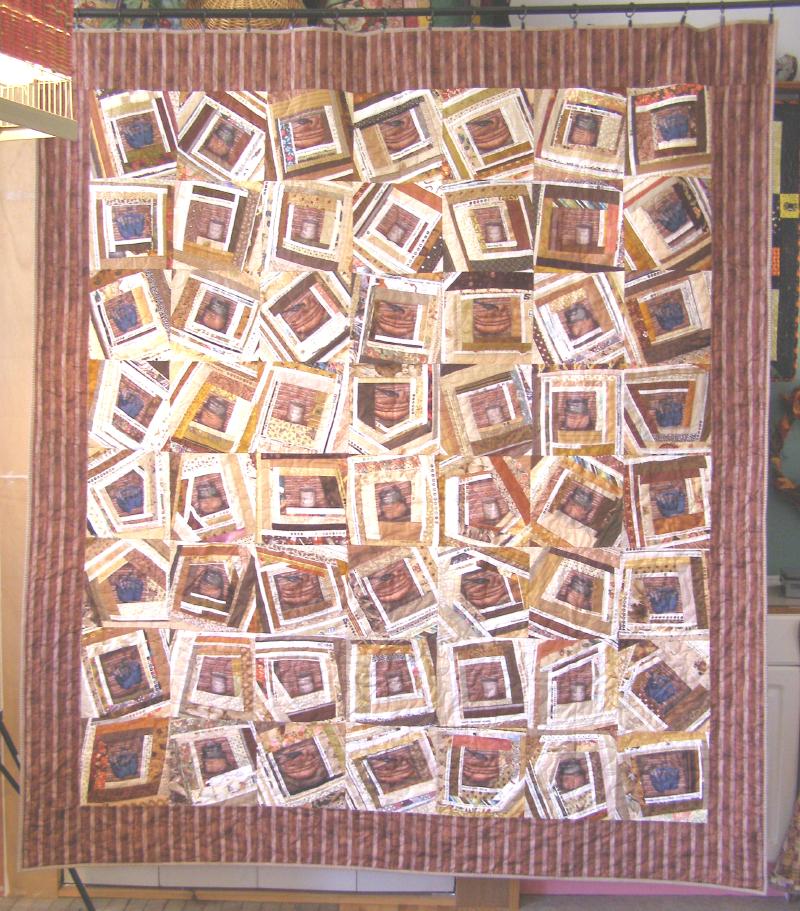
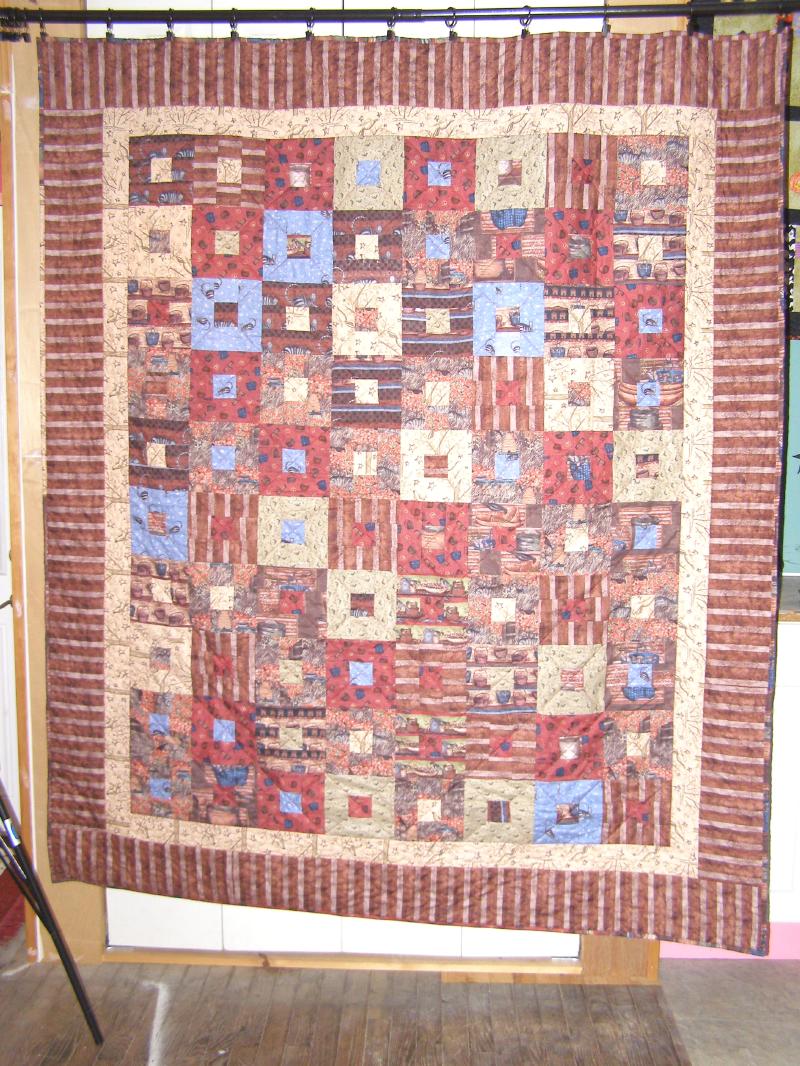
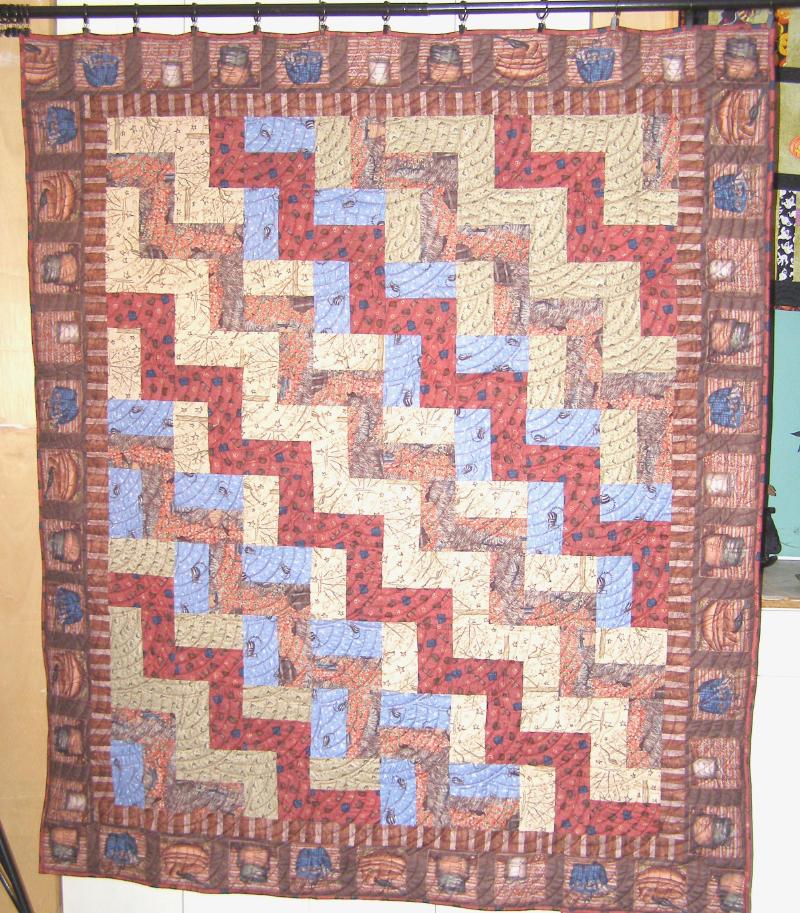
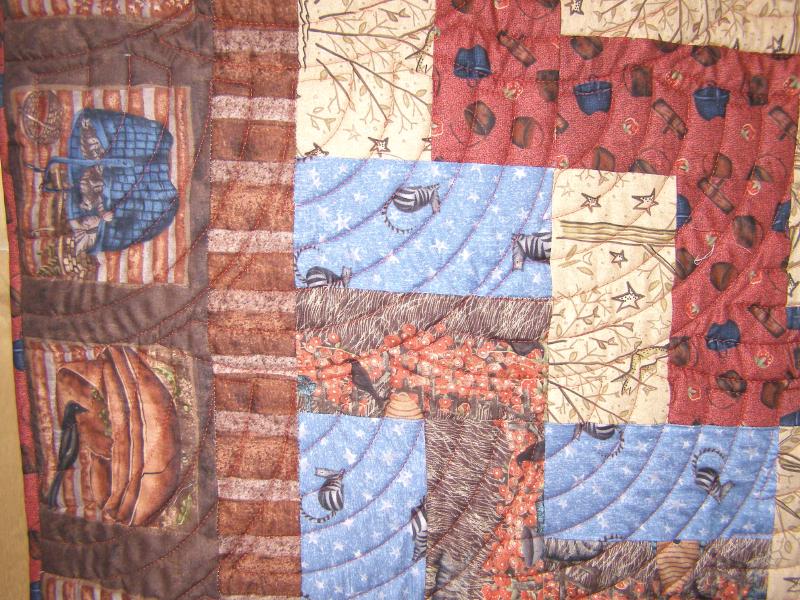
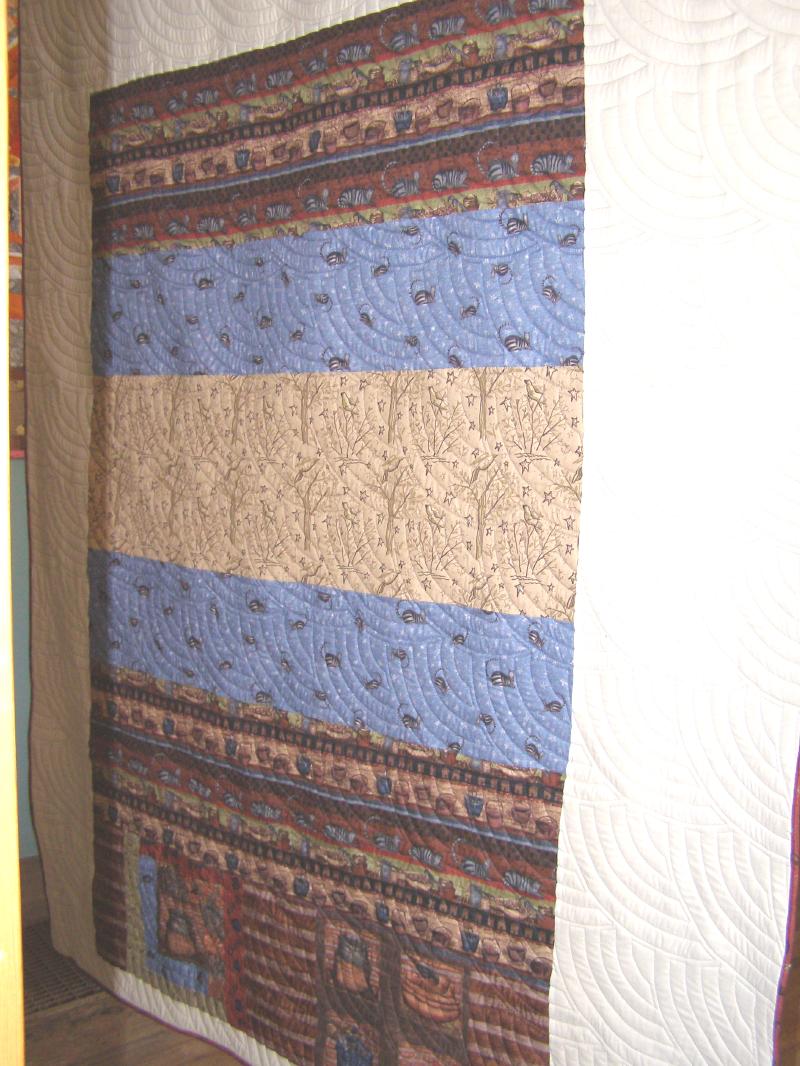
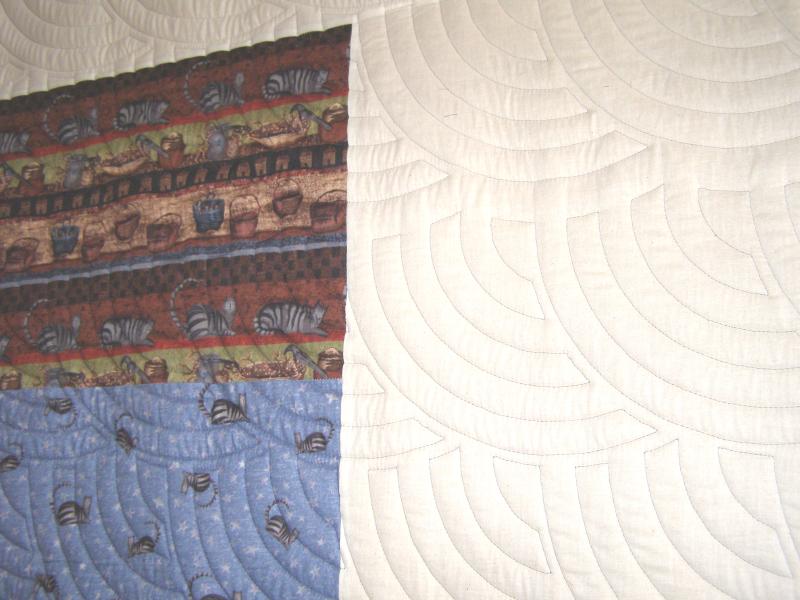
I hung up my little rooster and chicken quilts in the dining room. this one on the cabinet
And this one on the wall. they are rather fat and poofy in person.
Hubby also hung a couple of ceiling fans for my sister at her place. He worked a lot harder than I did. and there was cursing involved with door hangings, so i know there was aggravation also. LOL But we worked hard for 4 days and then came back home to rest.
I'll make the next trip myself and do some more sanding and painting. probably nothing major will happen again till spring.....since there is no heat in this house. but i am starting the "Spring Jobs for Hubby" list.....1. add wall and door in garage....2. take out side garage door and re-build as wall. ... 3. (to be determined). LOL
Stay tuned for more craziness.......there is still graffiti work and Zentangling on the horizon.