Monday, September 19, 2016

Grandma's Country Album, a Robert Callaham pattern

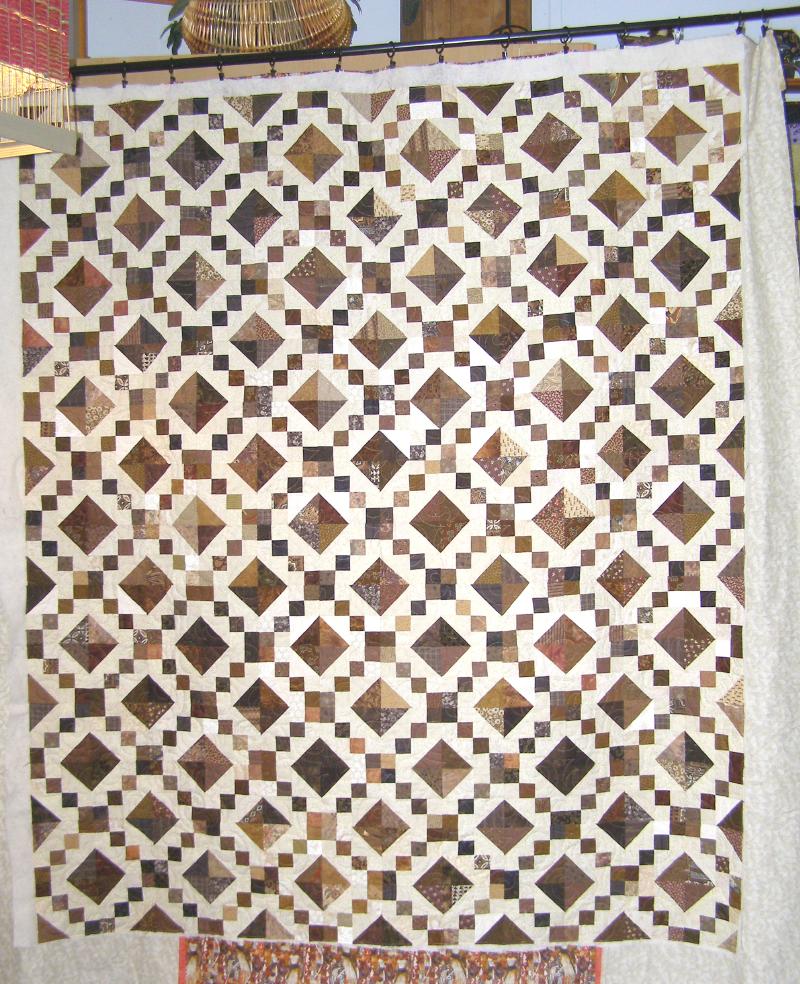
Finally, I got this quilt off the frame....it's been on there about 3 weeks. I finished piecing it January 16, 2014. It started out at 96x100, but after quilting is now 92x96. I used a very thick batting....which gave me issues in itself, but i wanted to see how it would look. This was hand appliqued with felted wool. I am happy to be finished with it but I do love how it looks.

It is a Robert Callaham pattern...i have done 3 of his. He likes to challenge you.

front.jpg

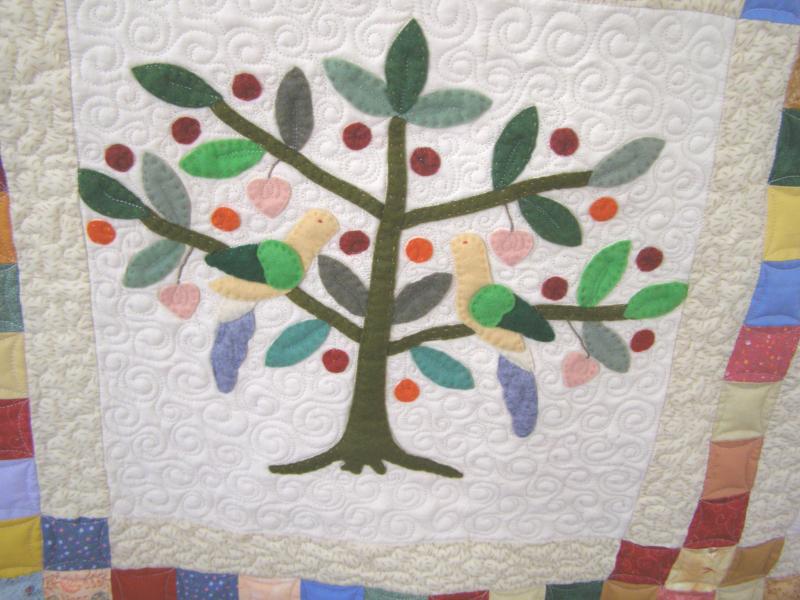
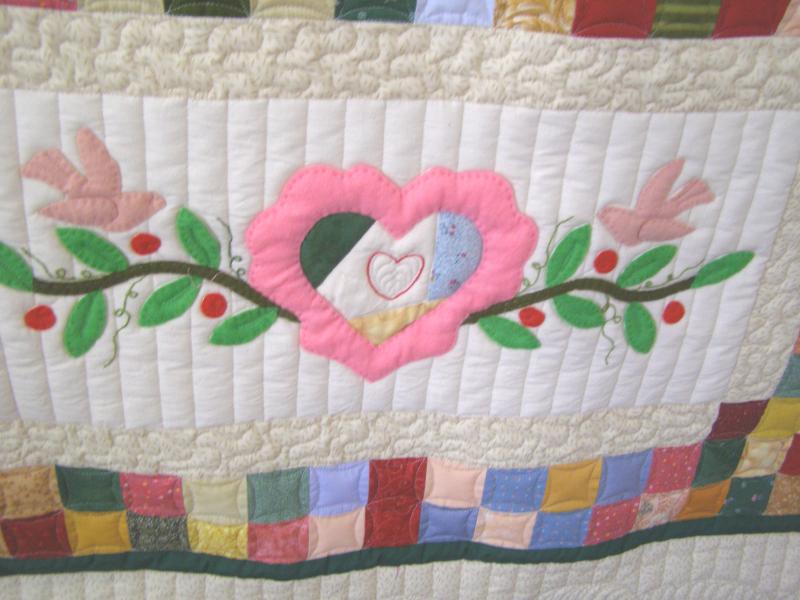
There are always birds...

birds.jpg

birds 2.jpg

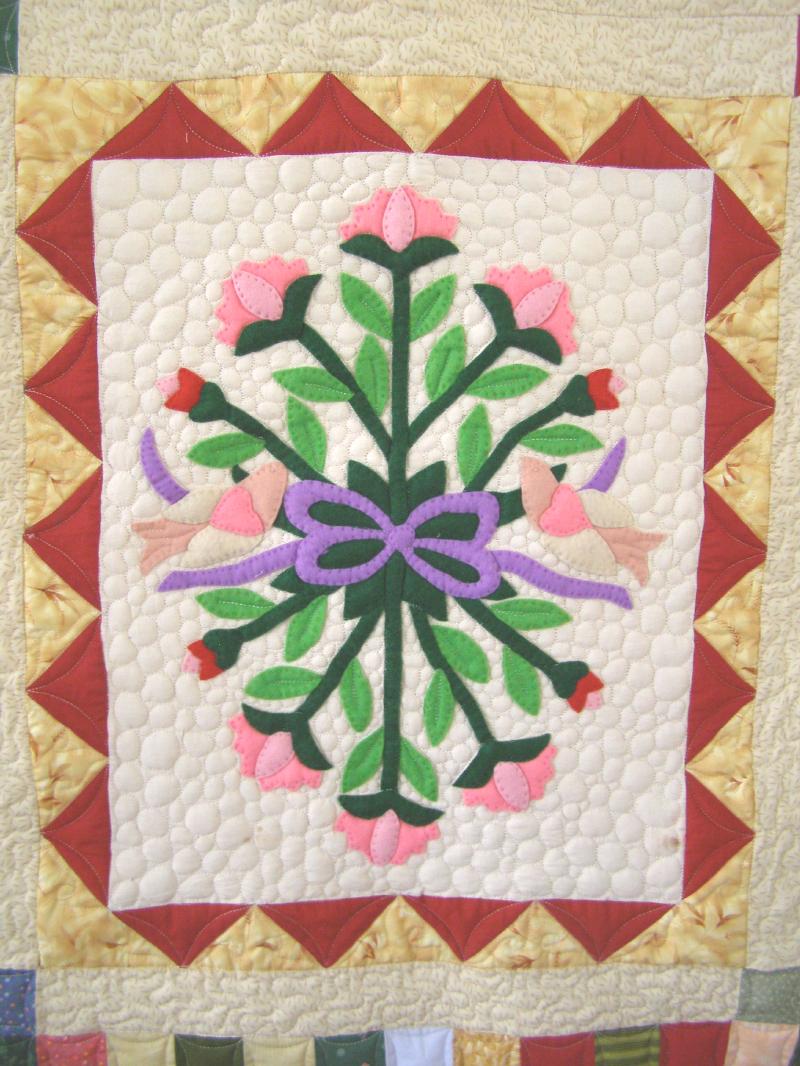
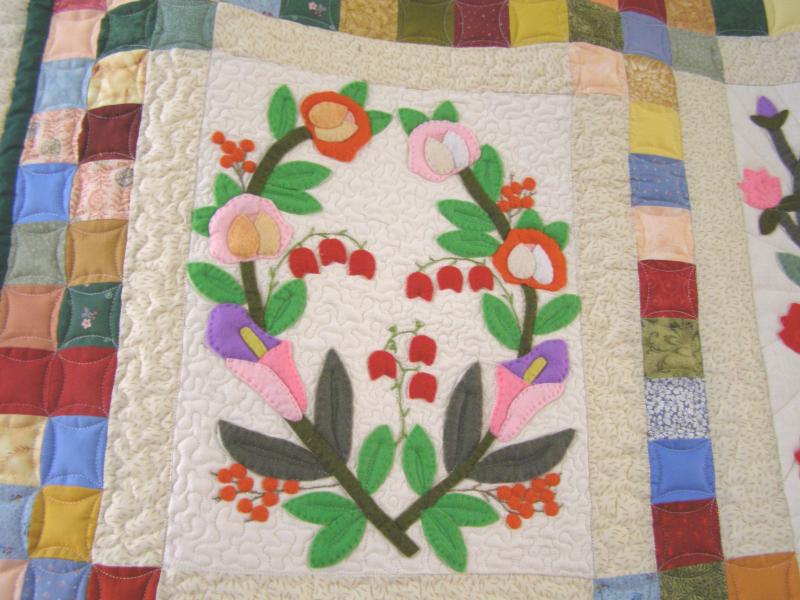
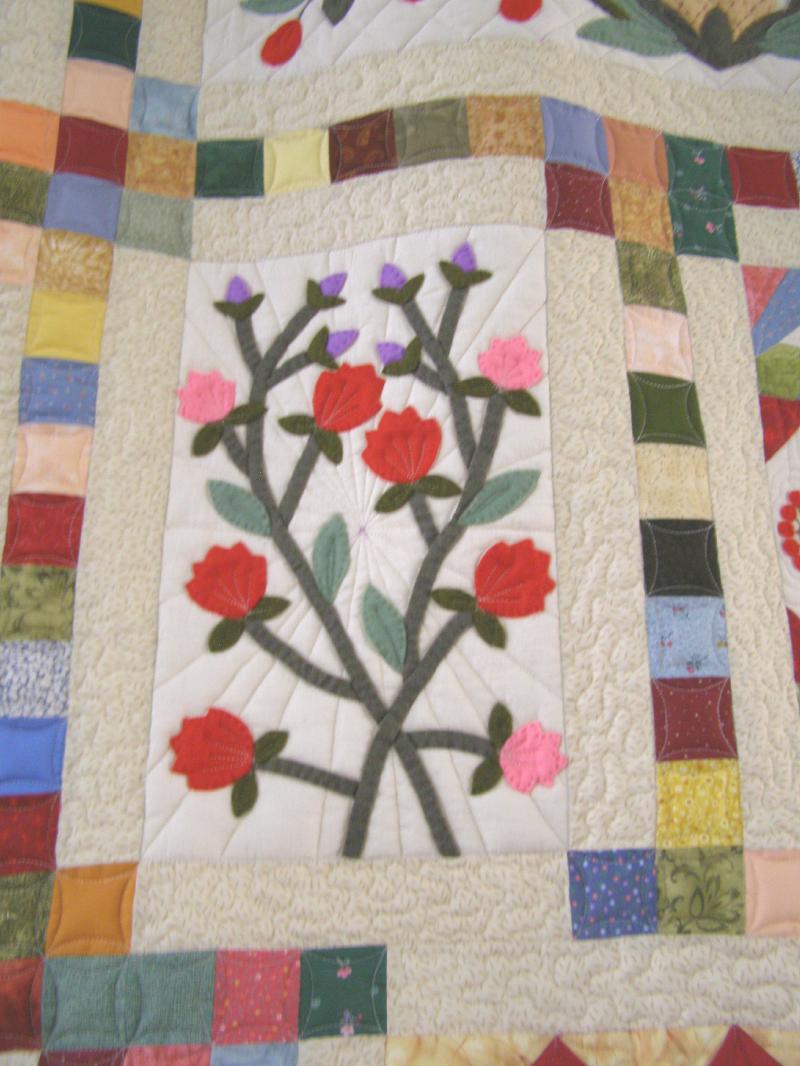
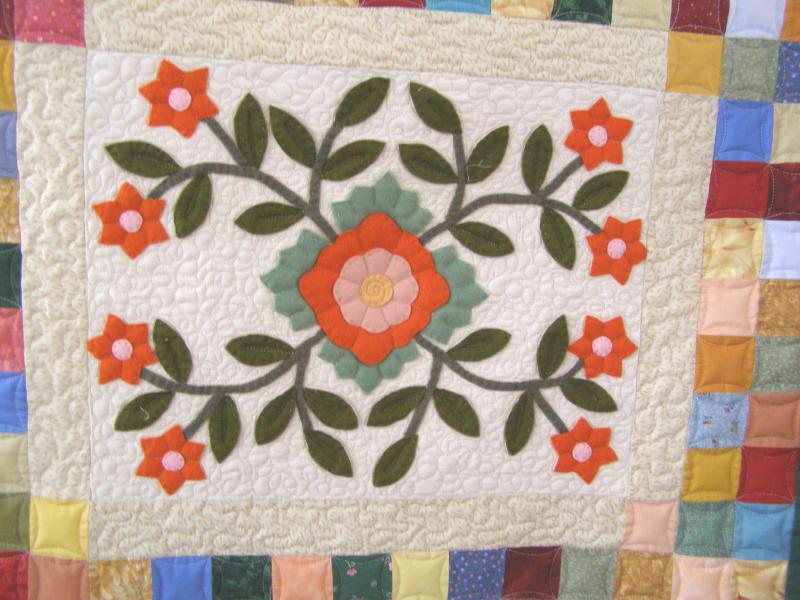
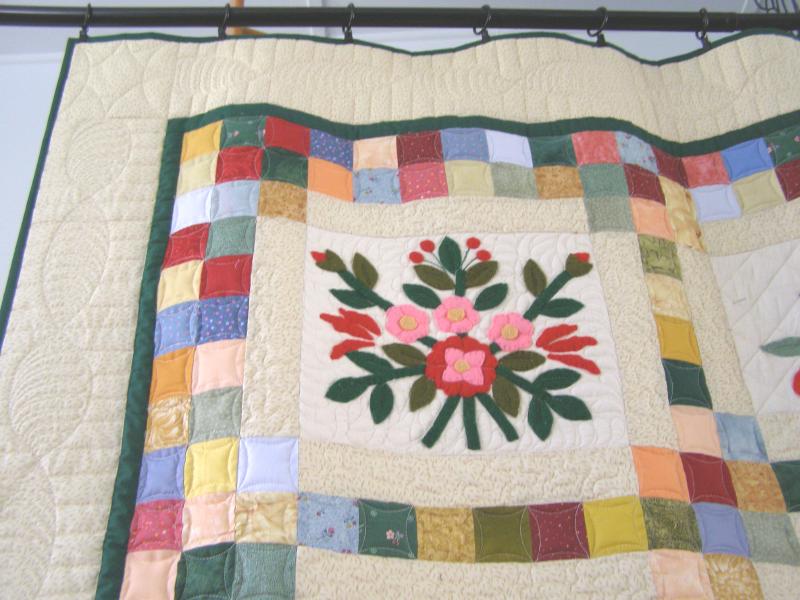
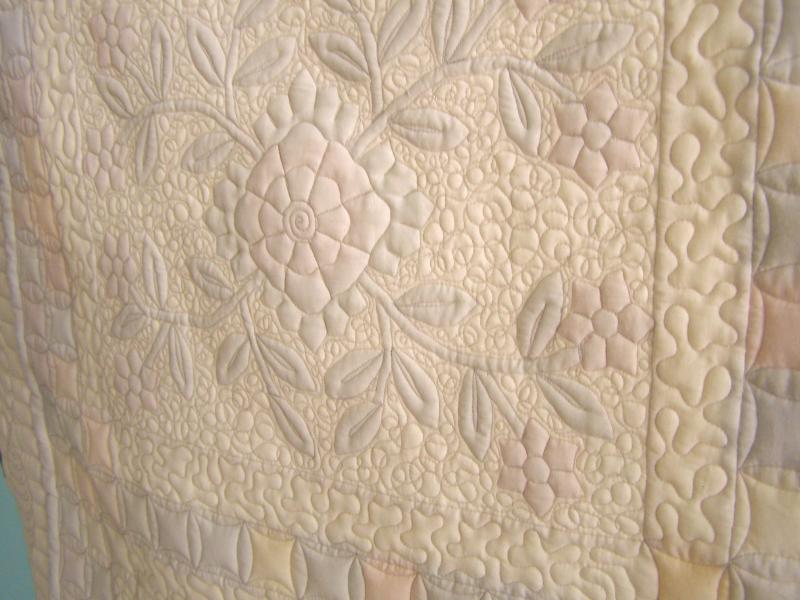
And lots of flowers....

block 1.jpg

Some of the purple markings have not all faded away yet...mainly because parts of it was rolled up and air didn't get to it. 

block 2.jpg

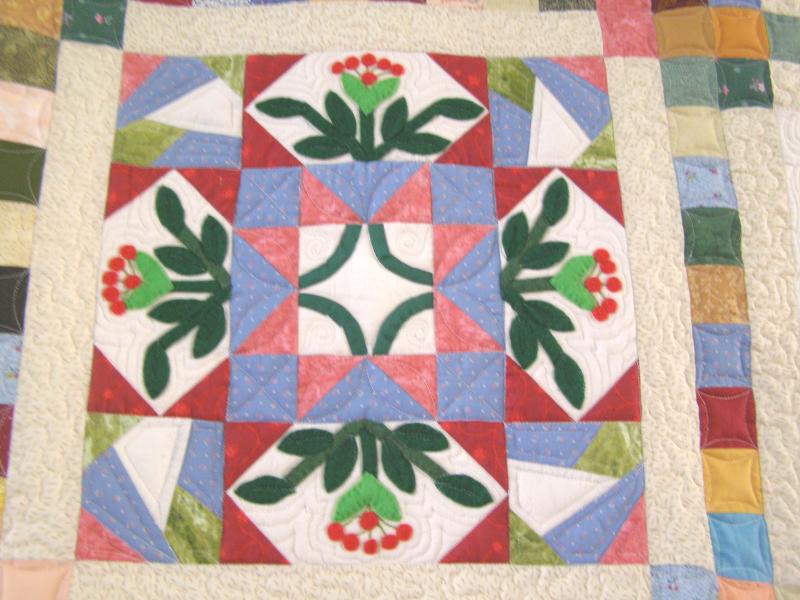
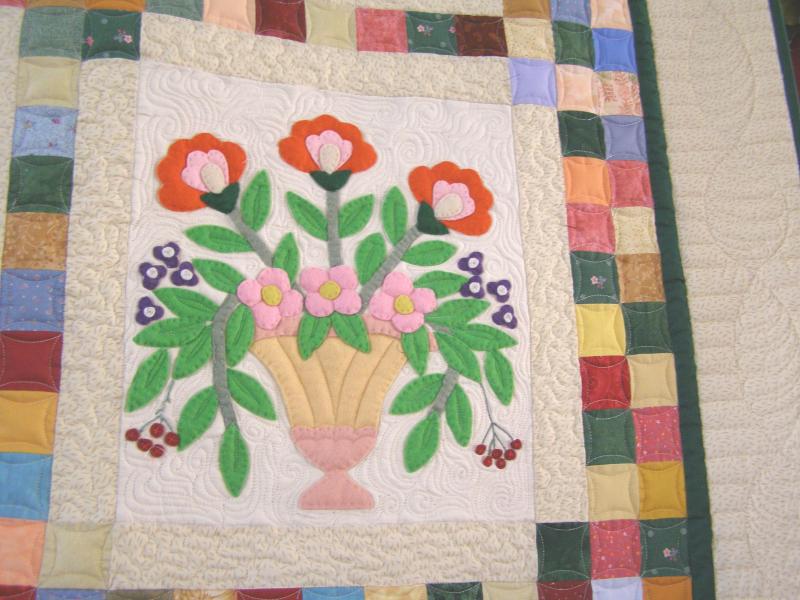
This block got piecing and applique..and crazy quilt blocks in the corners.

block 3.jpg

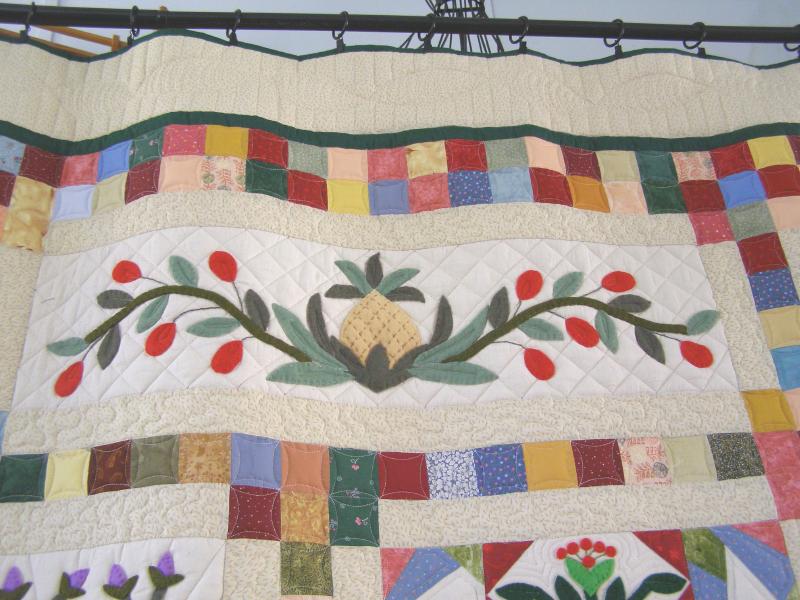
I don't remember how many 2 inch squares made up the sashings...i think over 500...they all got CC.

block 4.jpg

There is usually a heart block... I like the way the thick batting makes the applique stand out more. 

heart.jpg

This time there was a pineapple...

pineapple.jpg

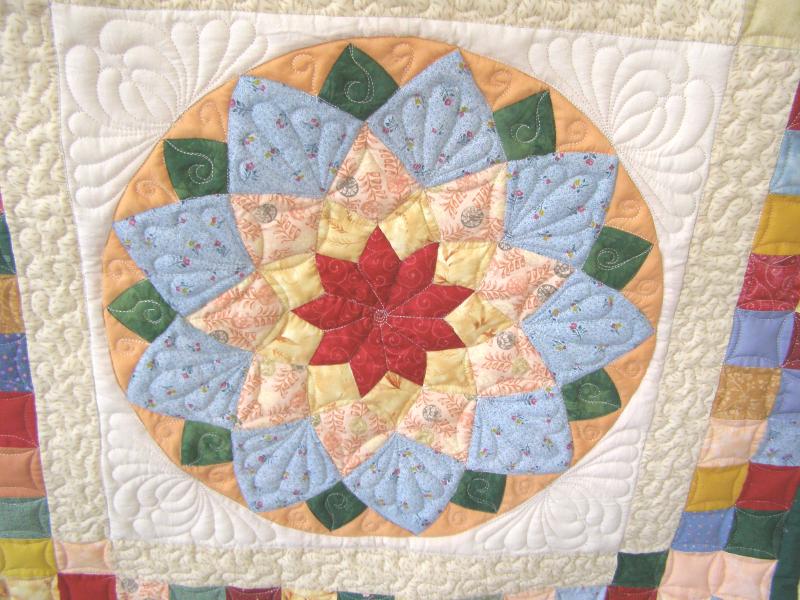
And there is usually a vase... I did the same meander in all the borders around the blocks.

vase.jpg

Corners...

corner.jpg

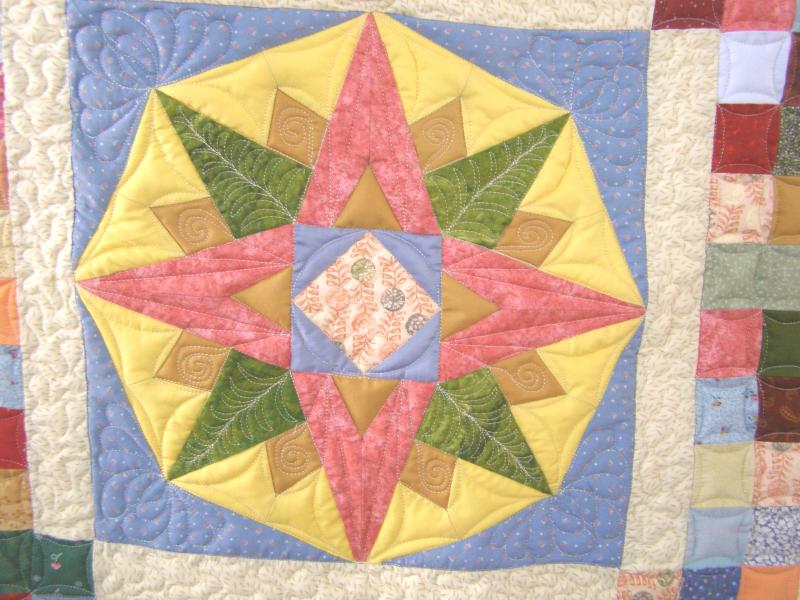
Sometimes I quilted over the applique pieces...like in this block, because the center pieces were larger. But, mostly i just quilted around them. But i did put a vein in each leaf.

corner 2.jpg

And there were 2 pieced blocks....round, pieced blocks....challenging for sure...

pieced.jpg

pieced 2.jpg

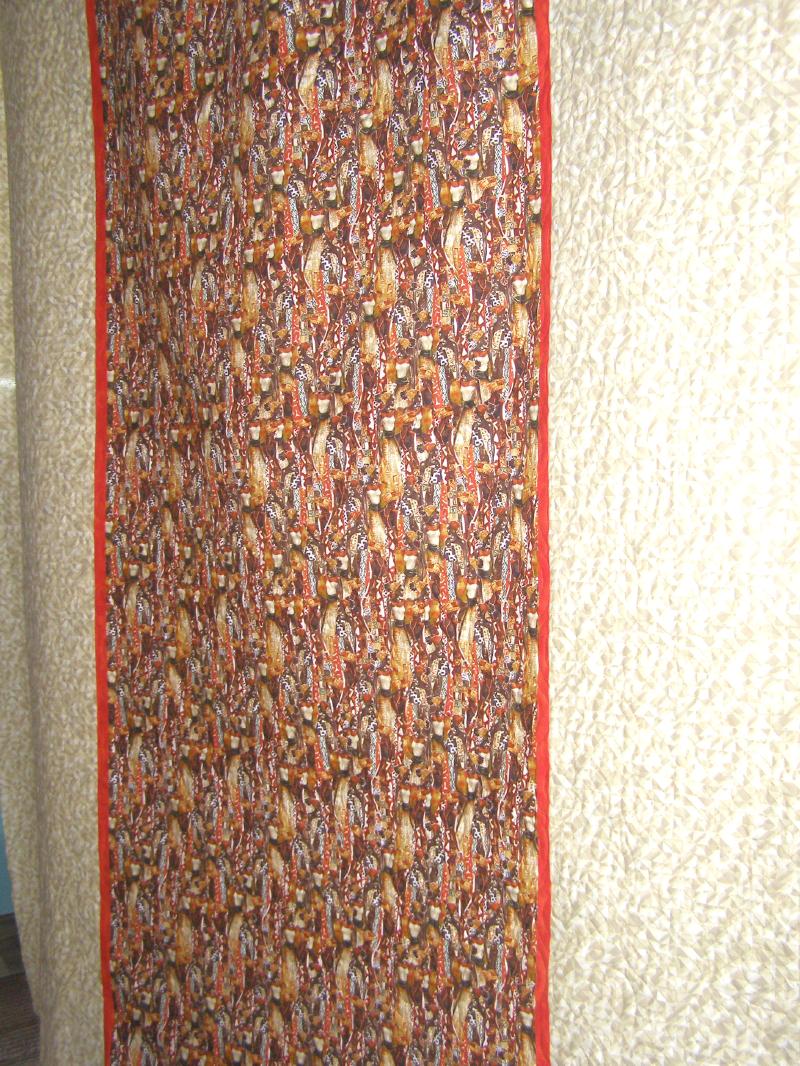
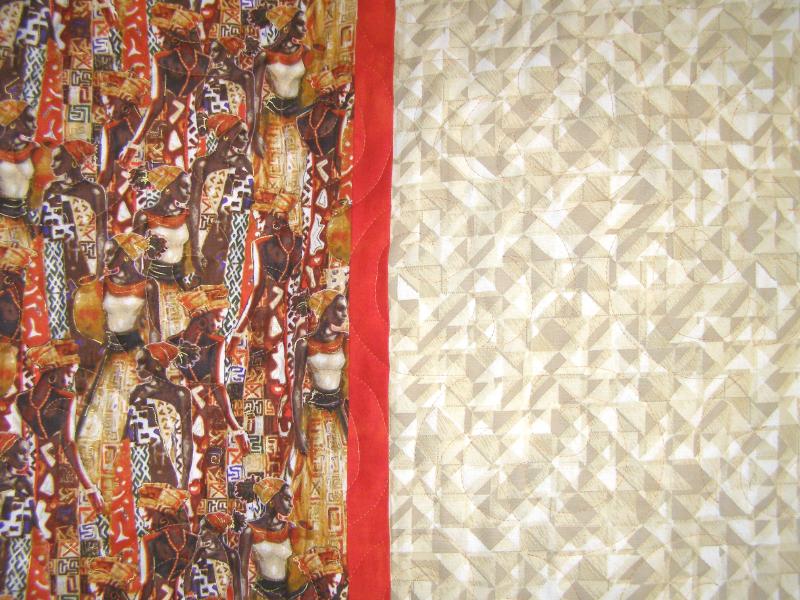
The back is a muslin

back.jpg

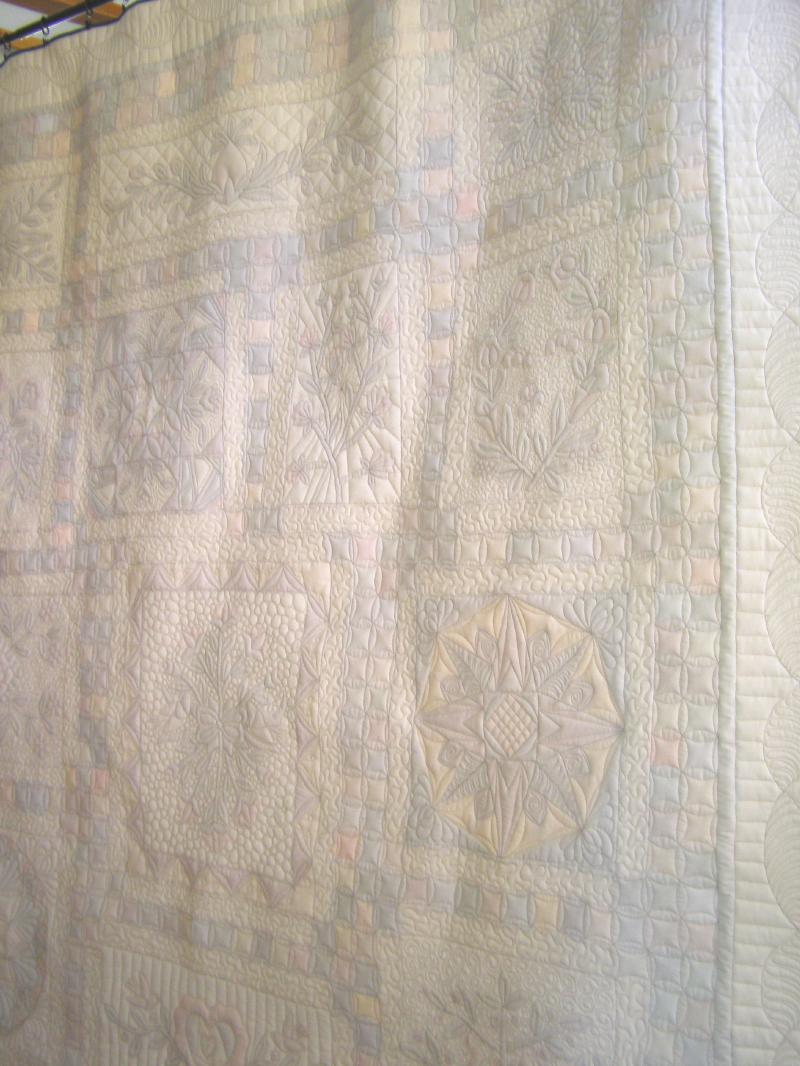
A couple of back close ups...

back border.jpg

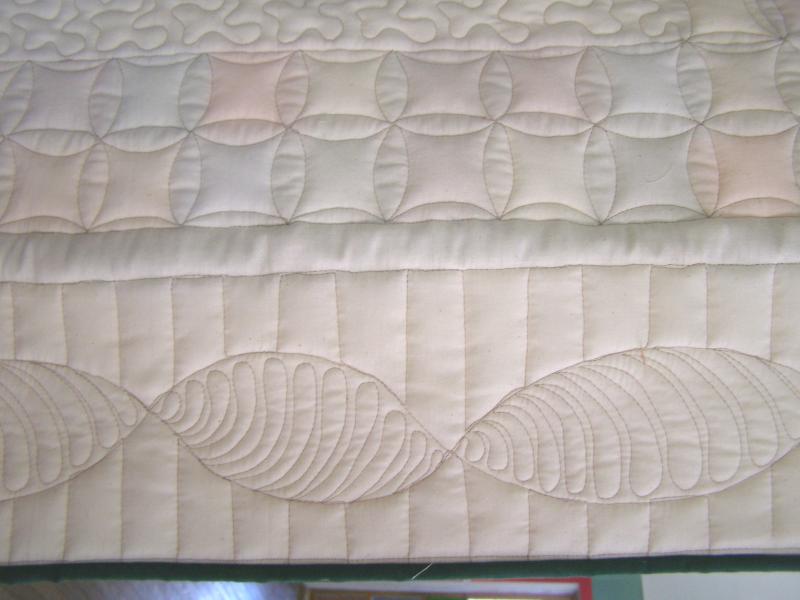
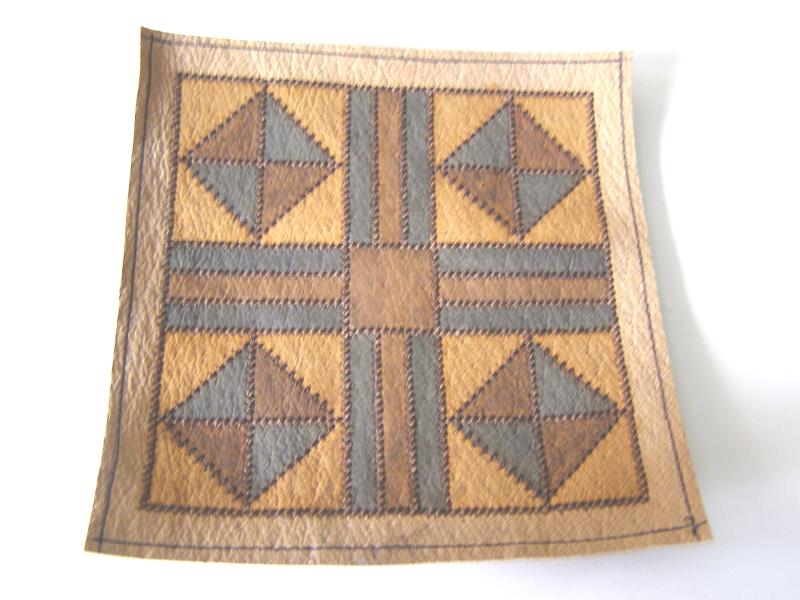
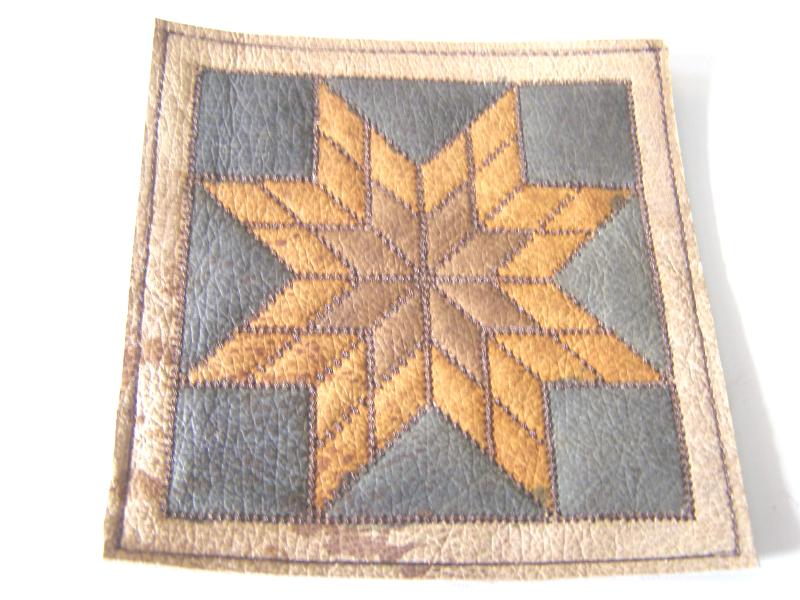
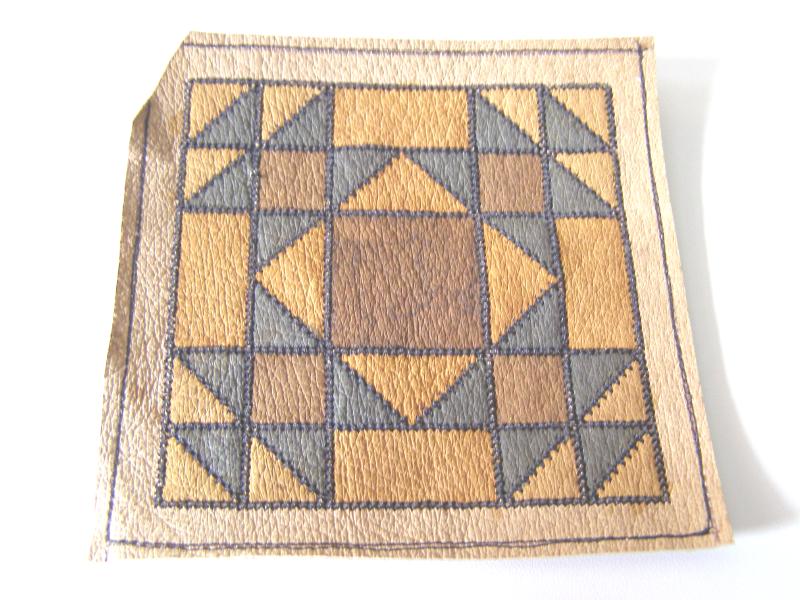
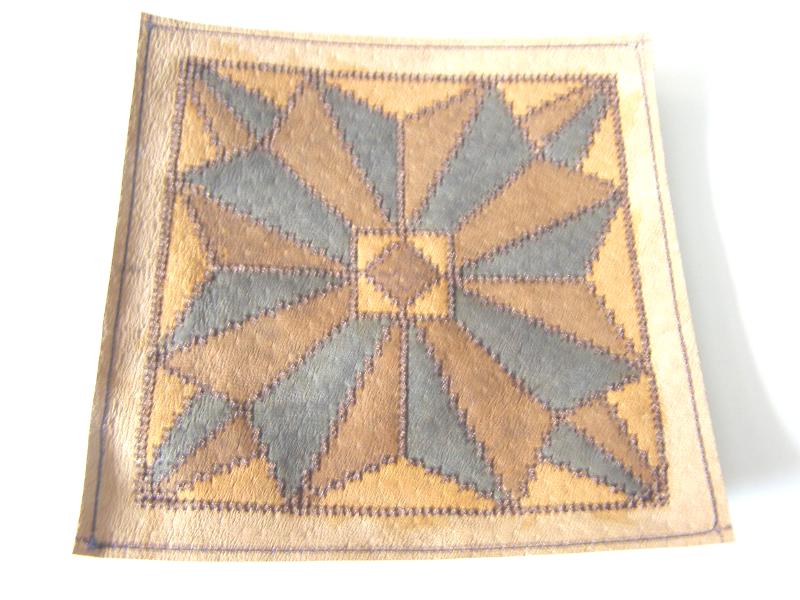
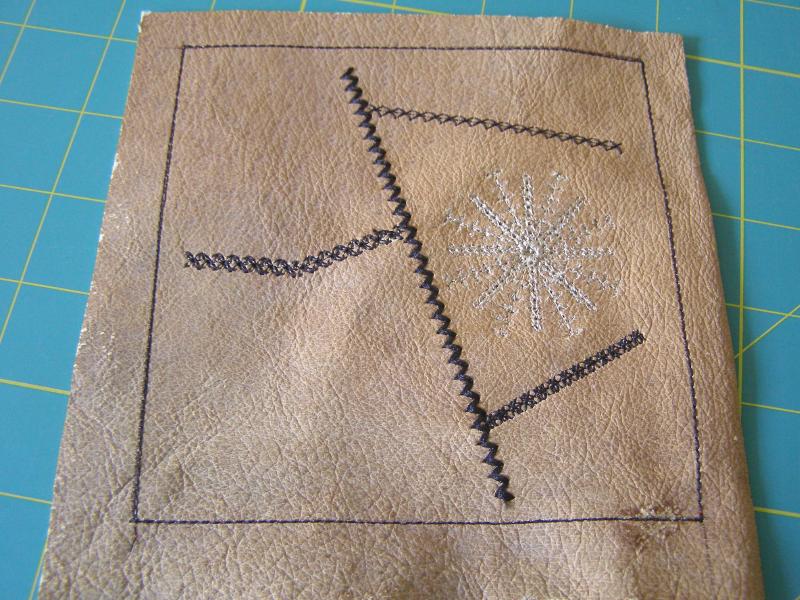
I like this scribble background fill. I stole that idea from Cathy Wiggins in her leather work.

back scribble.jpg

I did different background fills for each block.


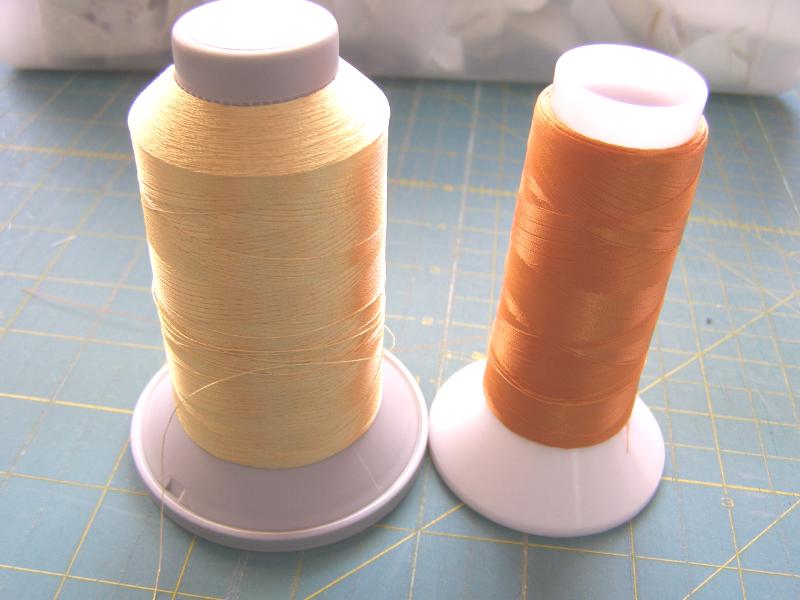
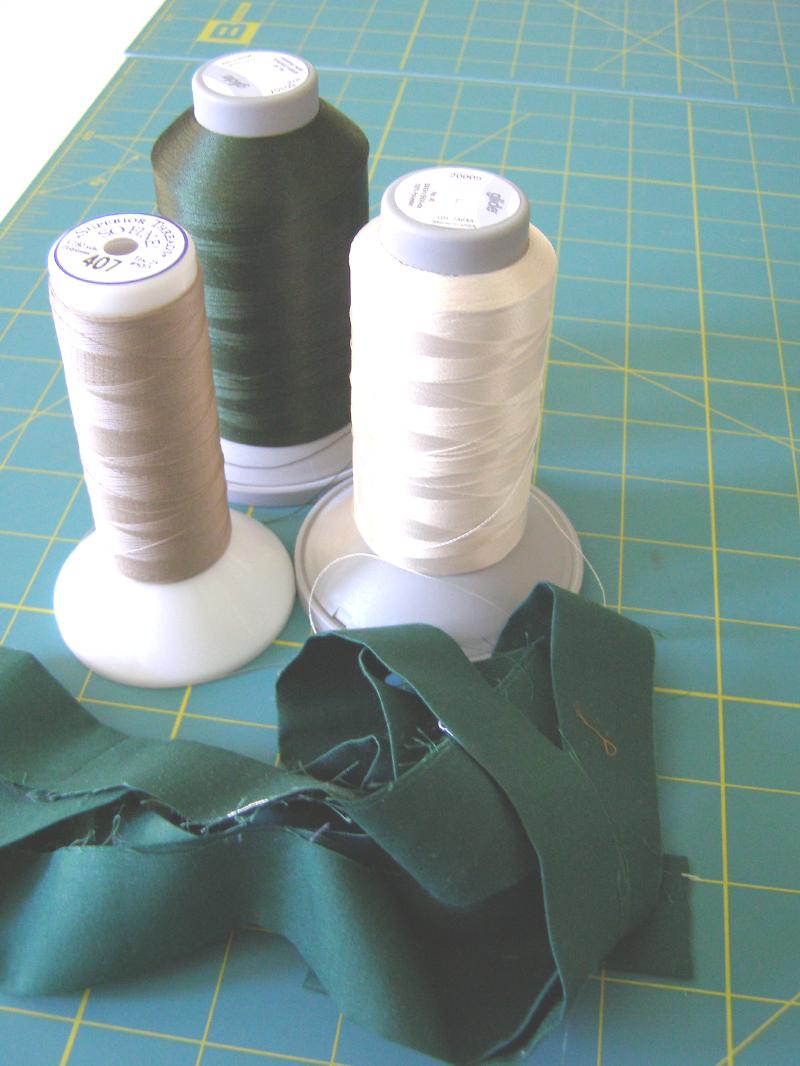
Thread used was Glide off white for the top; So Fine #407, beige for the bobbins. I used 25 bobbins on this quilt. Most i think i have ever used. I did use Glide Jade to sew down the binding. Normally, i would use the same thread that i used to quilt it, but i didn't want the off white to be so glaring on the dark green binding.  The binding is the same fabric as the little skinny green border.

thread.jpg

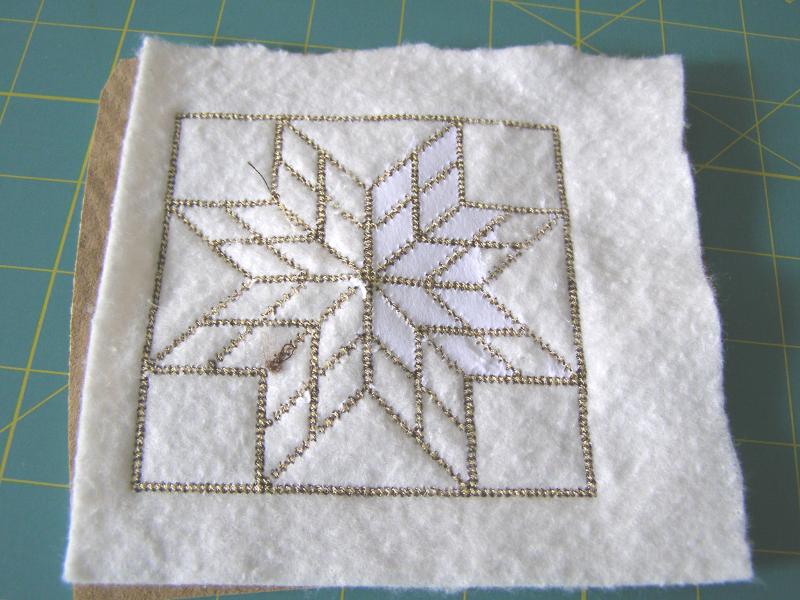
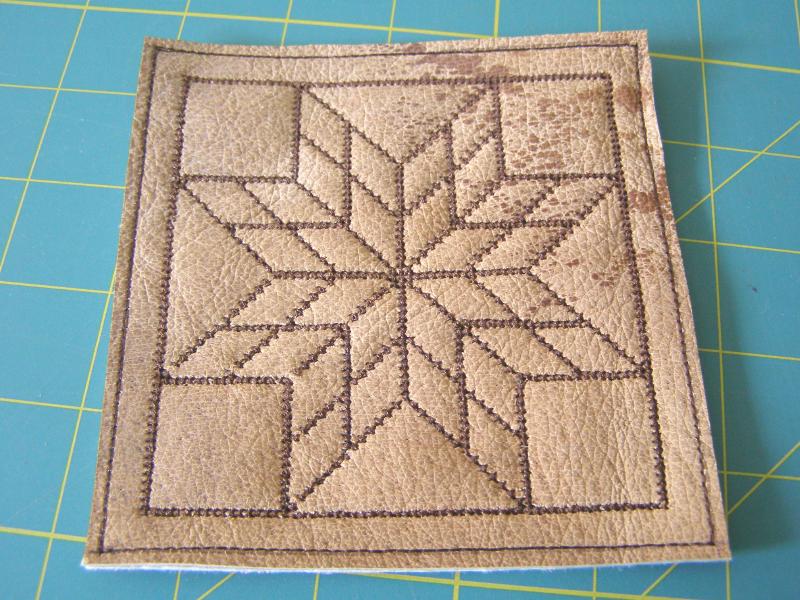
Now that this is finished and the frame is empty, i am going to play with some leather. Stay tuned.

Friday, September 16, 2016

#itsbetterinleather Last view until finished

OK...this is the last time you will see these blocks until they are finished and all constructed into an awesome wall hanging. 

I learned...
..i can't really paint these with a foam brush...the spaces are too tiny...even if i do trim the foam down. I used an artist's brush with much better luck
..it's harder to paint cross stitch lines than it is to paint straight stitched lines
..even though i only have 3 colors of dye...black, dark brown, and light brown....you get more colors depending on if you use 1 coat of dye or more.
..this is FUN
..if there are imperfections on the leather....as in the lone star block...dye will not cover it up
..a lot of embroidery stitches together....like in the corners of the dresden plate type block...tends to make the leather curl up
..it is really, really hard to pull out the stabilizer in these tiny spaces...some of them got left in there

But, i am having a blast doing this. I have 6 more blocks to make. Once they are all assembled into a wall hanging, i will share the final product.

I thank Cathy Wiggins for getting me started in leather, and all the awesome leather people along the way who are sharing their expertise, photos, encouragement and advice.


1.jpg

2.jpg

3.jpg

4.jpg

5.jpg

6.jpg

If you haven't tried quilting....or embroidery .... on leather, i encourage you to give it a shot. All you really need is a leather needle and a piece of leather. 

Go for it!!

Tuesday, September 13, 2016

#Its better in Leather

Yes, you can use the embroidery machine on a piece of leather. you can't clamp the leather in the hoop like you do fabric, so i cut out a block and taped it to the stabilizer. worked like a charm. but when i pulled off the tape, it also pulled a bit of the stain from the leather.

I used a crazy quilt design from Julie's Needle Designs and just did the lines that cover the edges where you would put the piece of fabric to applique. and i embroidered the snowflake in the one space....should have done that in black, too. i am learning that colors just blend into leather....black works best.

I am thinking if i dyed the patches first, then embroidered the edges, it would be cool.

Now i am going to do another block....put backing fabric on it....and batting in the middle...and try it again. i am pumped.  I think i need to go to Tandy Leather tomorrow....a 2 hour drive from here....and get some dye and glue and check out their leather.  hahaha

This is FUN!

#Its better in leather

crazy quilt block with snowflake.jpg

OK....I tried another block. this is a 4" cross stitch block....i have 12 different blocks. might have to make a wall hanging. haha

I put batting in this one

batting.jpg

And after embroidery, i added a piece of fabric to the back

back.jpg

The Lone Star block

front.jpg

My head is going to explode with ideas. haha

Saturday, September 3, 2016

Second section of Graffiti for the garage

Almost have the side of the garage graffitied, too. This section will be a 5 row quilt. i have 3 rows up so far.

My wonderful son came out and filled in the doorway for me so i would have a good surface to attach my boards to. When he was taking a picture of what he did, he said he took another look at the first graffiti boards and figured out it wasn't just a random bunch of 'stuff'. hahahaha  he said he has never really looked at it from a distance to see what it was.  men!!

larry.jpg

Three rows up...2 to go

bottom 3 rows.jpg

The top 2 will be the same shapes and colors as the bottom 2

bottom 3 close.jpg

Red and yellow for the bottom row....in triangles. 

red and yellow R.jpg

I tried to put the same things in each section around the edges

red and yellow close.jpg

Second row orange and blue row of diamonds. All orange sections are basically the same, except for small things. 

orange and blue L.jpg

This is the right side

orange and blue R.jpg

Sometimes it was a little tricky to get things the same if the size wasn't exactly the same.

orange and blue close 1.jpg

Usually the middle section was a bit smaller or larger. I wasn't too worried about exact when i was cutting and drawing. haha

orange and blue close 2.jpg

Middle row is pink and purple stripes. In hindsight I shouldn't have cut it in half....but the first design choice wasn't what i went with, so the middle stripe got cut in half. 

pink and purple L.jpg

Right side

pink and purple R.jpg

You can see in the Larry picture that there is no grass and a pile of rocks. For some unknown reason, that corner was covered in rocks and then let grass (mostly weeds) grow over it. well, when the yard guy goes zooming around there in his zero turn mower, he usually whacks a rock up against the graffiti and knocks something off. the last 2 times i went down there, i was gluing something back up. so, my solution was to pull all the weeds out of that corner in about a 6 foot area and rake all those rocks into a pile.....away from the grass. i hefted about a dozen buckets of rocks to a new location until my back screamed quit. so, the rest of the rocks are still piled there for another day. hopefully, that solves the problem with the yard guy.

One more trip and this section of garage will be finished for the year. I am letting it 'weather' over the winter to see if it survives the elements. If it survives, then i will do the next side. If it doesn't survive....well, i glued a bunch of stuff for nothing....and learned a lesson.   hahahahaha   but it was fun either way.

A little Graffiti....a few Legos

Another graffiti trip to the Duck.  I now have the black and white living room wall finished. Let's see a raise of hands of who is tired of looking at that. haha  

Here is the final finished left side

finished left side.jpg

There were 4 pieces installed....the space station

the space station.jpg

The space station closer. i wonder if some little kid had a good time playing with these before his mother put them in a yard sale. haha

the space station close.jpg

Piece 2....rows of 'stuff'

rows.jpg

Piece 3...my old longarm wheels.

old longarm wheels.jpg

Piece 4...top corner. I took 3 photos and this is the least fuzzy. 

top corner fuzzy.jpg

With left over letters i tried to spell out 'black white graffiti'.  i did things like an upside M for a W...a sideways U for a C.....Qu for a G.....you get the idea.

black white graffiti.jpg

And to finish off that wall....the Lego chimney

Lego chimney.jpg

Now my goal is to finish installing the drywall at the top of the sliding doors....do the tape and bed....and paint that room. i've been playing with graffiti for a year......it's time to get back to the program of fixing up this house. haha

Sunday, August 28, 2016

African Ladies

This lovely quilt was pieced by my friend, Brenda.  It is 70x85, made of a multitude of browns and creams.  Haha...I just noticed a piecing mistake smack dab in the middle. Two 4 patches are turned the wrong way. 

front.jpg

close.jpg

Do you see the boo-boo? hahahaha

closer.jpg

The back is several pieces put together....

back.jpg

with a narrow red strip on either side of the middle fabric. With all these seams, we decided to load it lengthwise. Since it was a panto, it was ok.
 
back close.jpg

You have to look closely and focus to see the African Ladies in this busy fabric. It is pretty cool, i like it.

back closer.jpg

Thread was Glide Sand for the top and Bottom Line #638 Copper for the bobbins.

thread.jpg

The panto was Plush by Lorien Quilting.

panto.jpg

Because the quilt and the panto were both non-directional, loading the quilt lengthwise and having the design run up and down instead of sideways worked out just fine.

Search This Blog